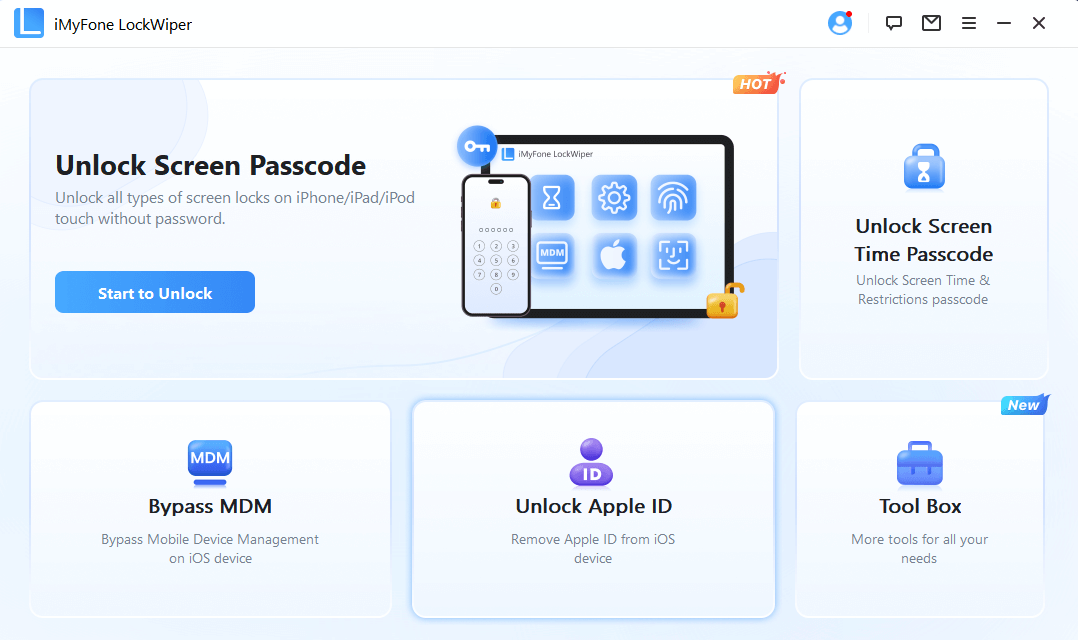
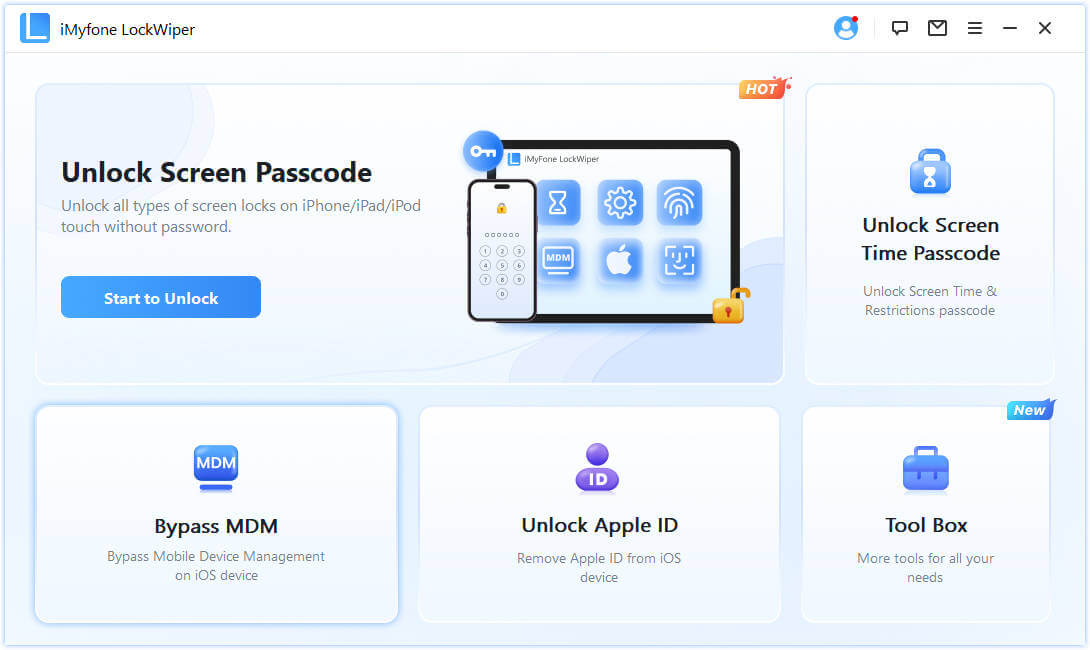
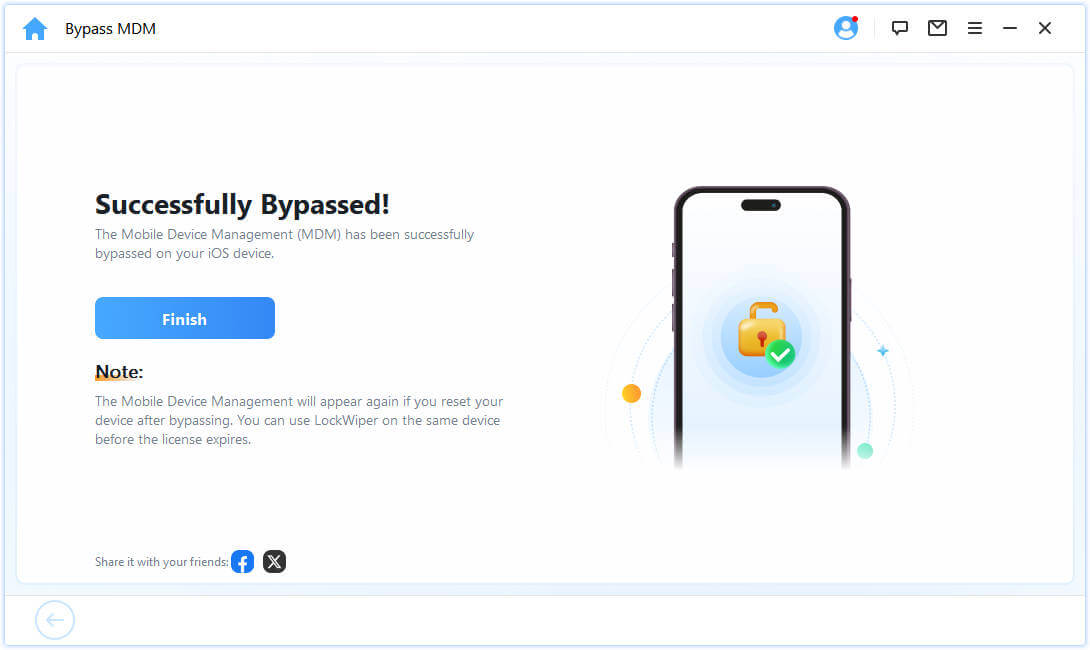
What can LockWiper be used for?
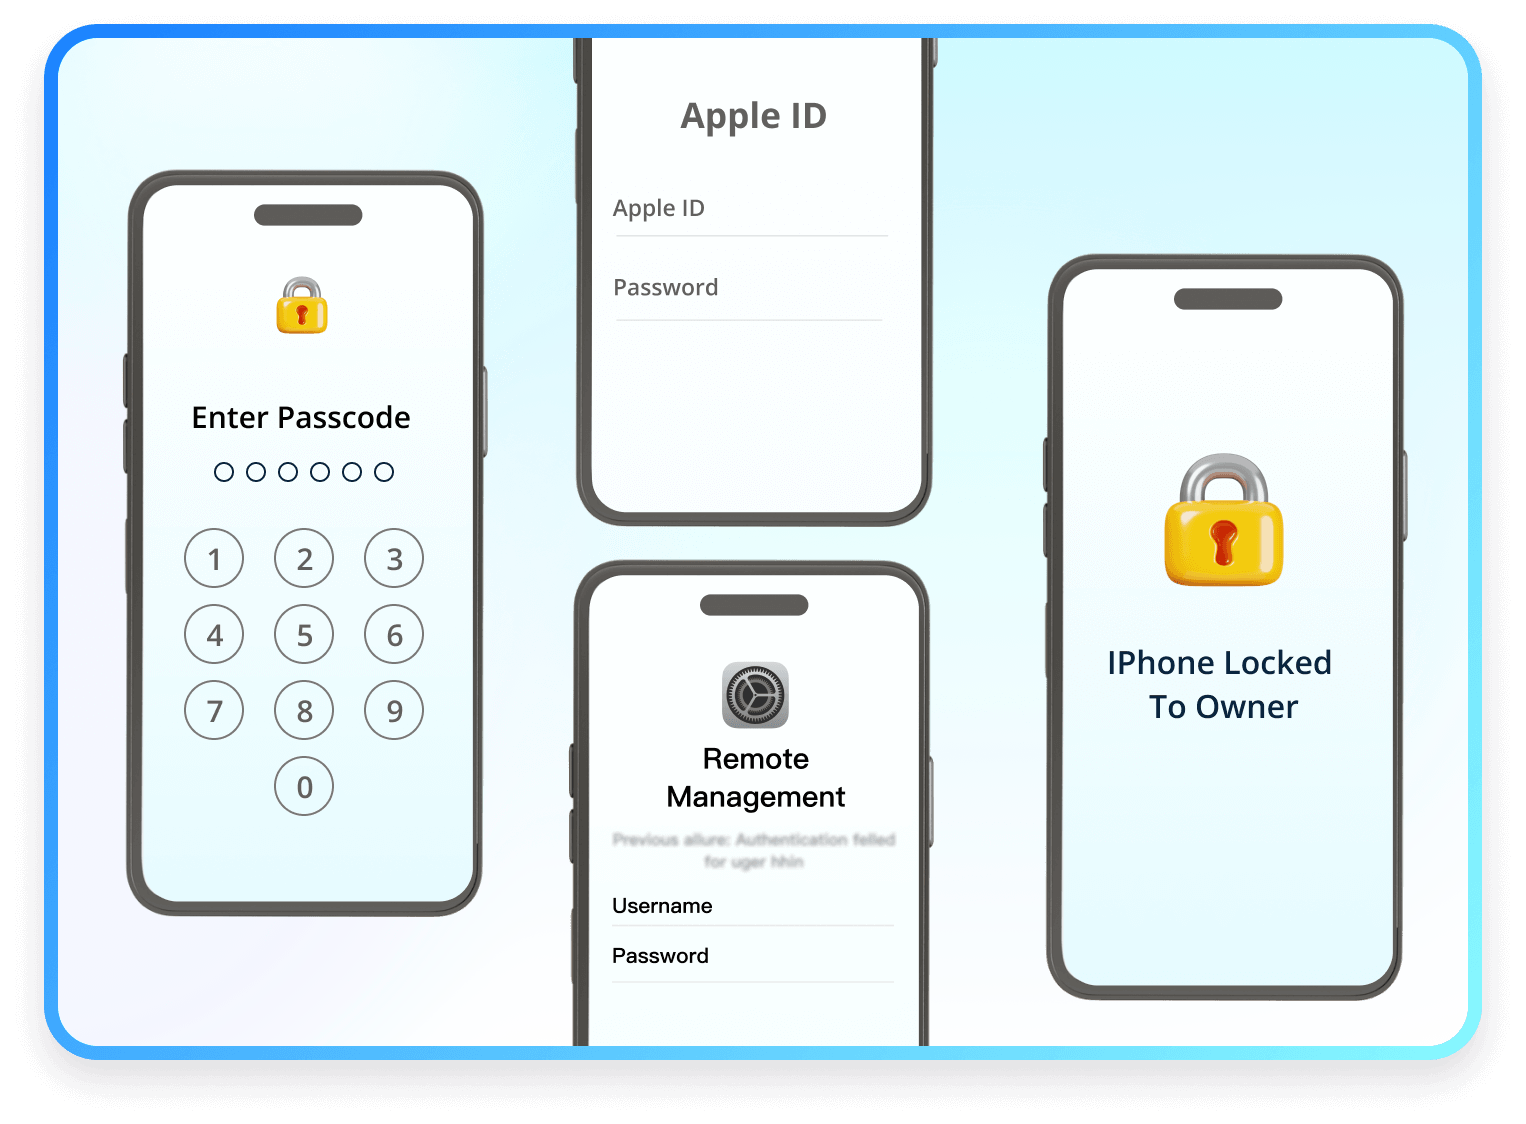
Whether you've forgotten your screen passcode, fingerprint/face ID recognition not working, forgot your Apple ID password or stuck with MDM lock, LockWiper iPhone passcode unlocker can help you factory reset iPhone without password to regain access.
-
iPhone Passcode/Face ID
- 4/6-digit passcode
- Touch ID
- Face ID
- Alphanumeric passcode
-
Apple ID
- Forgot Apple ID password
- Apple ID locked
- Cannot erase the iPhone
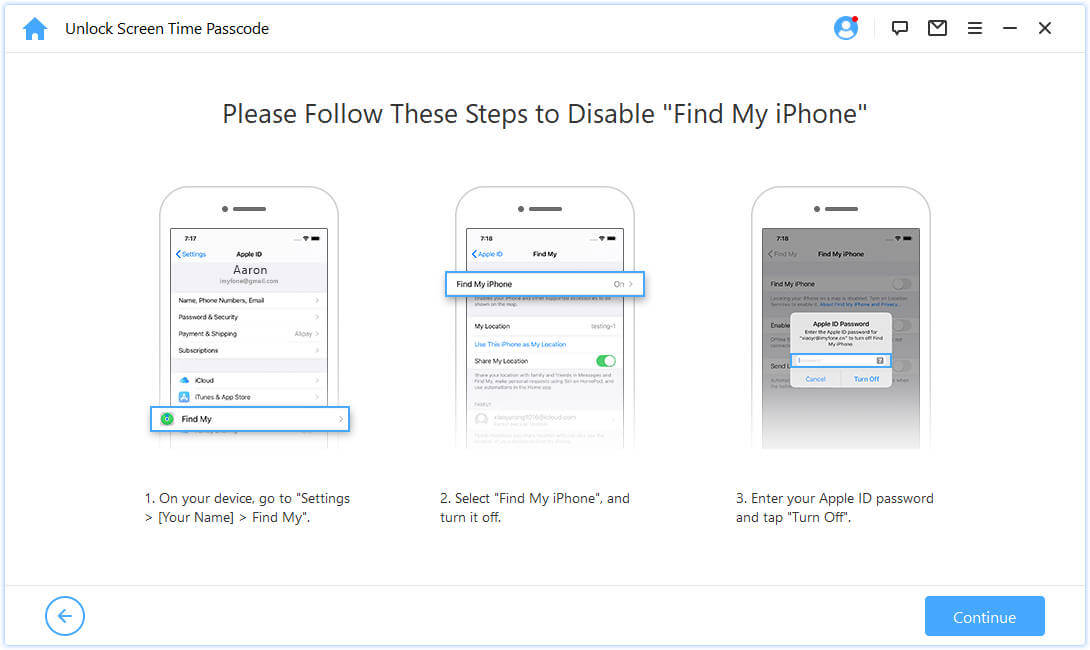
- Cannot turn off FMI
-
MDM Lock
Remote Management Lock- Used iPhone with MDM lock
- Cannot visit App Store
- Limited iPhone features
- Keeps asking for credentials
-
Screen Time Passcode
- Forgot screen time passcode
- Bypass parental controls
Bypass Lock Screen in Any Scenario
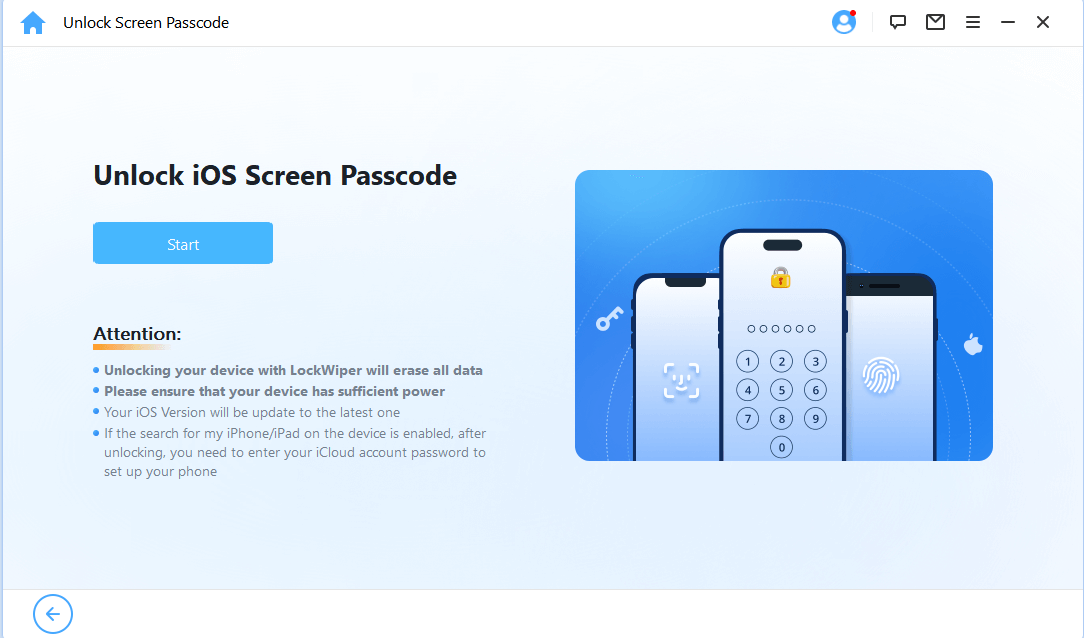
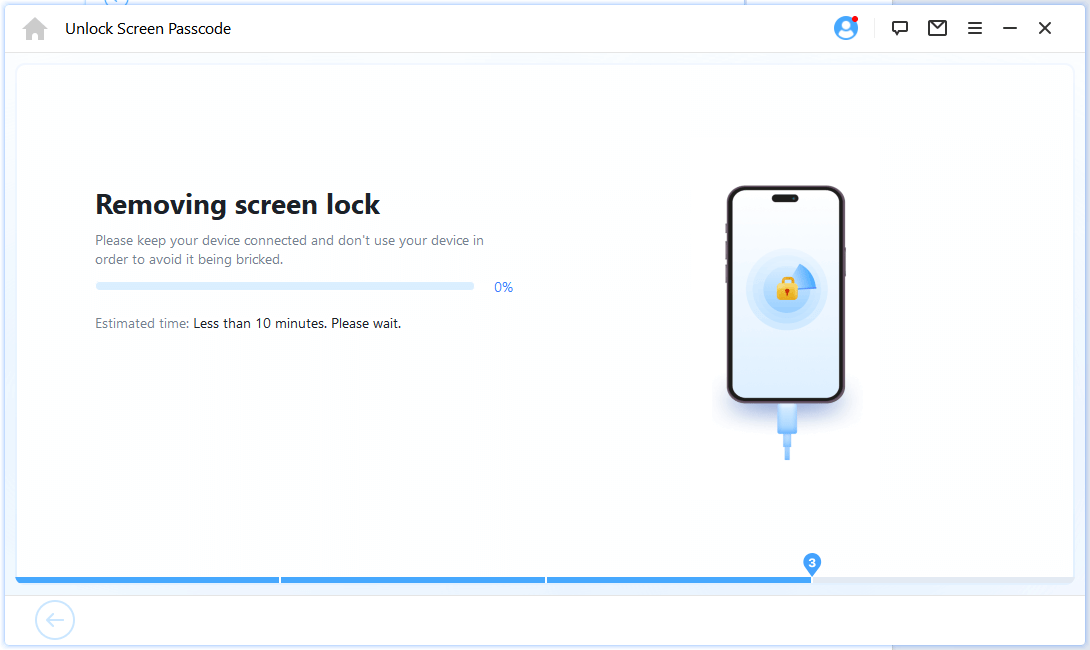
iMyFone LockWiper iPhone unlocker enables you to easily bypass iPhone screen passcodes in different situations, whether you've forgotten the passcode or you got your device secondhand and never knew it to begin with. Also, it's fully compatible with all types of lock screens.
-
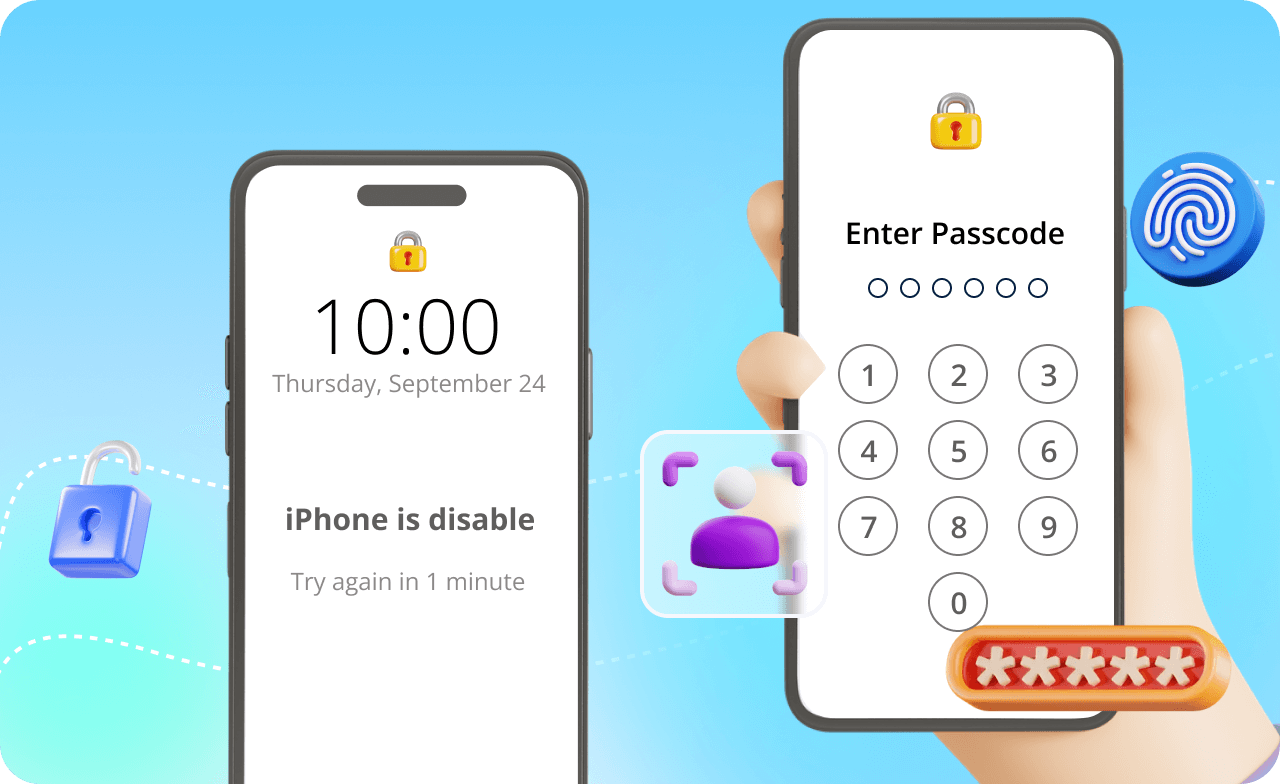
Forgot Passcode on iPhone
-
iPhone is Disabled
-
Several Incorrect Attempts
-
Face ID not Recognized
-
Second-hand iPhone
-
Touch ID not Working
Watch The Video
Watch The Video
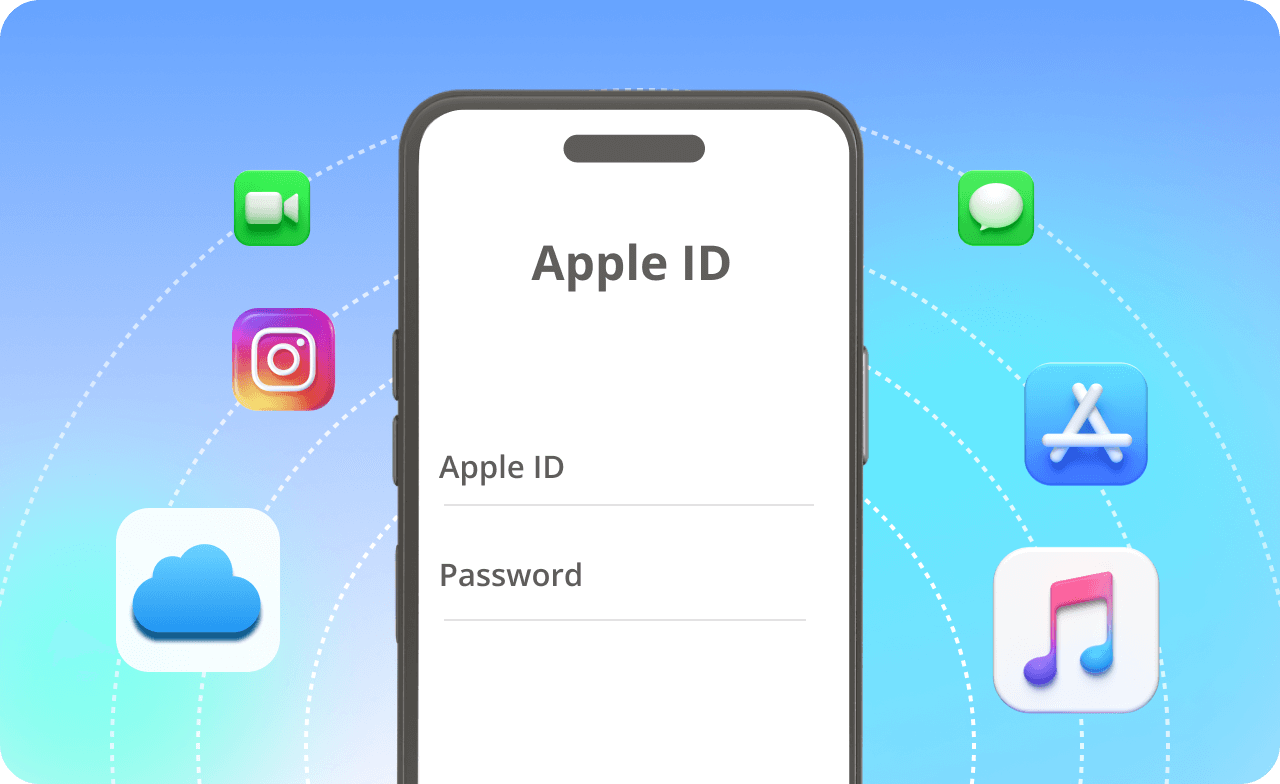
Unlock Apple ID without Password
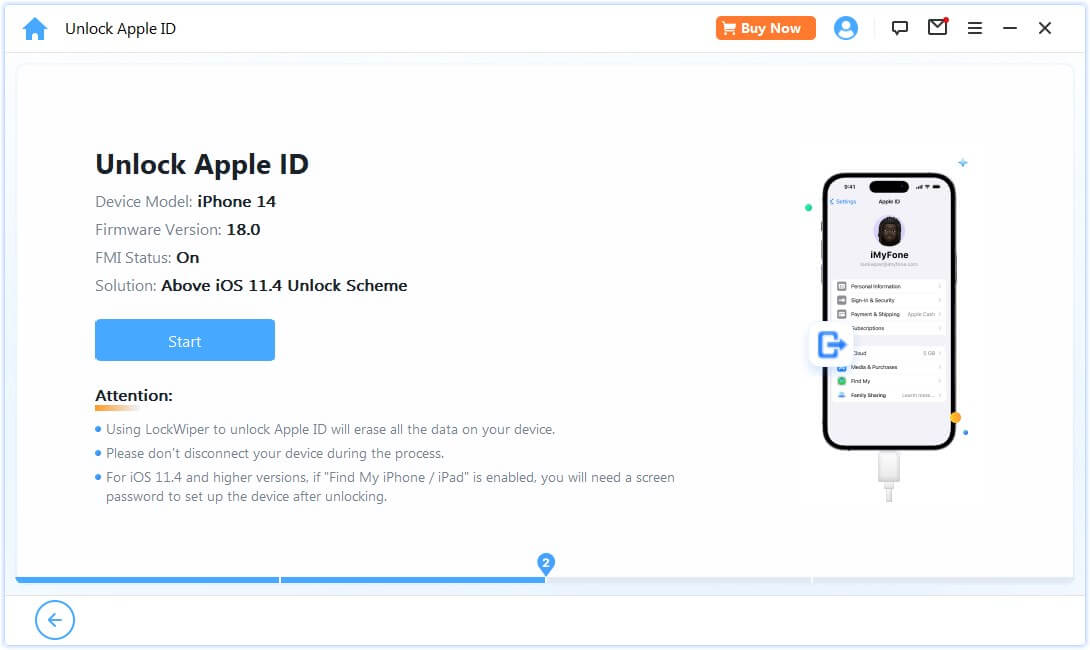
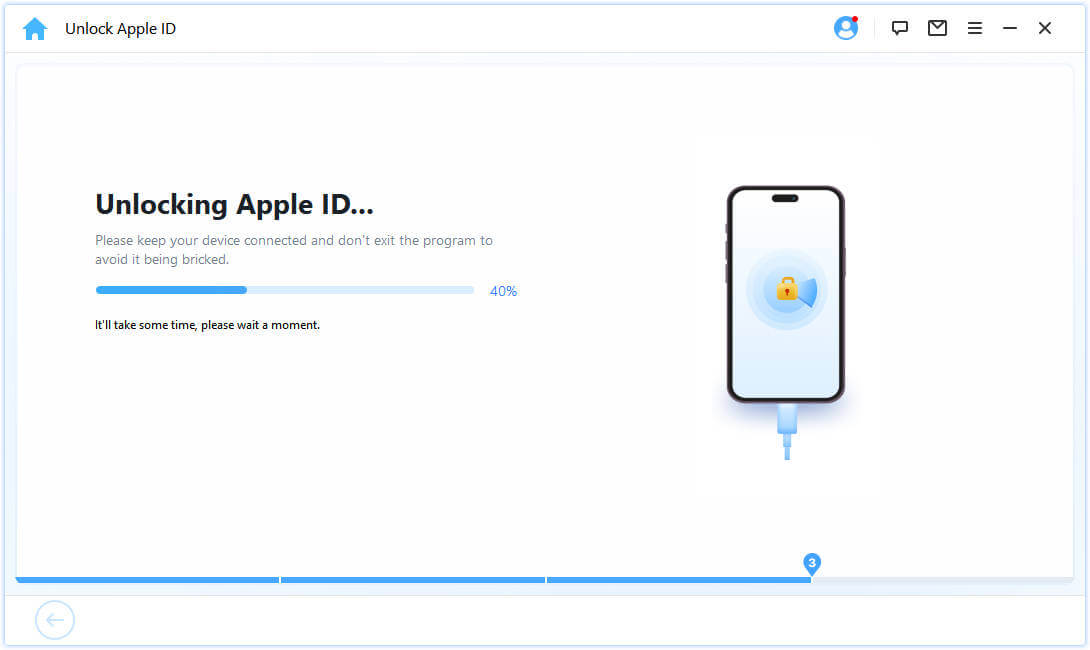
Is your Apple ID locked or disabled? LockWiper iOS unlocker helps you remove Apple ID within a few minutes. Then, you can regain all iCloud services and Apple ID features by logging into a new account.
-
After you remove the Apple ID, you can:
-
Change to a different Apple ID or create a new one.
-
Enjoy all iCloud services and Apple ID features.
-
Turn off Find My iPhone/iPad easily.
-
Stop being tracked by the previous Apple ID.
- 1. LockWiper only supports the unlocking of activated devices.
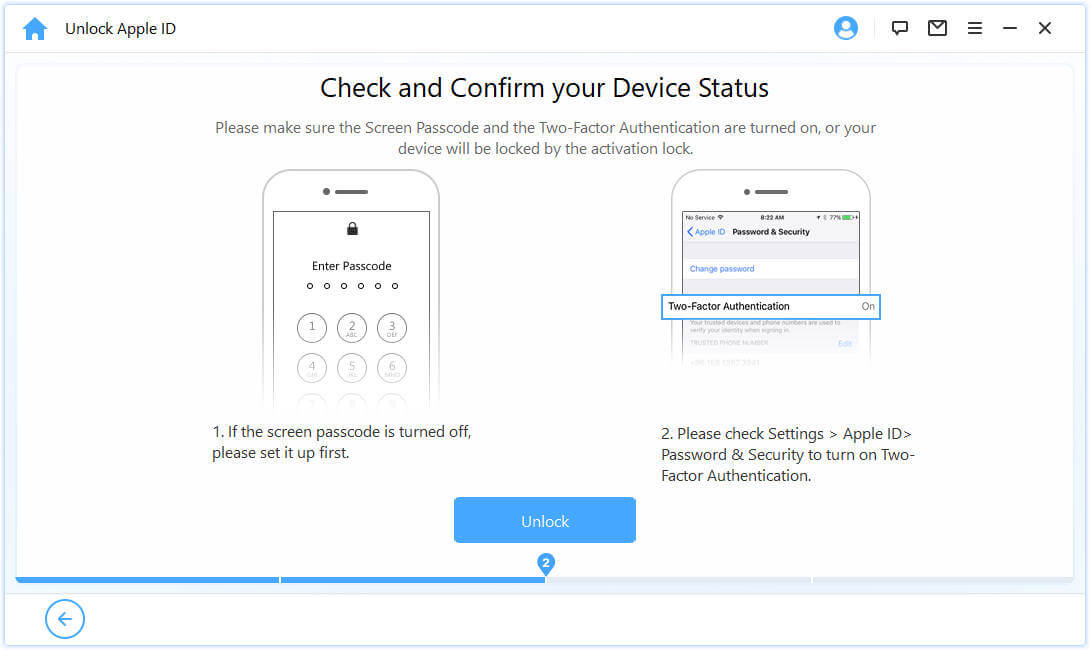
- 2. If your device is running iOS 11.4 or later versions, to unlock Apple ID, the Two-Factor Authentication & screen passcode should be enabled.
- 3. If your device is running from iOS 10.2 to 11.4 with Find My [Device] enabled, you can unlock the Apple ID without data loss.
Attention:
Bypass MDM Activation Screen & Remove MDM Profile
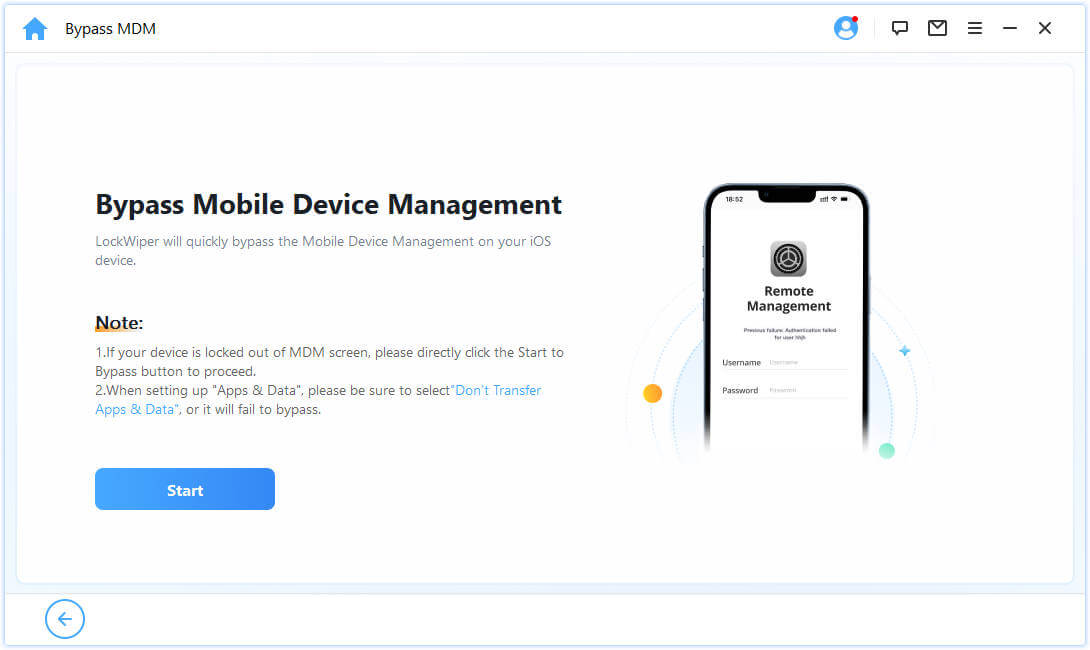
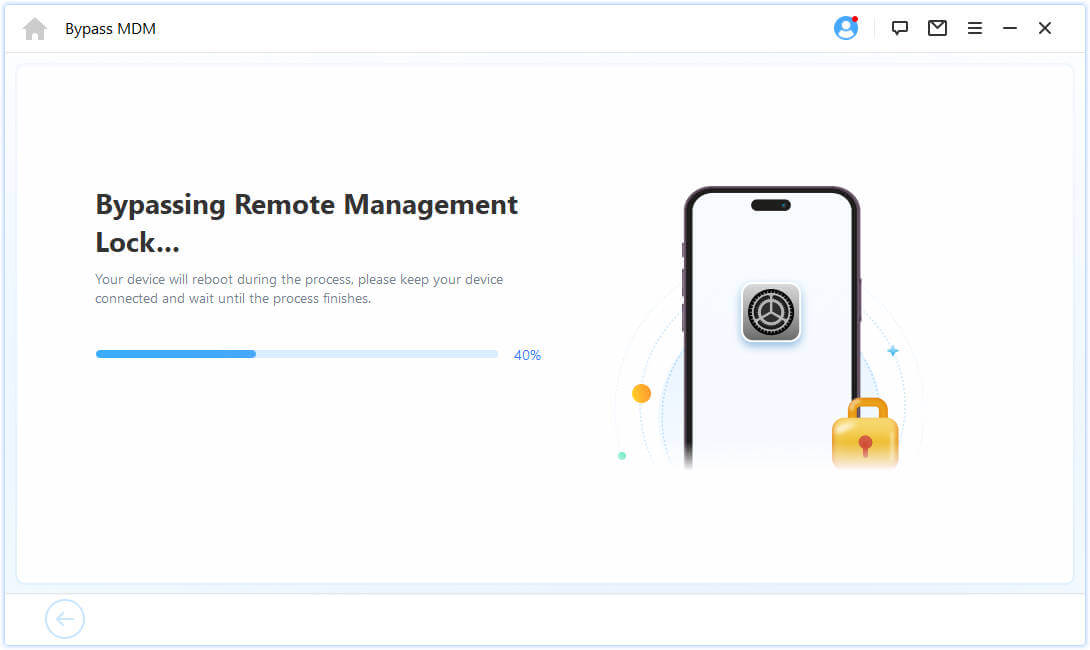
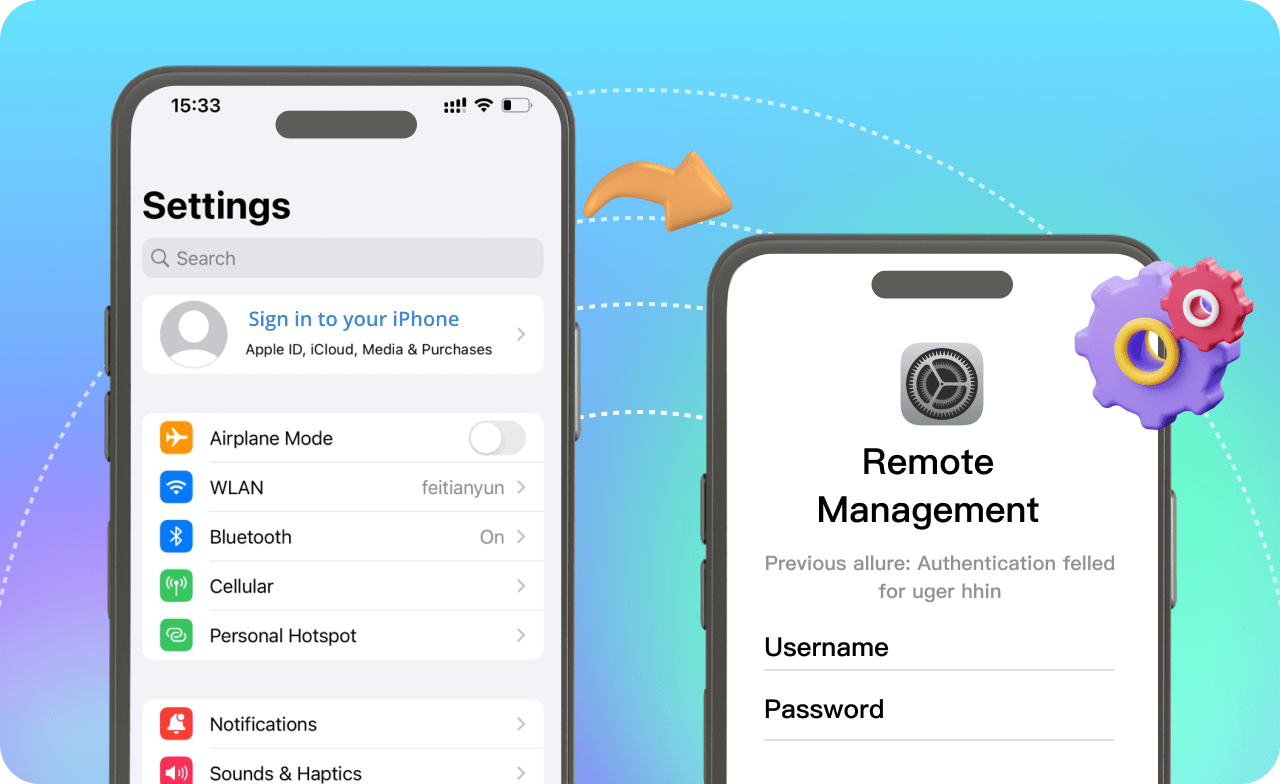
MDM is restricting you to use all those powerful functions on iPhone? Or simply being locked at the Remote Management screen? Don’t worry! iMyFone LockWiper iPhone unlocker is designed to remove MDM from iPhone/iPad without hassle.
-
Bypass MDM without a username and password.
-
All device features will be unlocked.
-
Remove the MDM profile from any iPhone in one click!
-
All iOS versions are supported, including iOS 18.
Watch The Video
Watch The Video
Forgot Restrictions/ Screen Time Passcode? It’s OK!
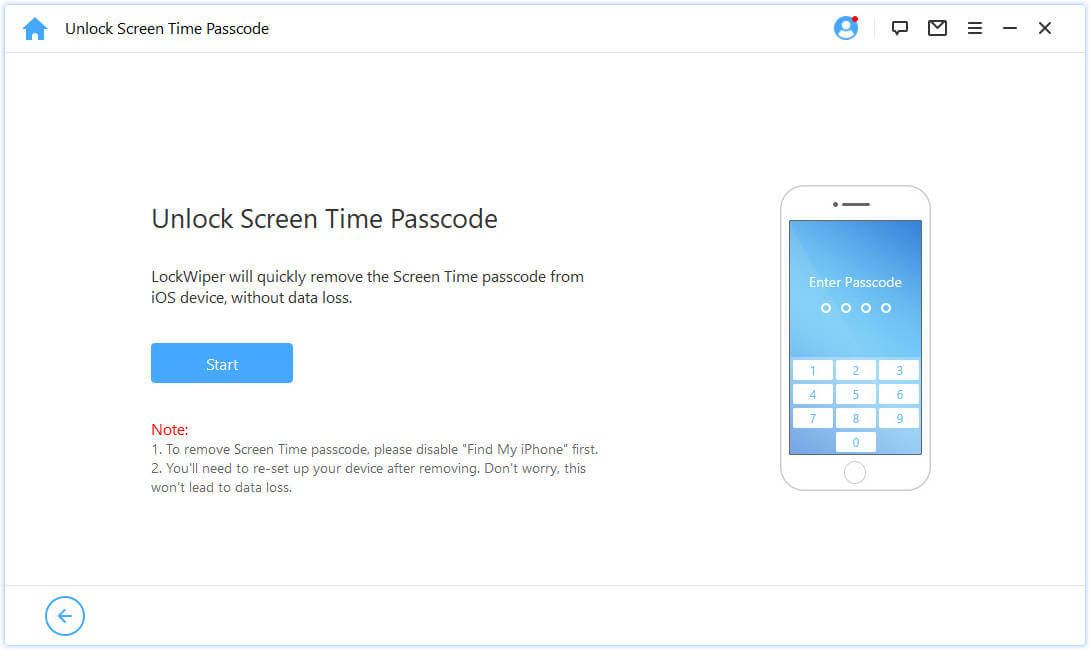
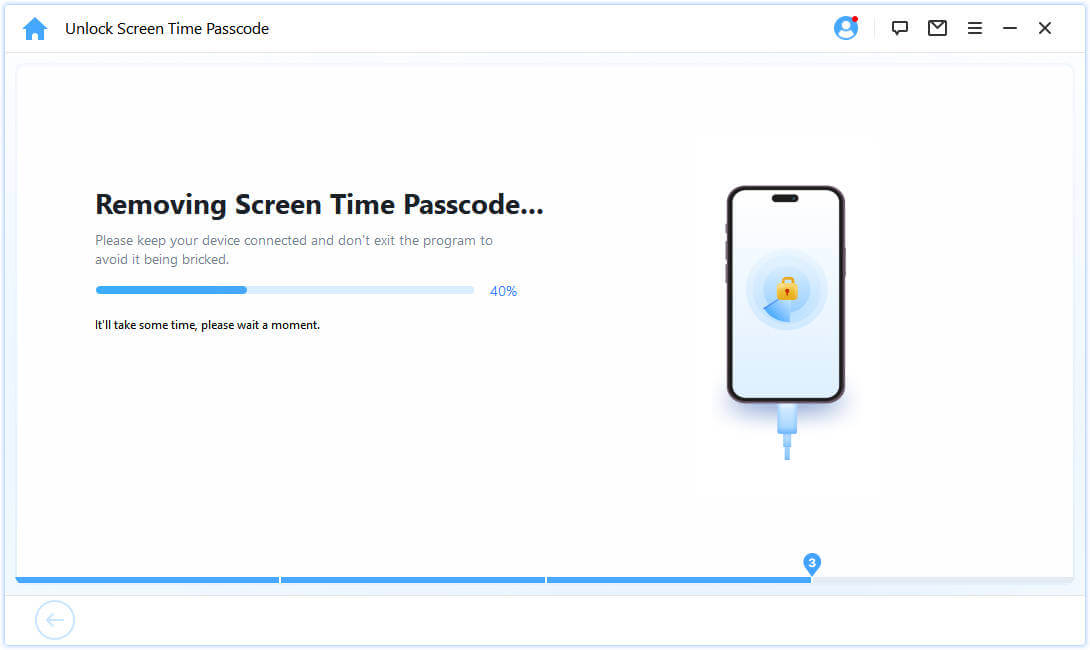
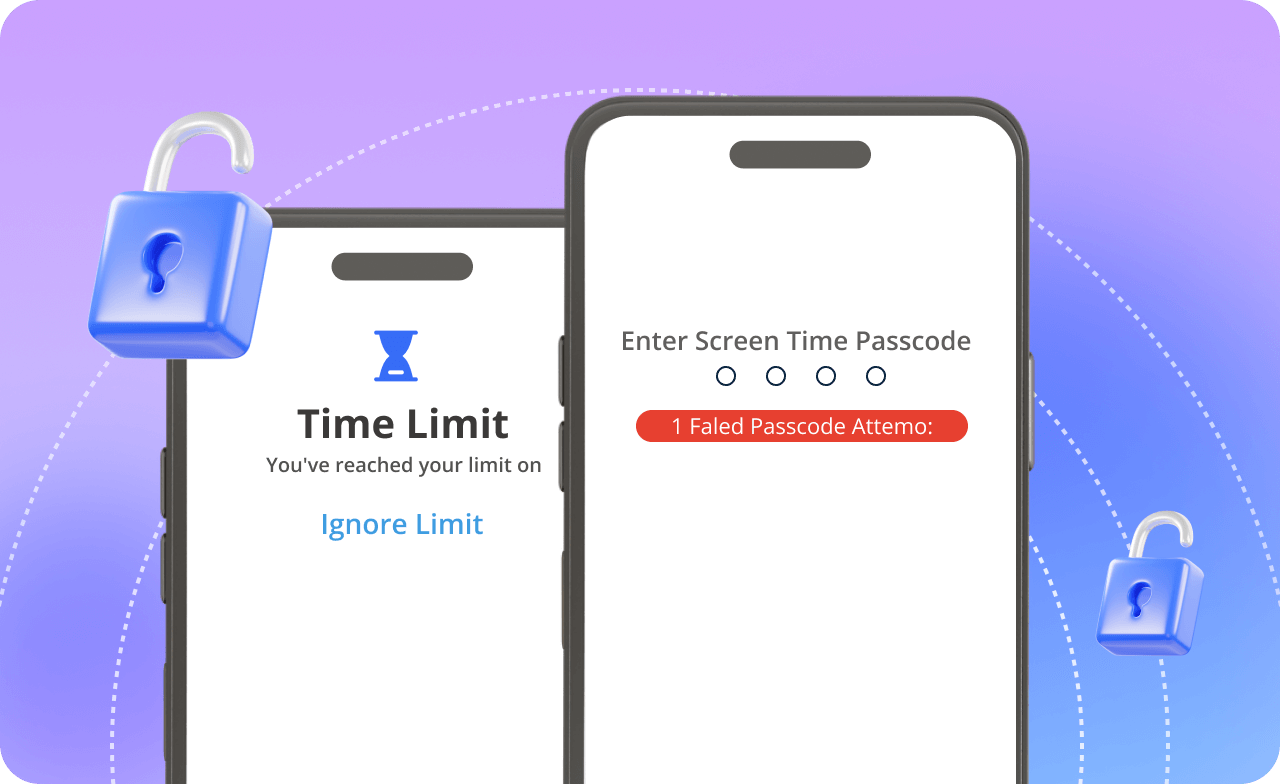
Set a Screen Time passcode but unfortunately forgot it? Don't want to erase your device to reset the passcode? Whether it is set directly on device or through Family Sharing, iMyFone LockWiper iPhone unlock software can help you recover Screen Time passcode without losing data.
-
Remove/disable Screen Time passcode within seconds.
-
Fast and 100% successful.
-
No data loss at all!
Why Using LockWiper Over Other Solutions?
- Unlock iOS screen
- Apple ID
- Bypass MDM
- Unlock screen time lock
- Status of "Locate"
- Apple ID and password required
- Requires an iPhone already backed up in iTunes
- Requires a stable internet connection on iPhone
- Complex and long-lasting
- Success rate
- High risk of system tracking issues
- LockWiper
- Never mind
- NO
- NO
- NO
- Only 3 steps
- High
- NO
-
iTunes
- "Locate" is disabled
- NO
- YES
- NO
- YES
- Average
- YES
-
iCloud
- "Locate" is disabled
- YES
- NO
- YES
- YES
- Average
- YES
Steps to Unlock iOS devices in Minutes
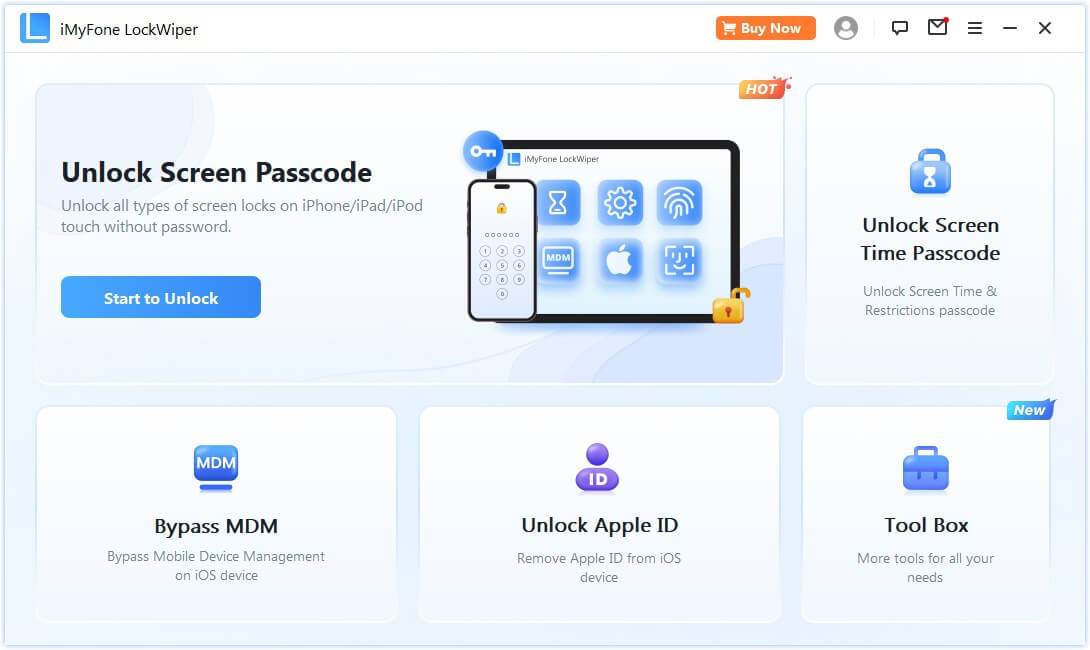
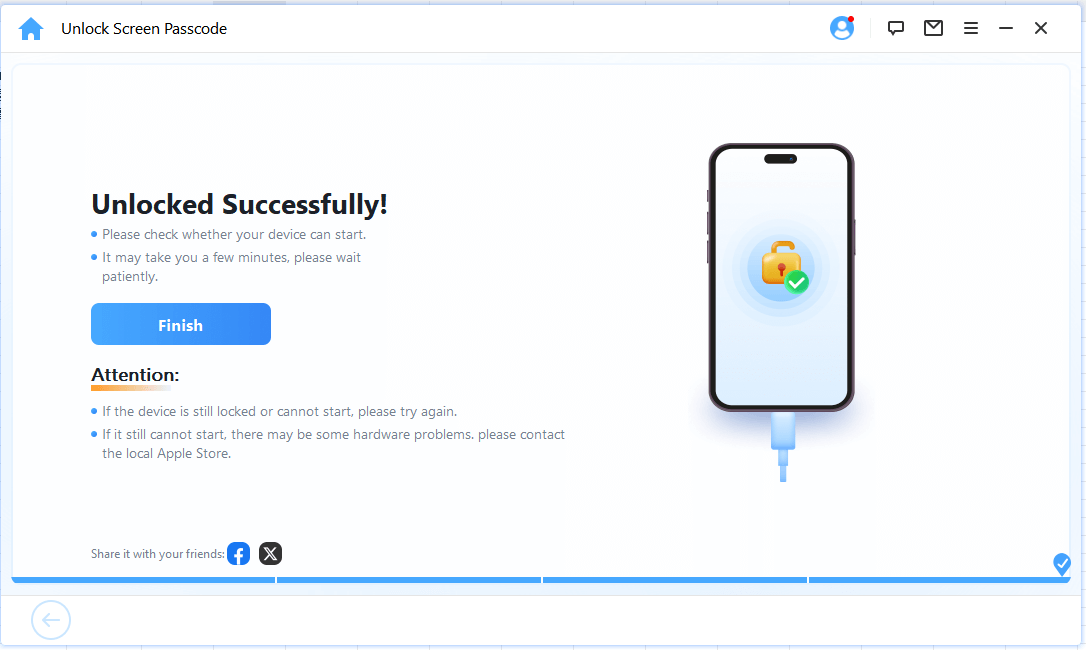
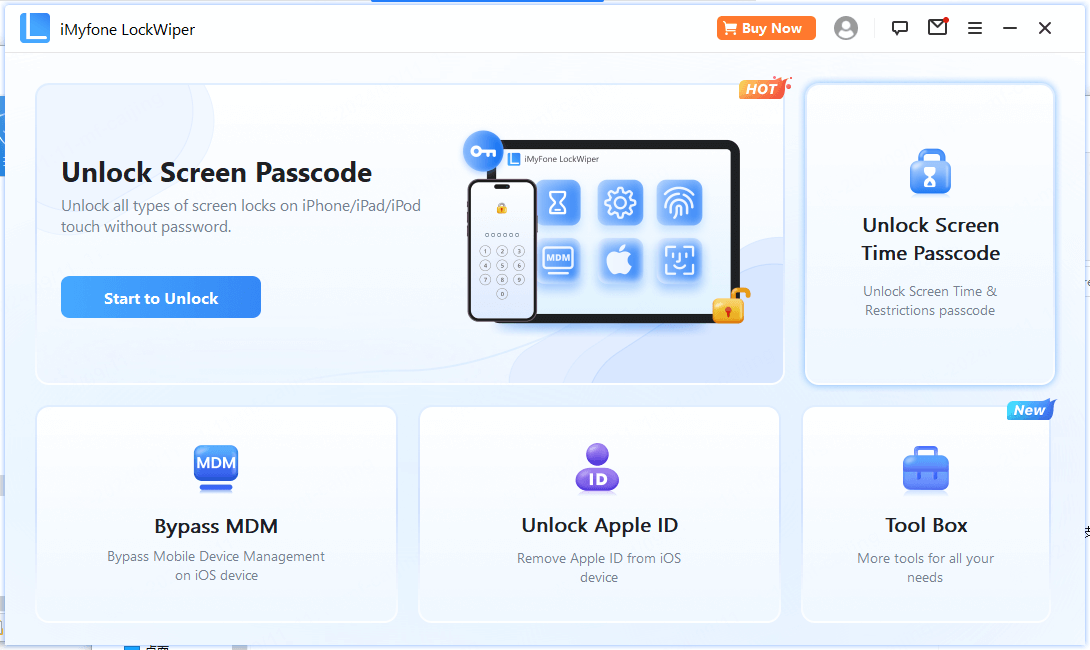
LockWiper instantly unlock your iPhone screen or Apple ID etc. and helps you to regain full access to your iOS devices.
- Unlock Apple ID
- Unlock screen passcode
- Unlok screen time passcode
- Bypass MDM
LockWiper
Unlock various iPhone screen locks, Apple ID, screen time passcode and bypass MDM
-
48.6M+
Downloads
-
46.17M+
Satisfied customers
-
8 Years+
history
-
99% High
success rate
-
100%
Security
-
90+
Contries use
Frequently Asked Questions
How do I know if it works on my iPhone?
You can download the free trial first to see if it supports your device. If not, the program will tell you before you take any further action.
Can I unlock my iPhone screen lock without losing data?
No. No software can unlock iPhone passcode without losing data by far on the market. But you can restore backup file to iPhone if your have made backup in iTunes or iCloud.
How many times can I try to enter screen passcode on iPhone?
6 Wrong Attempts. The iPhone will be disabled for 1 minute. 7 Wrong Attempts. The iPhone will be disabled for 5 minutes. 8 Wrong Attempts. The iPhone will be disabled for 15 minutes. 9 Wrong Attempts. The iPhone will be disabled for 60 minutes. 10 Wrong Attempts. The iPhone will be disabled and need to connected to iTunes.
Can it unlock iCloud Activation lock?
No, LockWiper can only unlock activated device and does not support to unlock iCloud activation lock now.
What's the different between MDM remote management lock and iCloud activation lock?
MDM remote management lock appears when your iPhone is reset under the supervision. iCloud activation lock is a protection after reset with Find My iPhone turned on.
What's the difference between free trial version and paidversion?
You can check if your device is supported or not in a free trial. As for the paid version, you can enjoy the full features of the program.
iPhone Unlock Topics
-
Apple ID is not active
-
Unlock iPhone screen lock
-
Factory Reset iPhone or iPad
-
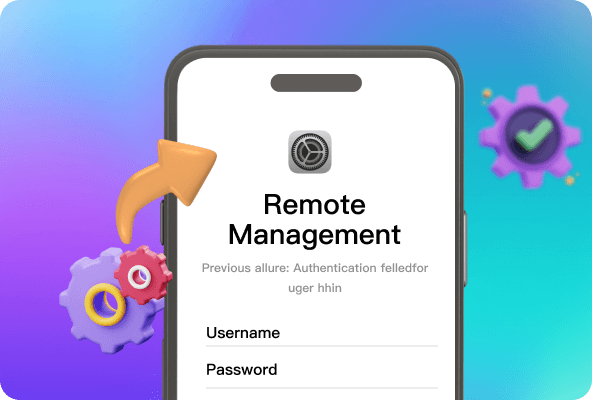
Bypass MDM
What devices does LockWiper support?
-
Windows
Windows 11/10/8/7
-
Mac OS
Mac OS X 10.9 - Mac OS X 15.0
-
iOS
iOS 9 ~ iOS 18
Operating System Supported
-
iphone
iPhone 5, 5s, 6, 6s, 6 Plus, 6s Plus, 7, 7 Plus, 8, 8 Plus, X, XS, XS Max, XR, 11, 11 Pro, SE, 12 series, 13 series, 14 series, 15 series, 16 series
-
iPad
All models of iPad Air, iPad mini, iPad Pro and iPad
-
iPod
iPod 1 ~ iPod 7


