Whenever we talk about presentations, PowerPoint comes to our minds. It is the best tool that people can use to create slides and presentations. It is because it has diverse usage, and it is very effective. In this article, we will discuss how we can compare and contrast PowerPoint slides. Moreover, we will also discuss if there are any tools to do so.
Part 1. How to Compare and Contrast PowerPoint Slide
There are different ways to compare and contrast PowerPoint slides. The user can use different shapes and show creative skills to compare two or more different points.
In this part of the article, you can learn how to compare and contrast PowerPoint slides most easily.
Step 1: Open PowerPoint on your computer. Add a slide and go to "Auto Shapes". To create from scratch, take the oval tool.
Step 2: Hold down the 'Shift' key and draw an oval on your slide. Then take a circle hollow from the auto shapes and create a hollow circle just outside the oval. Use the 'yellow' marker to adjust the width of the hollow circle.
Step 3: Select both the shapes and go to "Arrange", and click on "Align". Choose the option of "Align Center" and then "Align middle".
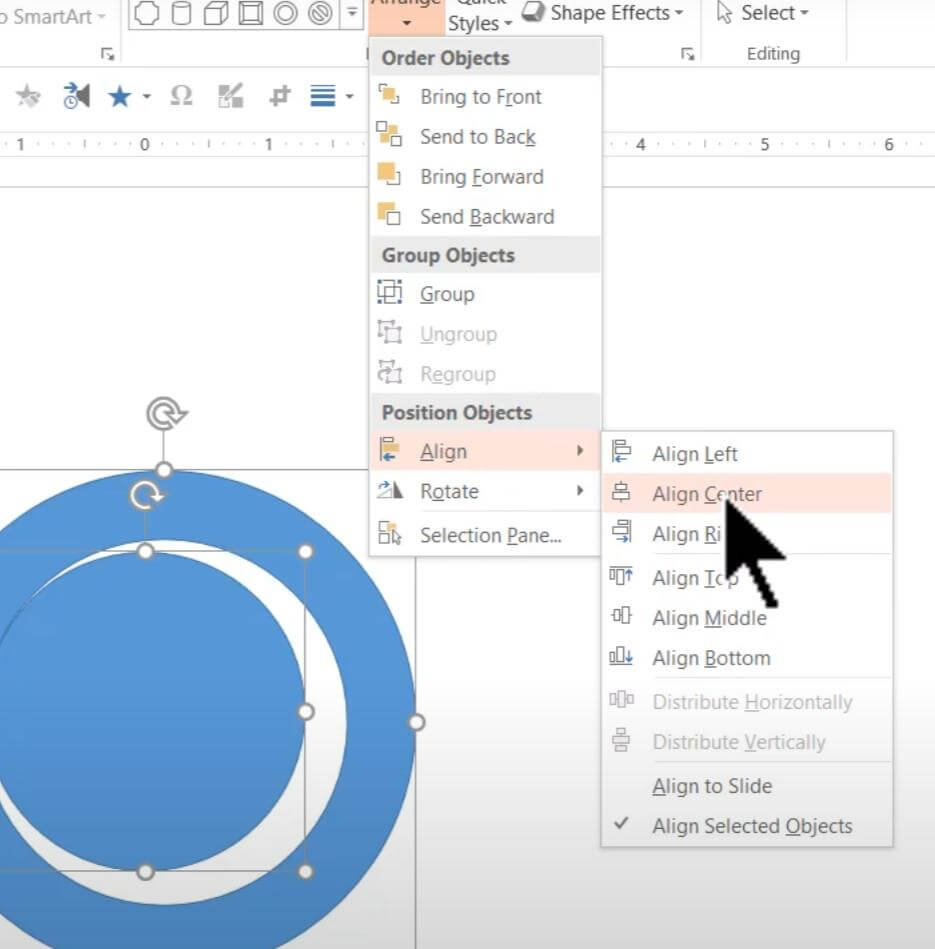
Step 4: To break the circle into exact half, take the rectangle shape from the auto shape. To determine the exact center point, take the line and draw it in the middle of the circle. Choose it and align the center. You will see the line in the exact center of the circle. Now, take the rectangle shape and align it with the straight line across the circle.
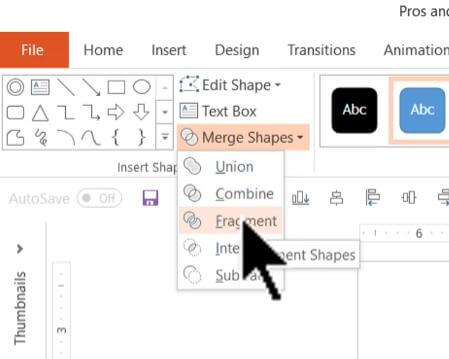
Step 5: Choose all the shapes, and go to "Format > Merge Shapes > Fragment". Delete the rectangle and give different colors to hollow circle rims and another circle.
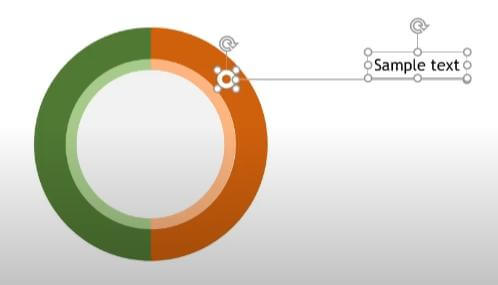
Step 6: Take another hollow shape and draw it inside the outer rim of the big hollow circle. Take a line tool and draw a straight line from this little hollow circle. Choose the text box and write anything on it. Select the line and hollow circle, press "Ctrl + G" and paste it just below and on the other side as well.
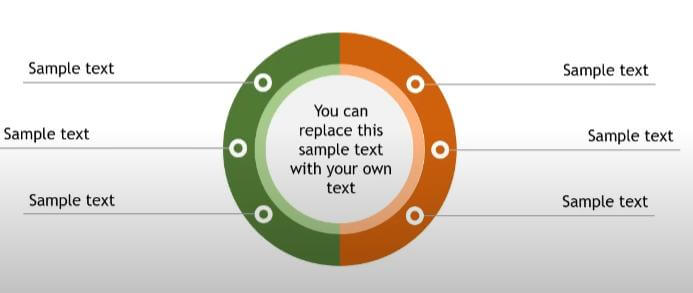
Step 7: Now, the user can see a very effective comparison slide that looks very engaging and competitive.
Part 2. Best Way to Compare and Contrast PowerPoint Slide Presentation Files for Differences
We all know that PowerPoint is not an easy tool. It requires expertise and experience to create a compare and comparison slide. It takes time to add creative effects.
If the user doesn't have any skills in PowerPoint, then there are third-party tools that can create the whole presentation for you. They are not free and will charge you a certain amount depending on your requirement for the presentation.
Beautiful.ai is a great tool that can help the user to create a presentation with ready-made slides. It is an online presentation maker, which is better than PowerPoint in the sense that it offers slide design.
If the user doesn't have any design experience, then this tool is perfect. It auto-formats the presentation and helps the user to choose the best designs. It saves time and creates a beautiful presentation.
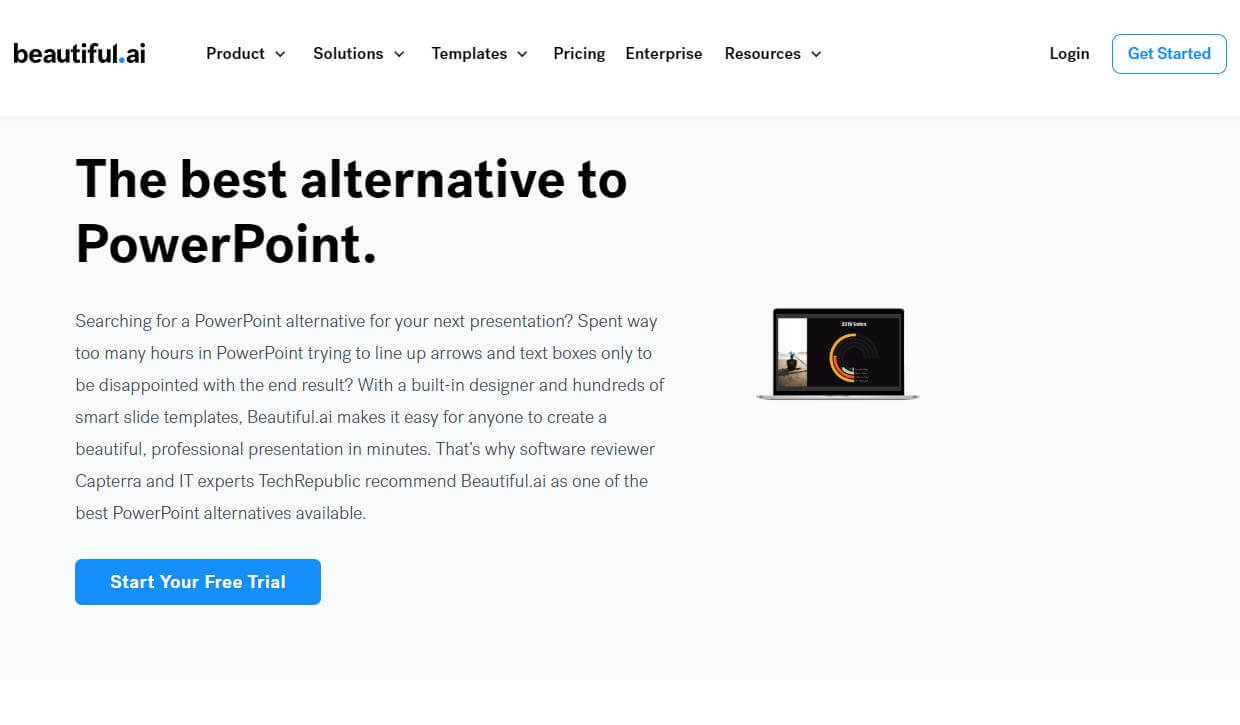
Step 1: Go to the beautiful.ai website and click on "Get started". The user can start a free trial as it offers one. The user can start with smart slide templates.
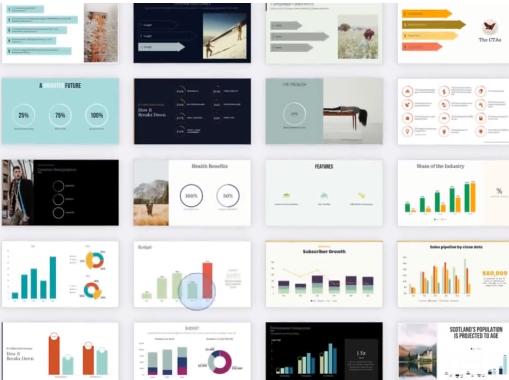
Step 2: In the next step, the user can add different notes, data, and any other requirements. The tool will then turn it into slides.
Step 3: The user can then add editing effects to the slides. Resize the image, number, and font size and take control of your presentation slide.
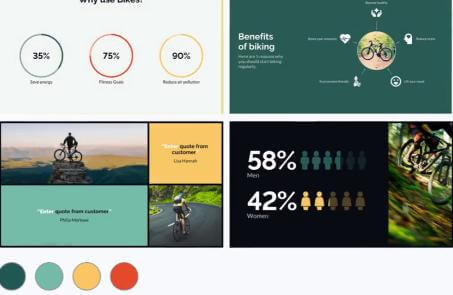
Step 4: If you want to add your brand colors and logos, then there are millions of stock images and videos that can help the user to enhance the slide.

Step 5: Now that you are done, you can create a sharing link and share it with your employers or customers.
Part 3. FAQs
3.1. How Do You Show Similarities and Differences in PowerPoint?
There are different ways in which the user can show similarities and differences in PowerPoint. The user needs to know the design and have the experience to do so. We have explained a manual method that a user can follow and create a comparison slide. But if the user wants to save time, then the user can go for third-party tools that create slides according to the needs and requirements. It has a much better design because there are templates.
3.2. How Can I Compare Two PowerPoint Presentations?
There is an option in PowerPoint through which the user can compare two PowerPoint presentations. Open PowerPoint and click on the "Review" tab. Click on "Compare" and then select the presentations that you want to compare. Then click on "Merge". It will merge the presentation with the one you selected and display it in preview mode. The user can see two different sections that are "Slide Changes" and "Presentation Changes".
3.3. How does PowerPoint Compare Work?
PowerPoint compare works effectively. When presentations are merged, the user can see a list of all changes made to the current slide. And a list of all the changes that were made to the presentation as a whole. After reviewing the comparison, the user can accept or reject the revisions.
Conclusion
In this article, we have explained in detail how a user can create a comparison slide with auto shapes and a simple technique. If the user doesn't have enough time to create a slide, then he can go for third-party tools like beautiful.ai that work seamlessly. It has templates and designs that users can choose.


 September 7, 2022