“Touch ID requires passcode when iPhone restarts” is a common notification for the person who uses a Touch ID-enabled iPhone, and this notification comes up every time when iPhone restarts. Moreover, the major reason for this issue is not explained on the iPhone lock screen where this notification appears. However, we were able to come up with some of the reasons why passcode is required to enable Touch ID when iPhone is restarted.
Why Does Touch ID Require a Passcode When iPhone Restarts?
Have you noticed that the issue that touch ID requires passcode when iPhone restarts or at some other intervals? In summary, the rules governing when a passcode is required instead of a fingerprint are as follows:
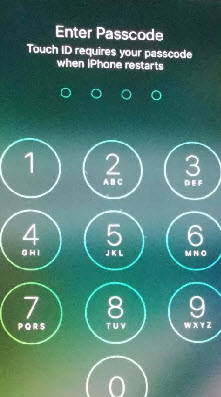
- You just powered up or rebooted your iPhone.
- In the past six days, you have not unlocked your iOS device using a passcode.
- The Touch ID has not been used to unlock your device in the last eight hours.
- Your iOS device has not been unlocked in the past 48 hours.
- The last three consecutive attempts to unlock your device failed.
- You just added a fingerprint to your Touch ID settings.
- Your device may have received a remote lock command from iCloud.
You can refer to the article “iCloud: Use Lost Mode” to better understand the last point above.
What If Touch ID Requires Passcode When iPhone Restarts?
Tip 1. Update Your iOS Device
There are many solutions to fix Touch ID not working on iPhone or iPad, but you have to first update your iOS device by going to “Settings > General > Software Update”.
Tip 2. Disable and Enable Touch ID
If Touch ID still requires passcode occasionally when you did not reboot your device, then disable and enable Touch ID by following these steps:
Step 1. Launch the Settings app on your iOS device, and go to Touch ID & Passcode. If asked to enter your passcode, enter your passcode and turn off iPhone Unlock, Apple Pay, and iTunes & App Store.
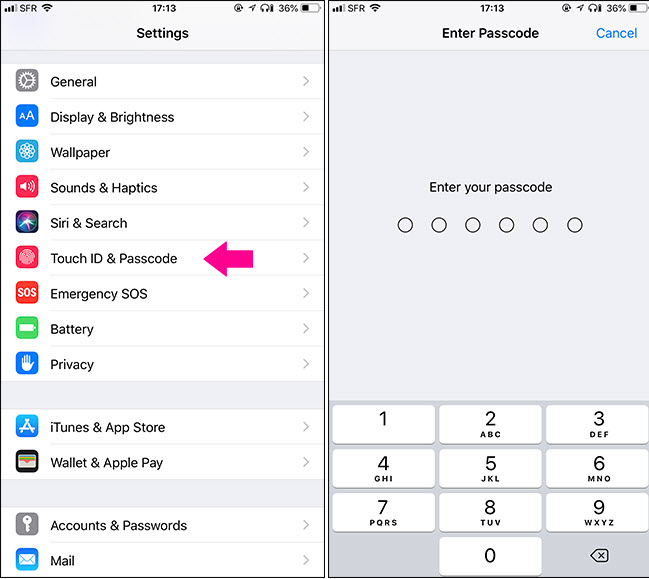
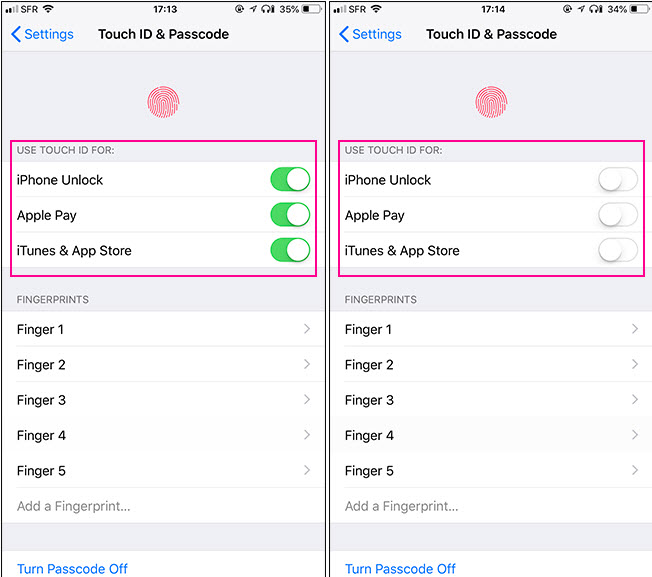
Step 2. Now, go back to Settings > Touch ID & Passcode. If asked to enter your passcode, enter your passcode and turn on iPhone Unlock, Apple Pay, and iTunes & App Store.
Tip 3. Delete and Re-add Your Fingerprints
If after applying the second tip above, the issue is not resolved yet, then you can try removing your fingerprints from the Touch ID settings and re-adding them again.
Step 1. Go to Settings > Touch ID & Passcode.
Step 2. If asked for your passcode, enter it. You’ll see your registered fingerprints.
Step 3. Tap each fingerprint and select “Delete Fingerprint” to remove it.
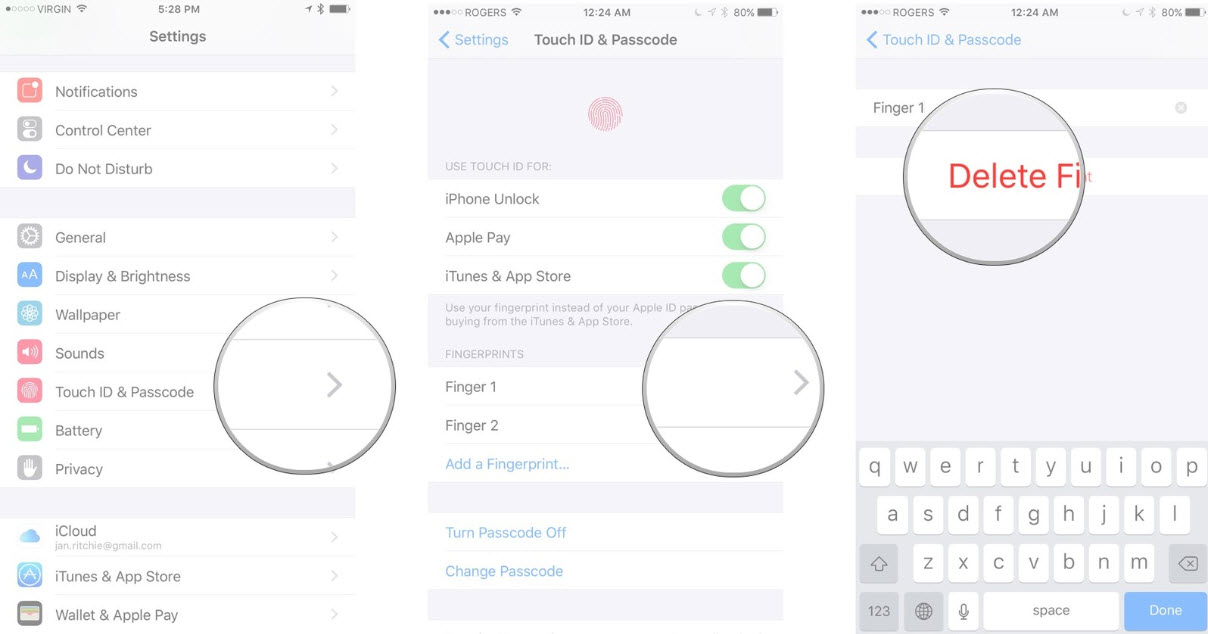
Step 4. Restart your iPhone, and repeat step 1 & 2 above.
Step 5. Click “Add Fingerprint” and follow the onscreen prompts to register your fingerprint.
What If You Forgot the iPhone Screen Passcode?
All the solutions to resetting the Touch ID or removing and re-adding fingerprints to Touch ID settings would always require iOS device screen lock passcode. Now, what happens if you’ve forgotten the passcode to your device, or bought a locked iPhone from Amazon or eBay? The handy solution is to use a third-party app for unlocking iPhone Locks called iMyFone LockWiper iPhone passcode unlocker.
LockWiper is a tool that was designed by iMyFone Inc. to unlock Apple ID password, iCloud account lock, iPhone/iPad lock screen, and iPhone/iPad restriction locks. It can also help you to bypass Touch IDin a few clicks, and ensure that such issues never come up again.
Key Features of iMyFone LockWiper:
- Removes screen passcode for locked, disabled or broken screen.
- Unlocks 4-digit passcodes, 6-digit passcodes.
- Remove Apple ID for iPhone, iPad and iPod touch devoid of password.
- Bypass Screen Time passcode or restriction passcode without losing any data.
- Compatible with the latest versions of iOS up to iOS 17/18, and the latest iPhone models (iPhone 15/16).
How to Remove iPhone Passcode Using LockWiper?
Step 1. Download, install and launch LockWiper on your PC or Mac.
Step 2. Select the “Unlock Screen Passcode” mode from the Home interface and click the “Start” tab to begin the process of removing screen passcode.
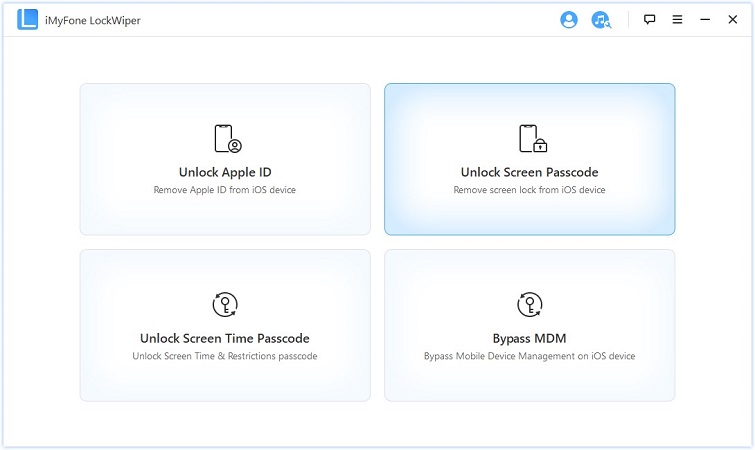
Step 3. Connect your iOS device to your computer via USB cable, then click the “Next” tab.
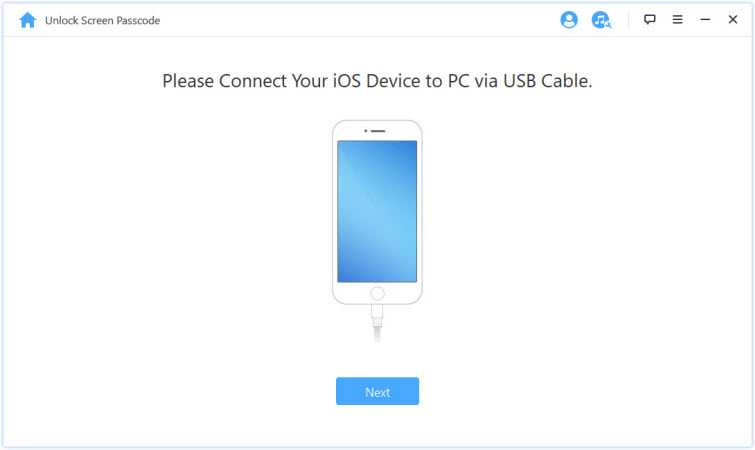
Step 4. Download and run the firmware package.
Select the right firmware package for your device, and click the “download” tab to get it on your device.
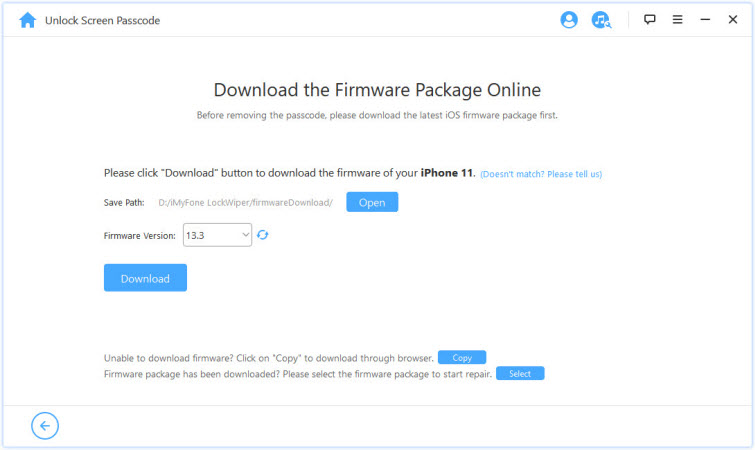
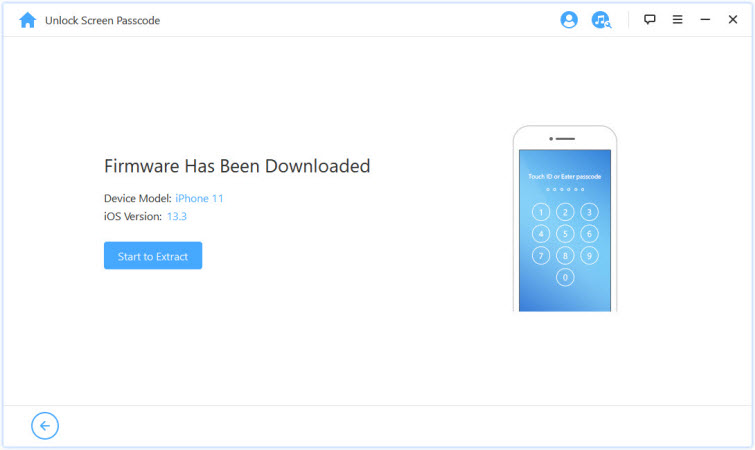
After the download, click “Verify” to verify the firmware package.
Click “Start to Extract” and wait for it to complete.
Step 5. Click ‘Start Unlock” tab, then the software will begin to unlock your device. Ensure you read the notice carefully before you enter “000000” and click “Unlock”.
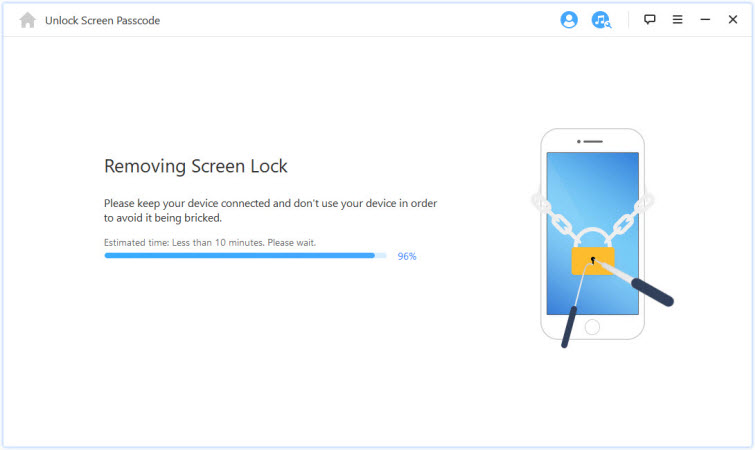
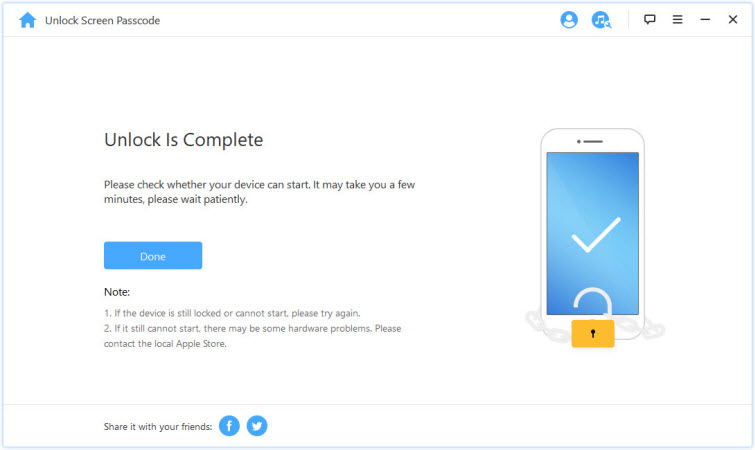
In a few minutes, your iPhone/iPad/iPod touch is unlocked successfully. You can access it without passcode and set up from the start.


 April 1, 2025

