Smartphone manufacturers always innovate new security measures from time to time, and factory reset protection (FRP) was the latest, ultimate security feature from Android in 2014. If you are not sure what FRP is, don’t bother about it; we will break it down in this article.
Although this post is really about how to enable factory reset protection, we won’t dwell on it but paint for you a holistic image of what it is and how to enable, disable, and bypass it if need be, as well as recommend the tools we use for these operations.
Part 1: What is Factory Reset Protection and How Does It Work?
Just as the name says, factory reset protection is a security feature of Android devices that protects your phone or tab from an authorized party that attempts to reset the device. Although this feature can backfire and you might need to bypass FRP if this happens (will be explained later).

How Does FRP Work?
How FRP works is simple. If you have factory reset protection enabled on your device, you won’t know, because it does not indicate this anywhere on your phone or tab. However, when it comes into action entirely is when you attempt to perform a factory reset on the device. On booting, you will meet a screen requesting for your Google account login. This Google account is one that has been linked to the device by the owner. If you do not have the Google credentials, factory reset protection will not allow you access into the mobile phone.
Part 2: How to Enable Factory Reset Protection?
Activating factory reset protection on your device, although not completely secure, is essential for protecting your data as well as your device from thieves and hackers. Follow the steps below to enable factory reset protection on your smartphone and tablet:
Step 1: If your device is new or it’s your first time using the phone, sign in with your Google account. If you do not have one, you can create an account and sign in with it.
Step 2: Set a screen lock on your device. Use a password or pattern. Do not use the swipe unlock or none at all. If you forget your screen lock password or pattern, you can reset it or recover the lock via your Google account.
After setting up these, factory reset protection will be configured automatically. If someone attempts to wipe your device, it will prompt them to input your Google email and password.
Part 3: How to Disable Factory Reset Protection?
Factory reset protection is a much-needed security asset. It gives you some level of peace, knowing your data and smartphone are relatively safe. You need this feature in numerous scenarios; for example, if your device gets stolen, the thief wouldn’t be able to wipe your data after even replacing the SIM card.
Why would I want to disable FRP? This question is probably on your mind right now. There are lots of times you might need to disable this feature. If you want to sell your device, to give the new owner complete access, you will need to disable FRP. Also, if you're going to perform a recovery, you must first disable FRP or remove Google accounts for your operation to run smoothly. Find the steps to disable FRP below:
If you have a screen lock, disable them.
Remove all the Google accounts you have linked to your device. Next, perform a factory reset.
If you have an OEM, remove it.
Part 4: How to Bypass FRP on Android Device?
iMyFone LockWiper (Android) software for FRP unlock is popular among not only professional phone technicians but also regular non-power users because of how easy it is to use. If you attempt a factory reset and are stuck at the FRP verification stage, you can turn to LockWiper (Android) for assistance.
Key Features of iMyFone LockWiper (Android):
Allows you to bypass FRP without entering password.
Completely wipes FRP, and the old Google account won’t be able to track the device remotely.
Capable of bypassing various Android screen locks: PIN, pattern, password, fingerprint and face lock.
Unlock Samsung device screen without losing any data.
It is compatible with more than 6000 Android devices.
How to Bypass FRP with iMyFone LockWiper (Android)?
Step 1: Launch LockWiper (Android) and select the Remove Google Lock (FRP) mode. Next, click Start and connect your Android device.
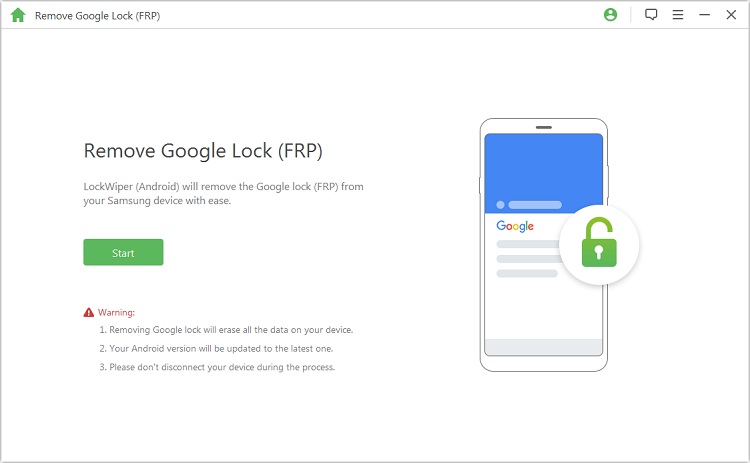
Step 2: The application will detect your device information automatically. If any generated info is incorrect, you can configure it manually. Click Next to continue.
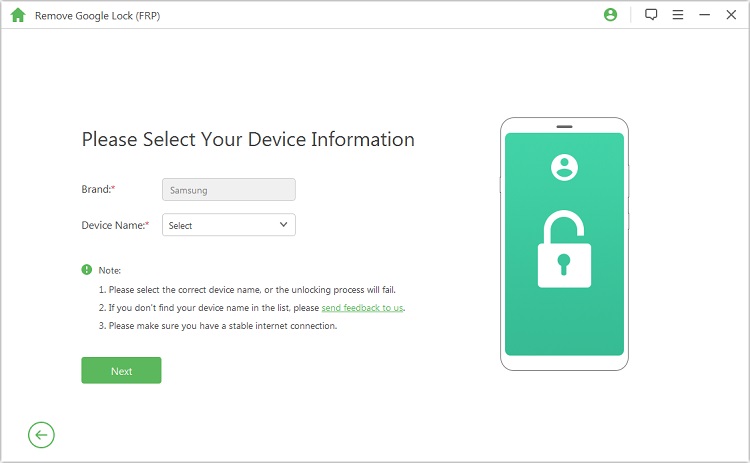
Follow the instructions that appear on your screen to put your device in recovery mode. After this, hit Next and then select your device or enter it manually and select your country and carrier. Click Download for the program to download your device’s data package.
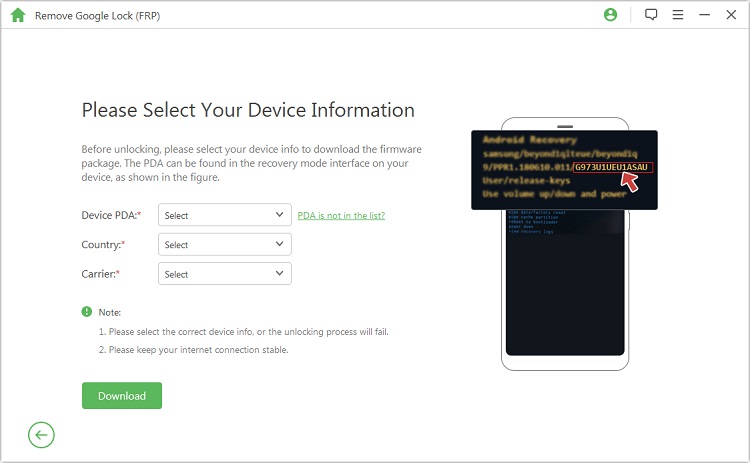
Step 3: When the download completes, click Start to Extract and put your device in downloading mode and click Start. Next, enter "000000" to begin.
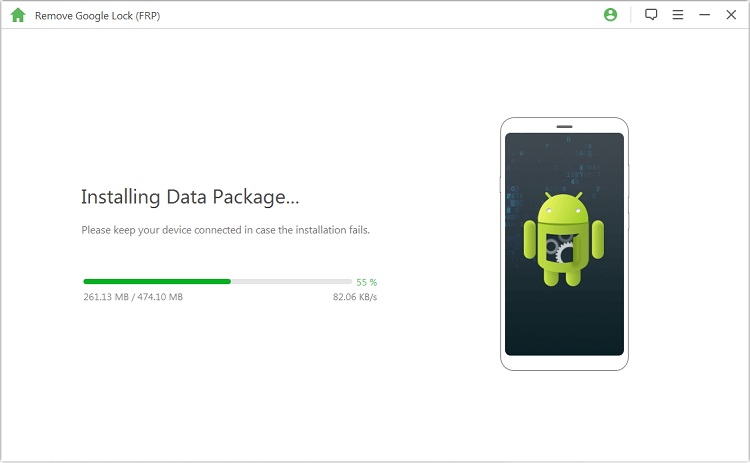
Next, enable USB debugging and OEM unlock. If you cannot do these, please follow the onscreen steps. Double-check that OEM is enabled.
.jpg)
Step 4: Reset your device following the instructions that will be presented. After this, put your device in downloading mode again to download the firmware.
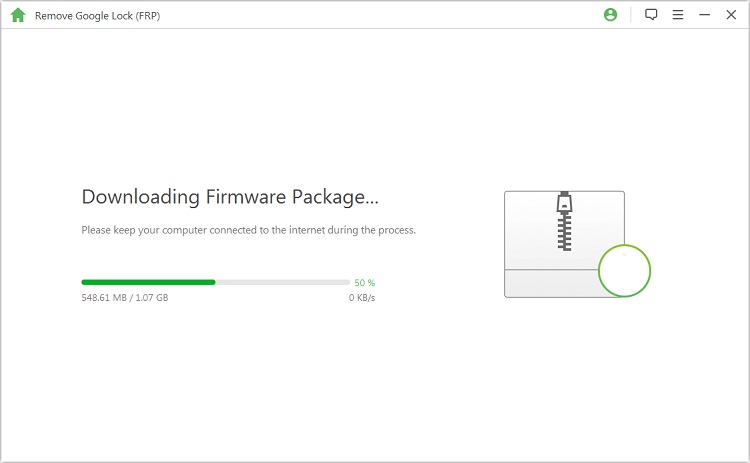
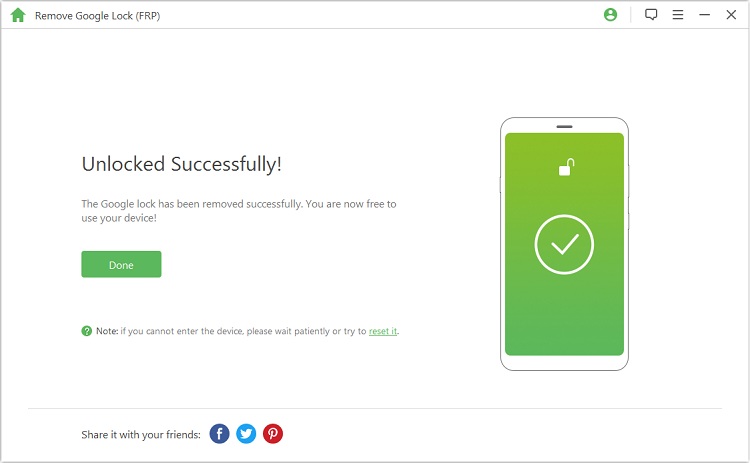
Step 5: LockWiper (Android) software for FRP unlock will begin the FRP bypass process after the extraction, and within minutes, FRP will be removed from your device.
Conclusion
As you can see, factory reset protection is a great feature. In my opinion, everyone must know how to enable factory reset protection on their mobile device, and how to disable or bypass this security feature. That’s all for now, comment under this post if anything about this guide is not clear.


 June 25, 2024

