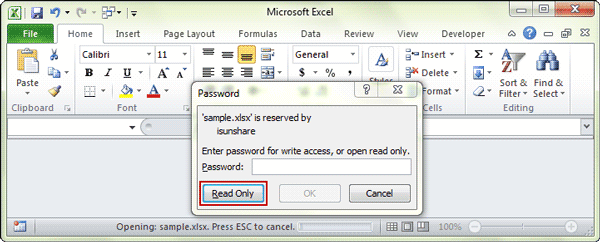
If you use Excel, you've probably seen the "Read Only" pop-up. It serves as a warning to users that the Excel file is purely for viewing purposes and shows as soon as the Excel file is launched.
And that you should avoid making any changes, additions, or deletions. Even though a file is read-only, it is still possible to edit it. By removing the read-only constraints, you can still edit it. There are numerous approaches you can take, and we'll look at each one.
This article will go over how to make Excel editable by removing the read-only restriction. We will also cover step by step procedure to remove read only on excel.
Part 1: Abstract of Excel Read Only Problems
Someone else can quickly modify and save changes to an Excel spreadsheet that you share with them. You can set it to read-only access if you simply want them to view the data—not make any changes.
This function makes sure that no one can mistakenly or purposefully affect the accuracy of your number. What if, though, you did not set the file as read-only and still receive the error notice stating you are unable to open the file? You can encounter an Excel read-only error if you attempt to open a protected document.
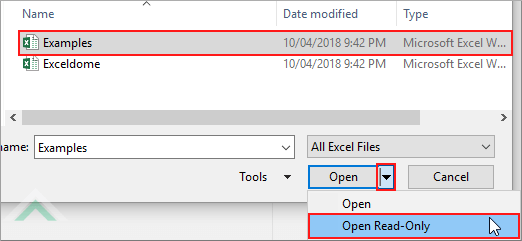
One of the causes can be that you're attempting to edit an existing file that you're trying to open. The Excel read-only error notice appears when this occurs. It might also happen if your file is damaged.
Excel read-only issues could also arise if you save the file on an external hard drive, then take it out of the case while editing the file. Whatever the cause, this article offers you ways to successfully fix Excel read-only issues.
Part 2: All about Removing Read Only from Excel
Case 1: Excel is Made Read-Only by "Mark as Final."
You can designate a sheet as Final in Microsoft Excel to prevent further editing by other users. The sheet cannot be changed in any way after it has been Marked as Final. For these worksheets, all activities are disabled.
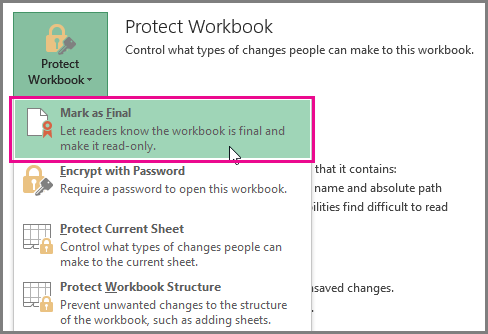
The fact that the excel sheet may be labelled as Final is one of the reasons it is in read-only mode. A yellow notification that reads Marked as Final shows at the top of the workbook and is a clear sign that a sheet has been marked as final. This symbol denotes the author's intention to prevent editing by marking the sheet as final.
Solution 1: Click 'Edit Anyway'
- The page will have a yellow warning sign at the top if this is the case.
- Simply click the "edit anyhow" button that is located next to the message.
- You can begin editing the Excel workbook once you click the "edit" button.
Case 2: Excel File Becomes Read-Only Recommended by "Save As"
The prior user may have set the file as read-only recommended, which is another reason you might see the Excel read-only warning message. When you open an Excel spreadsheet that someone has set up in this manner.
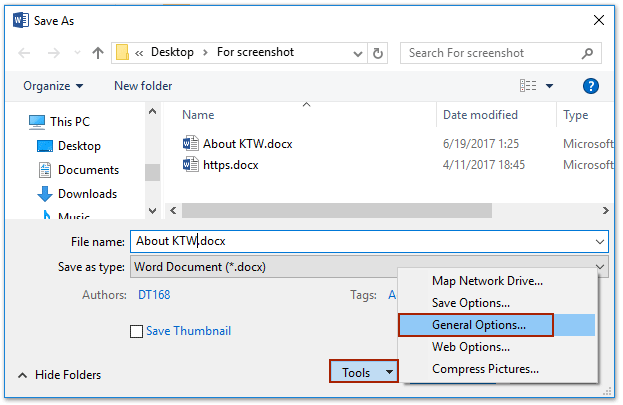
You are asked by Excel to open the file in read-only mode. This mode is still in use, but you disagree with the suggestions and want to change it.
Solution 2: Remove Recommendation
- Read-only the file by opening it.
- So that you can edit it, open it in Editable Mode.
- Click No to skip this step and begin editing the file right away. You can examine the file without making any changes by selecting the yes radio choice.
Case 3: Excel Worksheet and Workbook Structure is Locked
If the worksheet is locked, you can also be looking for solutions to Excel read-only issues. If the workbook structure is locked, an Excel file could be in read-only mode.
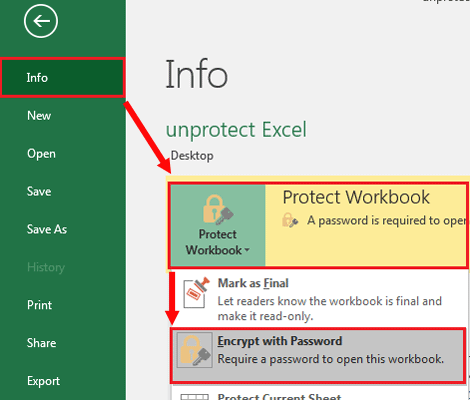
The author may occasionally decide to lock the cells to prevent user modification. Only a password will work in this situation to remove the restriction.
Solution 3: Provide Password
- Open the Excel file first. Likewise, select the Review tab from the top menu.
- Click Unprotect Sheet from the drop-down menu's several choices.
- For the file to be unlocked, enter the password and click OK.
- The password would also need to be entered in order to remove the limitation.
Case 4: Excel File Is Password Restricted
The content of the sheet may be in protected mode, which is another reason why the Excel file is in read-only mode. It's possible that the sheet's creator selected the protected mode to prevent content editing by others.
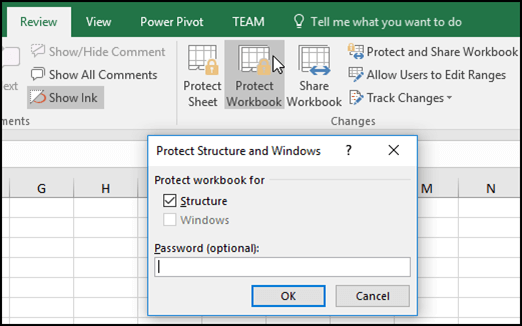
By selecting the review menu tab, you can quickly determine if the content is protected or not. You will notice a button that says Unprotect Sheet or Protect Workbook directly beneath the Changes group.
Solution 4: Unlock with Password
- View all the worksheets and content in the protected Excel file by opening it.
- Go to the menu, select the review tab, and select Unprotected Sheet.
- If the Excel sheet is password-protected, click Unprotected Worksheet, enter the password, and the limitation will be lifted.
- After saving the document, read-only Excel will no longer be enabled.
Part 3: Remove Read Only from Excel Without Password
Using an Excel password remover program, such as iMyFone UltraRepair for Excel, is one of the finest ways to make it possible to remove Excel's "read only" mode established by all choices in one click.
The tool iMyFone UltraRepair for Excel enables you to remove restrictions on Excel Worksheet and Workbook Structure, read-only settings imposed by Mark as Final and Save As, and the opening password on any locked Excel document.
Therefore, it is a very useful tool to have when you can't open or saving an Excel document that is read-only. Just a few of its characteristics are as follows:
- A quick and efficient software that works fast
- All main Excel file formats are supported, as well as other Microsoft Office files such as Word, PowerPoint, and others.
- It only takes one click to start file repair.
- Support both Win & Mac version.

Step 1. Download and open iMyFone UltraRepair on your PC. Then navigate to the "File Repair" area on the left side of the software and click the "Add Files" option. It will launch a browser window and show where the corrupted file was stored. You can load numerous word documents into iMyFone Ultra Repair.
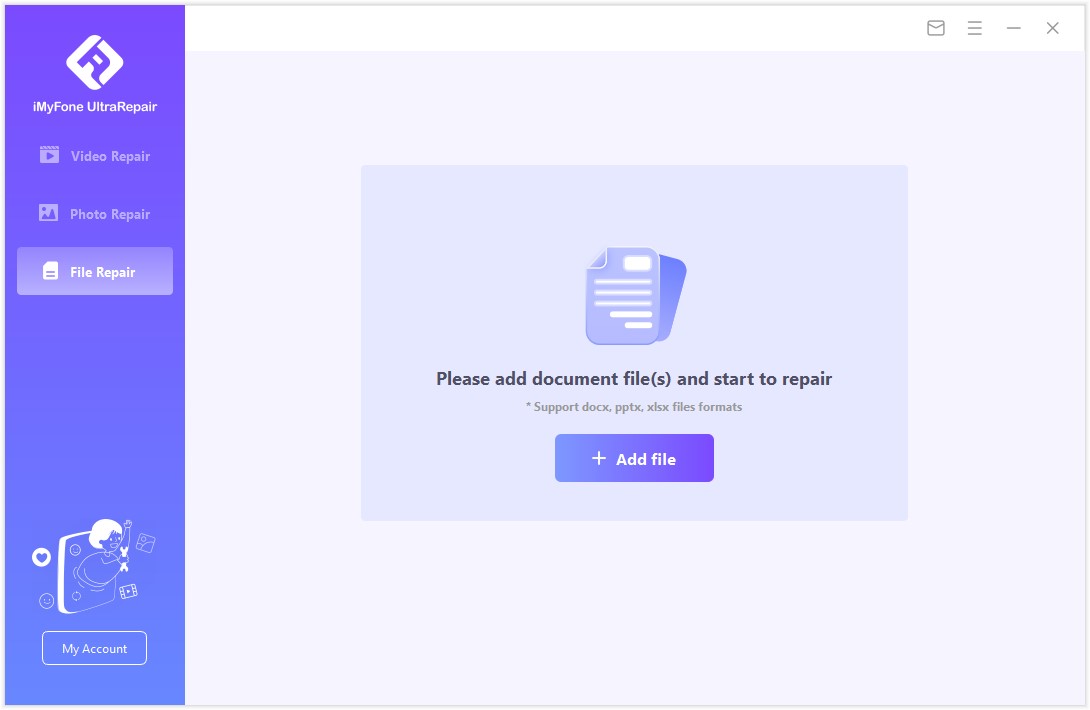
Step 2. The software will import Word files from your PC and show the process on the screen. If you accidentally uploaded the incorrect file, you may remove it by hitting the trash can symbol next to its data.

Step 3. The software will scan the loaded document and correct any large or small errors. You can also stop the repair at any moment. When the file repair operation is finished, a pop-up notification will display that will alert you of the repair results. A file that has been successfully fixed will have a "Success" indicator beneath it.

And it’s done.
Conclusion
If you don't know how to remove read only from Excel, the four methods listed above are the best ones for you. Although one of the most frequent causes of not being able to see the Excel document is when it has been "marked as final," there may be other factors at play. You may simply access the document using iMyFone UltraRepair for Excel, regardless of the limitations imposed on it, including a document that is password locked.


 December 30, 2024
