Fixing bad-quality photos is important to focus on if you want your picture looks better. Low-quality images are unpleasant to look at, and they can detract from the value of this experience, especially if we are talking about memories.
It brings the question, is it possible to fix bad-quality pictures? The answer is definitely yes, and we are here to guide you through the process of how you can do it here. Let's move on now!

Part 1: What Causes Bad Quality Photos?
Before we move to get the fixing solutions, we must know what causes bad quality photos. There are many different reasons. One of the most common reasons is you resized the image, and when you do that without any adequate work, it might end up of low quality. Another reason will be unfocused shots, as well as camera errors. Some cameras can end up with errors where the software is not working as expected.
Part 2: How to Fix Bad Quality Photos [2 Solutions]?
01 Repair Bad Quality Photos with Professional Repair Tool
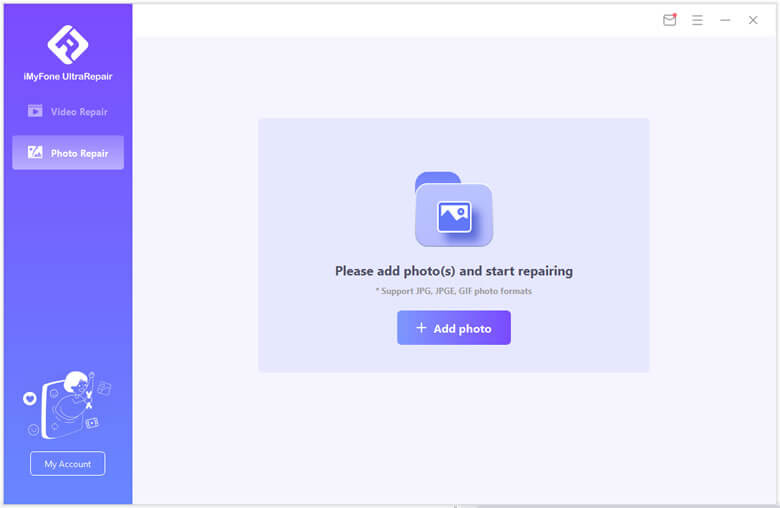
If you want to ensure everything is working the way you want, a great idea is to take your time is find a proper repair tool. iMyFone UltraRepair is a professional tool to help you fix any bad-quality pictures! In addition, it can help you repair any corrupted documents, videos, or pictures, and it does that in just a couple of steps! What efficient it is!

Follow the three steps below to fix the bad quality photos:
Step 1.Download and install UltraRepair on your PC and choose Photo Repair option from the panel situated on the left. Add the desired photo on the screen.

Step 2.Click on the Repair button until the process is finished. You will be notified when everything is completed.

Step 3.Then you can save the repaired photos anywhere you want on your device.

02 Fix Bad Quality Photos in Photoshop
If you want to fix bad-quality pictures, Photoshop can be a great option! It’s a paid tool that makes it easy to enhance images and make them easier to work on, among many others. With its help, you will be able to fix the image quality efficiently!

See how to fix bad quality picture with Photoshop:
Step 1.Launching Photoshop and open the image you want to repair. Then select the Filter and Blur option.
Step 2.Choose the option Gaussian Blur, and then slide to get the right range. Press OK.
Step 3.Go to the Filter and Sharpen option, and select the Unsharp tool then slide until you have the desired results.
Step 4.Lastly, go to the File menu and save your image.
Bonus Tips: How to Avoid Bad Quality Photos?
1 Reduce ISO
Generally, when the ISO value is very high, you will end up with problems, and the quality can get lowered quite a bit. So lower the ISO levels as much as you can.
2 Right Exposure
Experimenting with the exposure levels is another great thing you can do, it helps save time, plus you will find it easier to prevent bad quality images from appearing.
3 Shoot Stably
We can use a monopod or a tripod for stability, since you will have a much better stability if you do it right.
4Edit Properly
You can edit various things like exposure and sharpness. These will help you remove any issues. Use that as an advantage, and you will be much happier with the results in the end.
Conclusion
We recommend using these tips and tricks above if you want to fix a bad-quality picture. If you want to save more time, just try UltraRepair, it can help you fix it automatically, you can click the free trial version below to have a try now!


 December 29, 2022
