Nintendo 3DS is a very known gaming console that people use. It is widely famous for its portability and feasibility. When the user takes pictures or screenshots from Nintendo 3DS, sometimes these pictures are wanted on the phone so that they can share them. So, in this article, we will talk about how one can transfer photos from 3DS to a phone and computer.
Table of Content [Hide]
Part 1. How to Transfer Nintendo 3DS Photos to Phone via Gmail
Gmail is an excellent way to transfer data from a Nintendo 3DS to a phone. It is quite simple and easy, but not all users know about it. The quality of the image is not compromised, and the method is not complex at all.
Here are the steps to transfer Nintendo 3DS photos to the phone via Gmail.
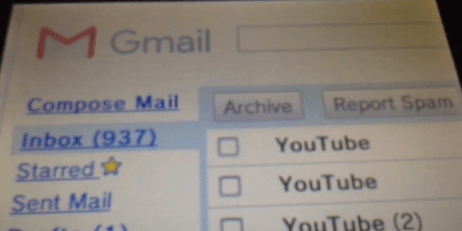
Step 1. On your Nintendo 3DS, open the Internet Browser. Go to Google and type Gmail. Open the Gmail website and log into your Google Account. You will see all your emails here.
Step 2. Tap on Compose Mail. Enter the recipient of the mail and also the subject. Then tap on browse. It will take you to the gallery.
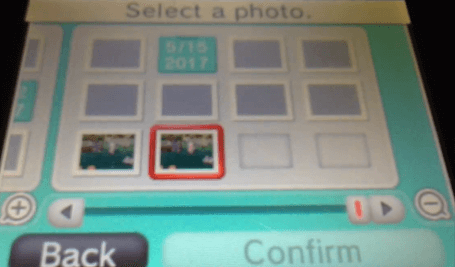
Step 3. From the gallery, select the photos that you want to send via email and click on Confirm. Then press Send on your email body.
Step 4. On your phone, open Gmail and go to the inbox. You will see an email from your Nintendo 3DS. Open the mail and download the photo. In this way, anyone can easily transfer Nintendo 3DS photos to the phone via Gmail.
Part 2. Transfer Images from Nintendo 3DS to Phone and Computer by Sharing Online
If you are a Nintendo 3DS user and want to share photos online, then you can do it through social media platforms. With Nintendo 3DS, the user can share photos online. However, there are some rules and specific methods to do so. Here are some of the important facts that users should know before transferring images from Nintendo 3DS to phone and computer by sharing online:
- Screenshots cannot be taken with all the game sequences. Certain games allow screenshots but not all of them.
- Make sure that your Nintendo 3DS is connected to a stable internet connection when you are uploading the photos.
- You should have a social media account where the photo will be shared.
- Nintendo 3DS does not allow the user to access social media on the phone or computer, so you cannot make complex changes and settings with it.
Step 1. To share the image online using Nintendo 3DS, go to Home settings located at the top left corner.
Step 2. Inside the settings, go to Nintendo 3DS Image Share. Or you can also go to Nintendo 3DS bookmarks in the internet browser and then go to Nintendo 3DS Image share. So, there are two ways to access Nintendo 3DS Image Share.
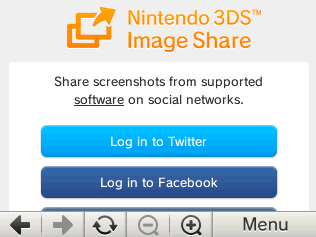
Step 3. Now, choose the social media account on which you want to share the phones and log into that account.
Step 4. Choose the image, insert the caption and then post it. It will be shared online.
Part 3. Copy Photos from Nintendo 3DS to Computer and iPhone with SD Card Reader
In this part of the article, we will talk about how to copy or transfer photos from Nintendo 3DS to a computer and then an iPhone using an SD card reader. It is a simple process but requires an additional transfer tool to transfer photos to the iPhone, which is iMyFone TunesMate iPhone Transfer. Let us talk about it in detail.
3.1 Copy 3DS Photos to Computer with SD Card Reader
To copy Nintendo 3DS photos to a computer with an SD Card reader is very easy.
Step 1. You can simply transfer the data to an SD card using your Nintendo 3DS. Then, take out the SD Card and put it in an SD Card reader.
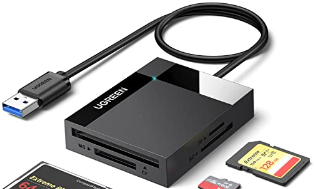
Step 2. Insert this SD Card reader on your computer. The computer will read all the data on the SD card.
Step 3. Choose the photos that you want to copy and copy them from the SD card and paste it into your computer's directory.
3.2 Export 3DS Photos from Computer to iPhone with TunesMate
Now that your photos are transferred to your computer let's see how we can export these photos from computer to iPhone with a third-party data transfer tool, iMyFone TunesMate. It is a professional data transfer tool that allows the user to transfer the media files from iPhone to computer and vice versa. The data transfer is very flexible, meaning it can transfer data from iOS to iTunes, iTunes to iOS, computer to iOS, and iOS to the computer. So, let us see how we can transfer data from computer to iPhone.
Step 1. Download and install iMyFone TunesMate on your computer. Open the tool and connect your iPhone to the computer with a cable.
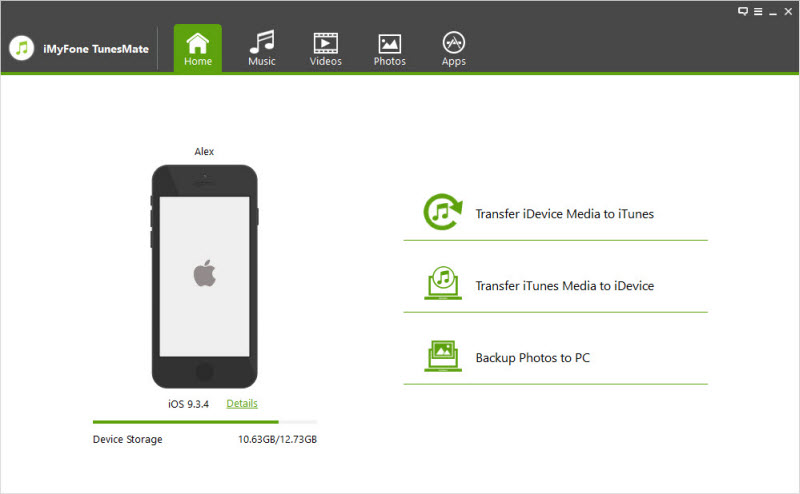
Step 2. Tap on Photos located at the top. Choose the type of images that you want to export.
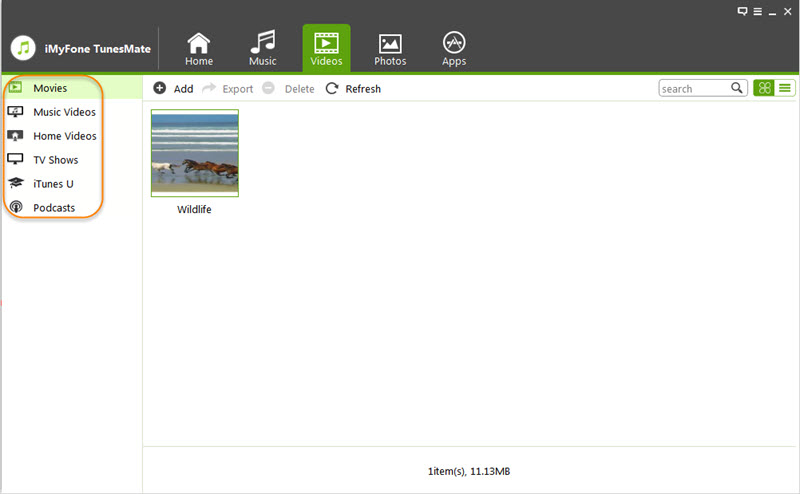
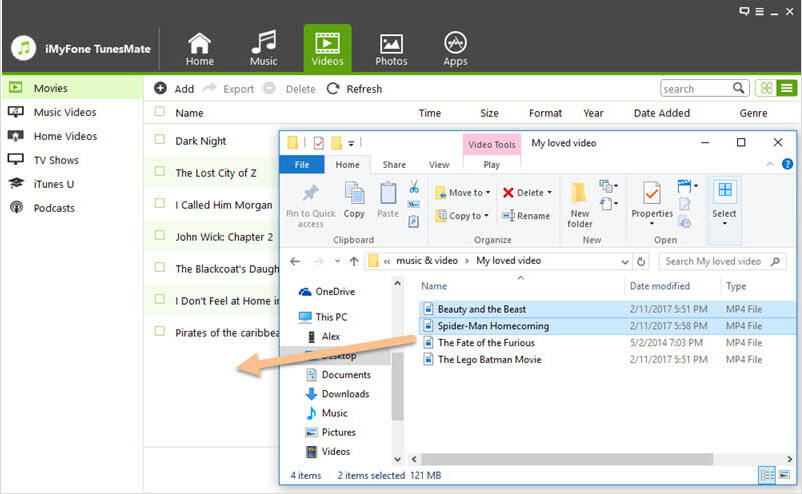
Step 3. Open the folder with photos on your computer. Choose and select the photos that you want to transfer to your iPhone.
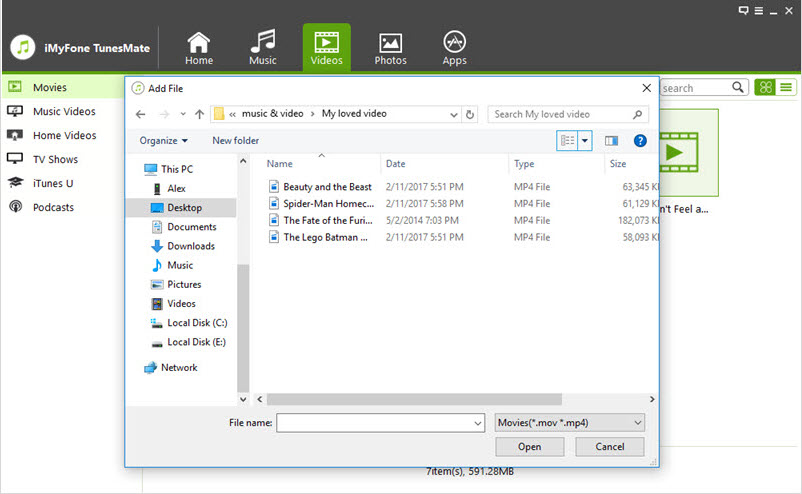
Step 4. Drag and drop the media files on the tool, or you can also click on Add Files and then browse the files that you want to transfer. It will be transferred in a few seconds.
Conclusion
Nintendo 3DS is a portable gaming console that anyone can use. Sharing photos is very common and trending these days. We have discussed a few methods by which users can share photos using Nintendo 3DS. However, if any user wants to export the photos from a computer to any iOS device, then they can use iMyFone TunesMate. It is a free data transfer tool that transfers the data from iOS to a computer and vice versa.


 August 10, 2022


