The iPhone is a very powerful device. It is multiple times powerful than the computer that landed the first man on the moon. You can utilize this device’s powerful camera to record important moments and events.
However, in a lot of instances, you might want to edit the video or transfer it to your PC/Mac for safekeeping. This tutorial will teach you how to do just that and a special tool you can use to do this seamlessly.
How to Import Videos from iPhone to iMovie with TunesMate
So, what happens if you want to import other types of videos from iPhone to iMovie and not just videos in the Photos app? Sadly, you can’t do that with in-built Apple applications. Fortunately, you can easily do that with iMyFone TunesMate - an ultimate iPhone File Transfer tool - that allows you to freely transfer any media files between iPhone and computer.
Why Choose TunesMate to Import Videos
- Its two-way transfer makes it easy to transfer files from iPhone to computer, or from computer to iPhone.
- It supports all media files, instead of just the photos and videos in Photos app.
- Syncing files to iPhone won’t delete the existing data.
- It will detect the duplicates and only transfer or import the extra ones.
- Not only purchased, not also non-purchased files are supported to imported.
Steps to Import Videos from iPhone to iMovie with TunesMate
Step 1: Launch iMyFone TunesMate on your computer and connect your iPhone to your computer with a USB.
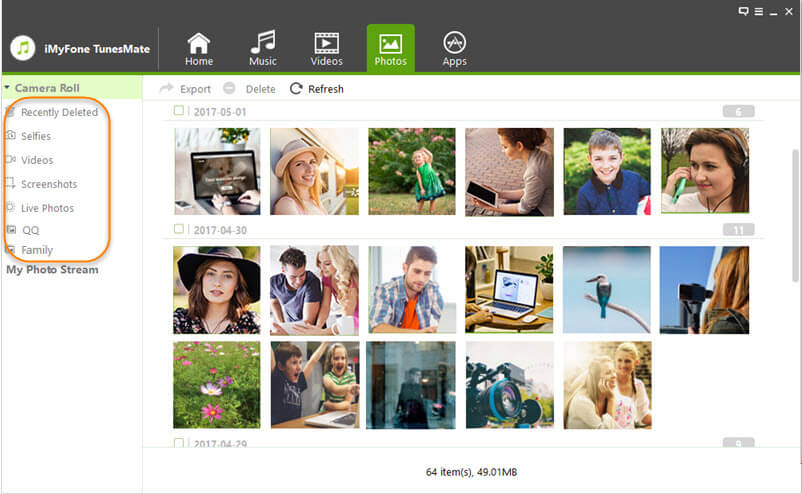
Step 2: Click on the Photos icon at the top of the app. Choose the Videos album from the left hand side.
Note: If you want to transfer videos that are not in your Photos app, but in Videos, Podcasts and other apps choose the “Videos” tab from the top instead.

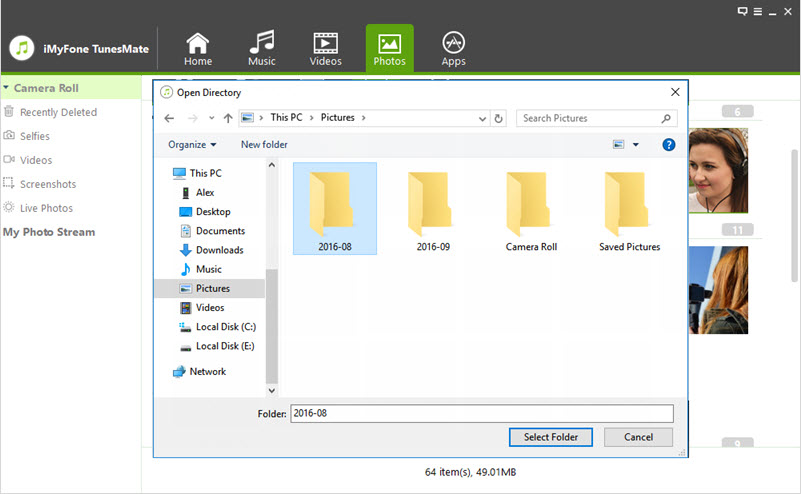
Step 3: Select the videos you want to import and click “Export > Export to Mac” from the top menu. Select the target folder for your video and let it continue.

Step 4: When transferring process finishes, click “Open Folder” to access the videos on Mac.
Step 5: Select the video you want to transfer. If you want to transfer multiple videos, Command-click them.
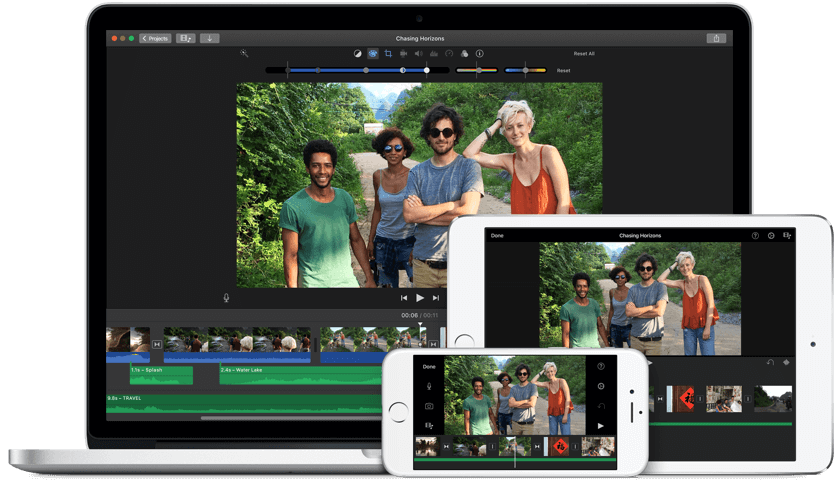
Step 6: Drag the selected video(s) from the Finder to an event in the iMovie Libraries List.
How to Import Videos from iPhone to iMovie Manually
Take the following steps to import videos from iPhone to iMovie on Mac. You should note that this only applies to videos in the Photos app:
Step 1: Connect your iPhone to your Mac with a USB.
Step 2: On iMovie, click the Import button located on the toolbar.
Step 3: Select your iPhone in the Cameras section of the Import window.
Step 4: You can preview the video by moving the pointer across the movie thumbnail.
Step 5: You can either import the video into an existing event or create a new one. To import into an existing event, choose the event from the “Import to” pop-up atop the import window. To create a new event, choose New Event from the “Import to” popup menu. Type the name for the new event and press Return.
Step 6: To import all the clips, click Import All. To import some clips, select them by Command-clicking them and clicking Import Selected. To cancel the importation, click Close.
Step 7: When the importation is complete, disconnect your iPhone and start working on your clips.


 November 26, 2021
