Do you feel that your hard drive is getting burdened with the heavy load of your huge iTunes library? Well, if your system is becoming slower by the day and hanging often, you might be right. It may be time to move your iTunes library to an altogether new location or a new drive. If you don’t want to lose your precious iTunes data, it’s time you act and save your iTunes library. In this article, we’ll share the easiest way to move iTunes library to a different drive.
Part 1: How to Move iTunes Library to a Different Drive?
By carefully following the steps given below, you can easily move your iTunes library to a different drive and save your data from getting lost.
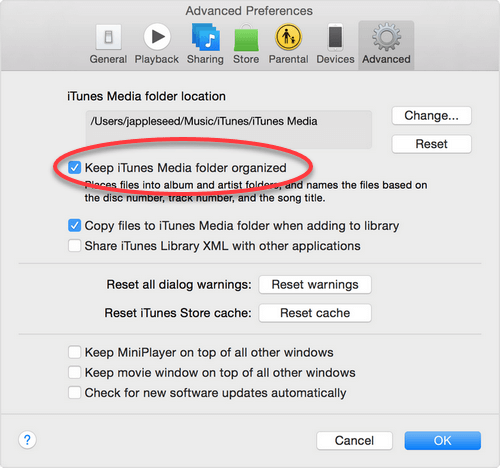
- Open iTunes preferences and click the “Advanced” tab. Check if the “Keep iTunes Media Folder Organized” option is selected. If not, please select it.
- Click the “Change” button under “iTunes Media Folder Location” and pick a new folder where you wish to move your iTunes library. To move the files to a folder that does not exist, use the “New Folder” button to create a fresh folder
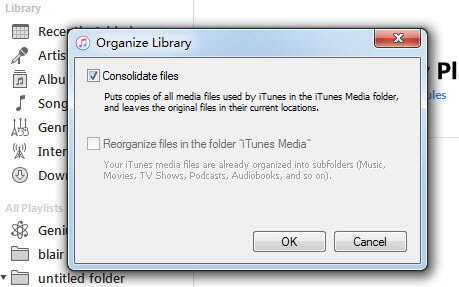
- Follow the path – File > Library > Organize Library, and select the “Consolidate Files” box. Click “Ok” to confirm. All your files will be copied to the new location, without any kind of data loss.
- Once to movement is complete, you can delete the iTunes library from the original location.
Part 2: How to Move iTunes Library to an External Drive?
Moving iTunes Library to an external drive is easier than moving it to another location or drive on your PC. Here’s how you can do it:
- Connect your external drive to your PC with the help of a USB cable.
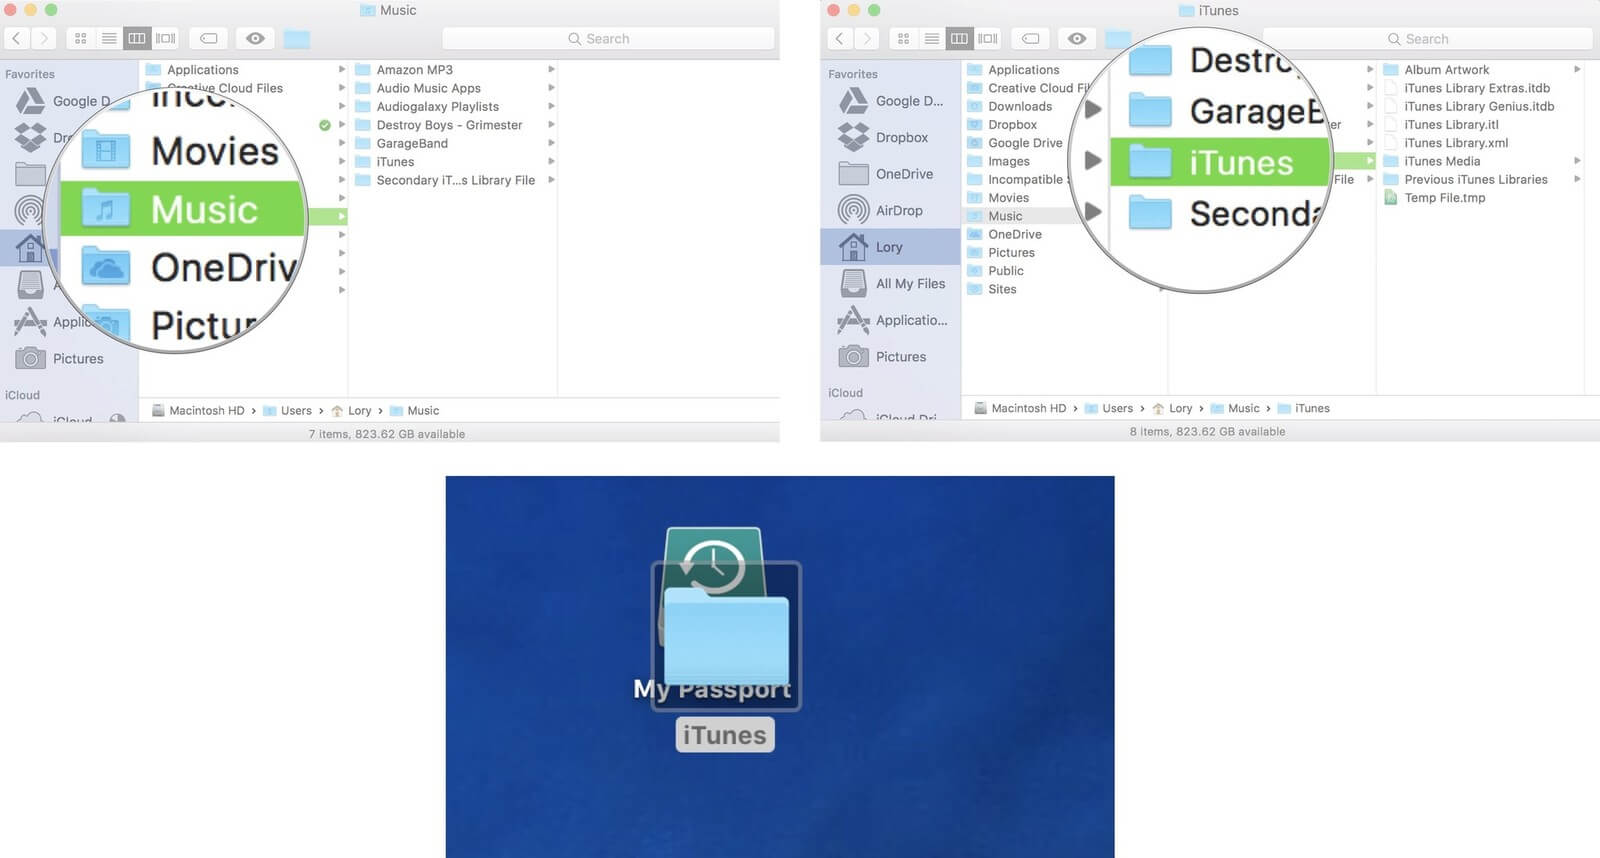
- Open the “Finder”.
- Click the name of your Mac’s hard drive to open it.
- Open the “Music” folder.
- Select “iTunes” and drag it to the external drive folder.
- If your system asks for permission to move iTunes to the external drive, authenticate the request by confirming.
- Enter the admin password and click “OK”.


Part 3: How to Move iTunes Library to a New iDevice
iMyFone TunesMate is one of the best third-party alternatives for iTunes, for Mac and Windows users with iPads, iPods, and iPhones. Using iMyFone iTunesMate, you can easily and freely transfer files from your iPhone to your computer or iTunes and vice-versa, including your iTunes library.
Key Features:
- Flexible iOS file transfer – simply import and export between iTunes/PC and iDevices
- You can import files between as many iOS devices and PCs you wish to
- Selective transfer of files from different iTunes libraries
- All iOS devices supported
- Freedom from iTunes limitations
Follow these steps to transfer iTunes library files to an iDevice in just one click:
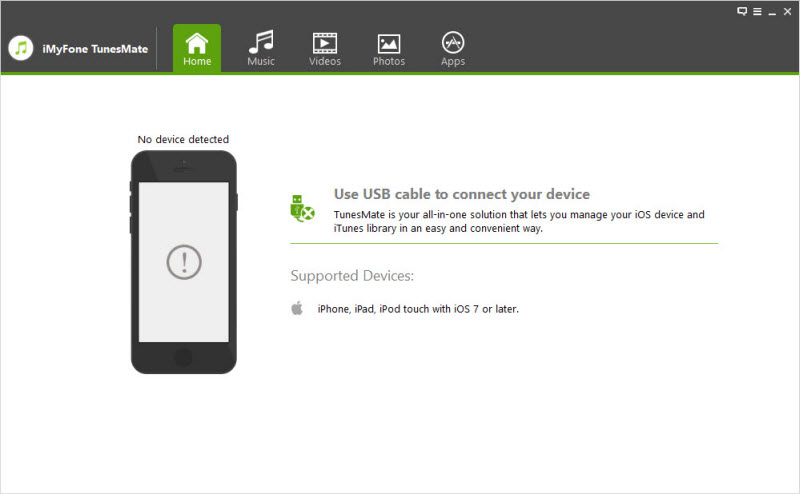
- Open iMyFone TunesMate on your PC and connect it with your iDevice (iPhone, iPad, or iPod)
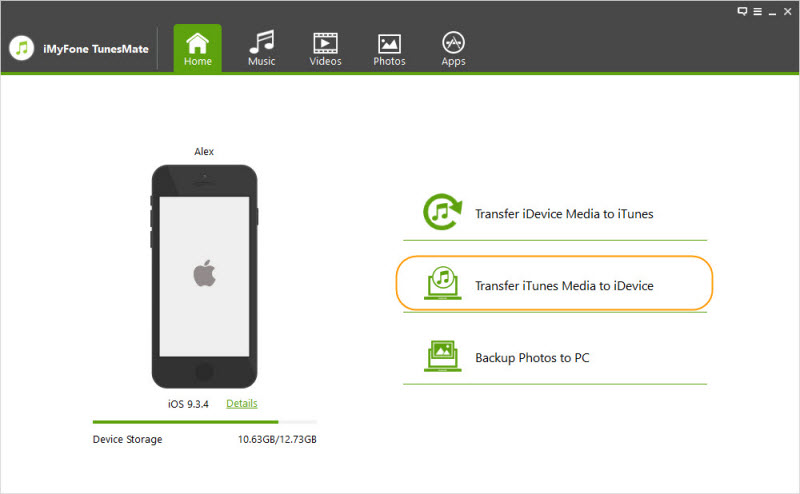
- On the homepage click “Transfer iTunes Media to iDevice”. All files present in your iTunes library will be scanned and displayed on the screen.
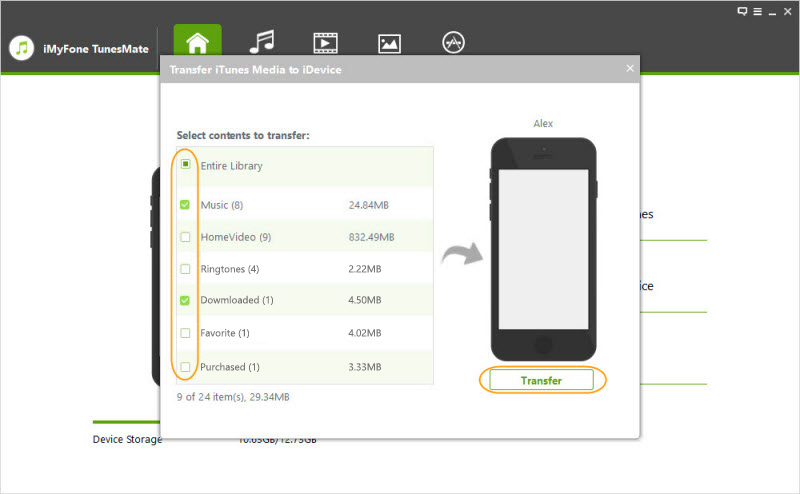
- You can check the files based on your requirement for transferring. Then click “Transfer” to start the process and “OK” to complete the process.
Many iPhone users fear the idea of syncing iTunes on their iPhone simply because iTunes keeps erasing the already available data on the device and replaces it with new data. This is where the power of iMyFone TunesMate comes into the picture. This software easily allows you to transfer files from your iTunes library to your iDevice without overwriting the existing files.


 June 21, 2021
