3 Easy Ways to Annotate Google Slides While Presenting
Category: Mirror Tips

3 mins read
Annotations can bring a new level of interactivity to your presentations. Hence it makes them more engaging and visually good. Whether you like to highlight key points, draw diagrams, or illustrate concepts on the fly annotating on Google Slides while presenting has become easier than ever with modern tools and devices.
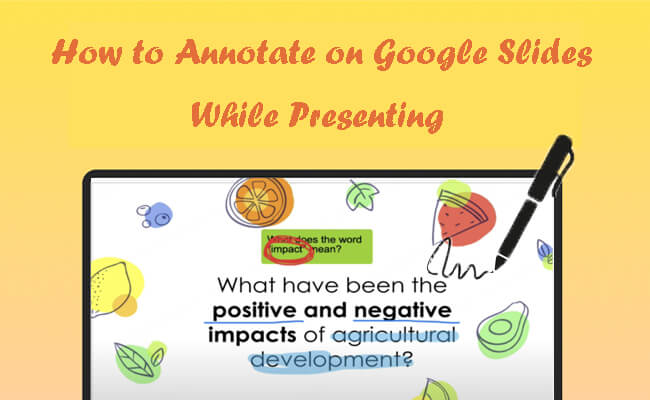
Presenting has grown beyond static slides. Annotation is the ability to draw or mark directly on your slides. It permits you to interact with your audience. In this guide, we focus on how to annotate using tools like iMyFone MirrorTo, Web Paint Extension, and native Google Slides features. Hence it ensures you are ready for any situation whether on a touch device or a desktop.
In this article:
Part 1. How to Annotate on Slides with a Touch Device During Presentation (iPad, Android Tablet, etc.)
Annotating directly on your slides using a touch device is native and handy, offering a seamless way to interact with your presentation. In this way, students or colleagues can see your notes in real-time.
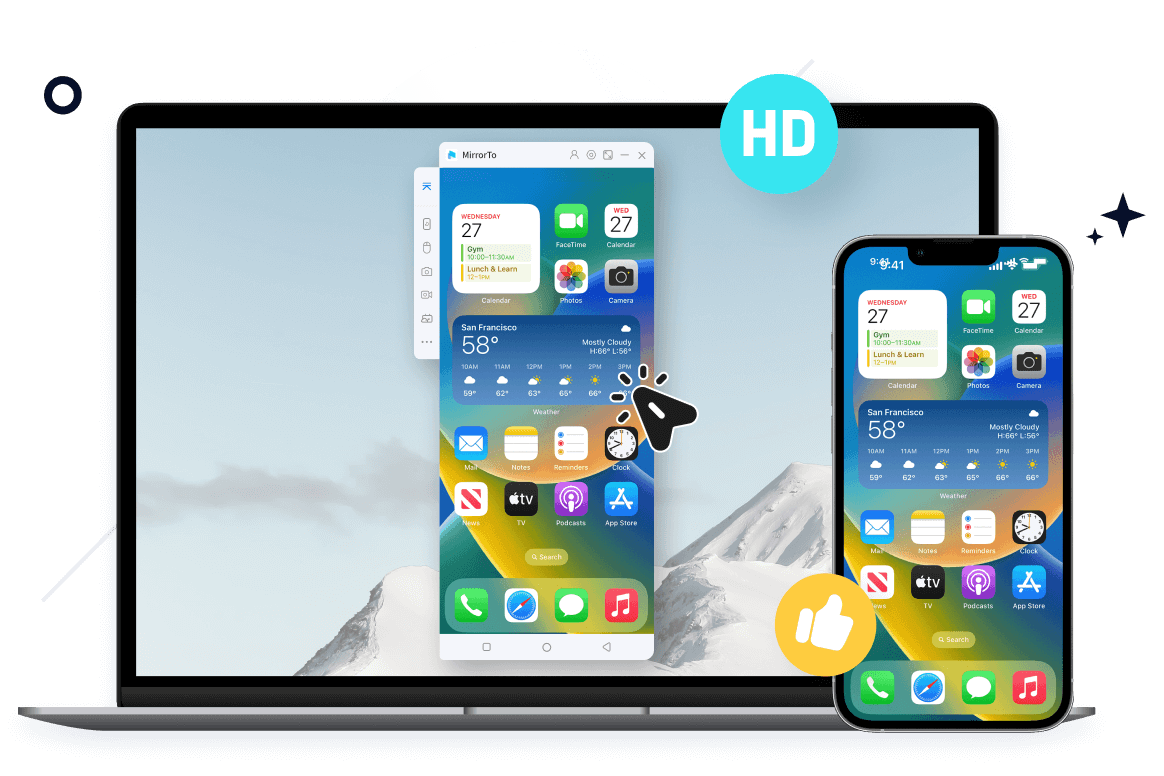
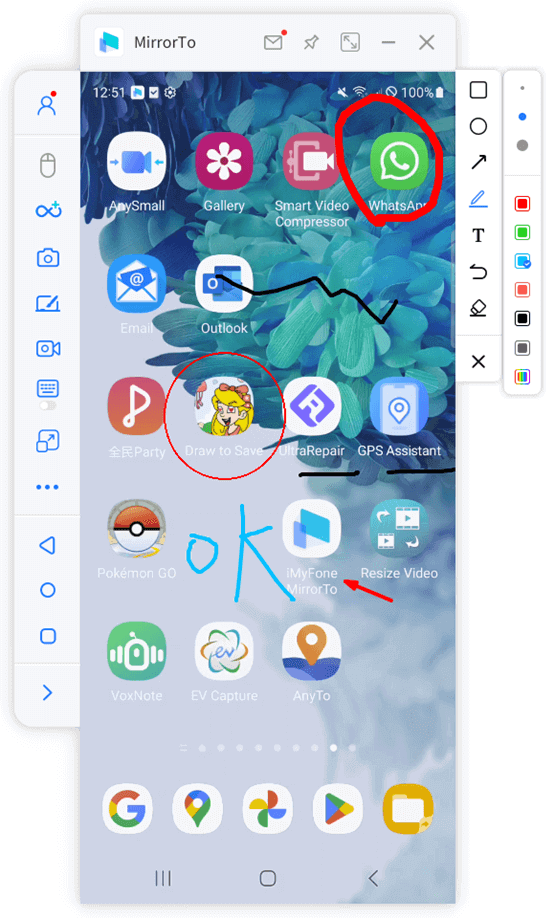
iMyFone MirrorTo is a powerful screen mirroring tool that permits you to display the screen of your slides on your PC. Once mirrored you can use the touch of the device (whether iPhone, iPad, Android phone, or table) capabilities to draw or annotate directly on the presentation slides.
- Display Google Slides on Windows PC or Mac in 1080P.
- Control Google Slides from mobile device via WiFi remotely.
- Annotate on the mirrored screen using iPad/Android tablet during the presentation online or offline.
- Share the content from phone to any platforms like YouTube, Zoom, etc.
Steps to cast and annotate on Google Slides during the presentation:
Step 1. Go to the iMyFone website and download MirrorTo on your computer. Install the app and open it.
Step 2. Make sure both your PC and your touch device are connected to the same Wi-Fi network or via a USB cable.
Step 3. Enable Mirroring
- For Android: Turn on Developer Options and USB debugging on your Android device.
- For iOS: Tap "Trust" when asking "Trust this computer?".
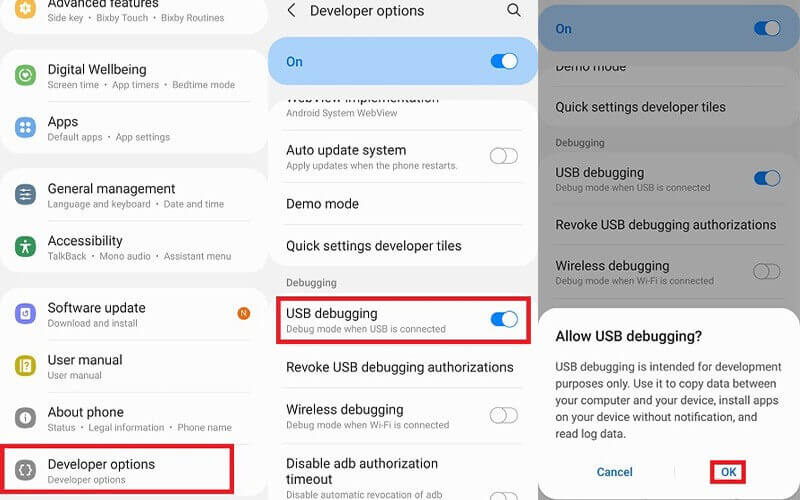
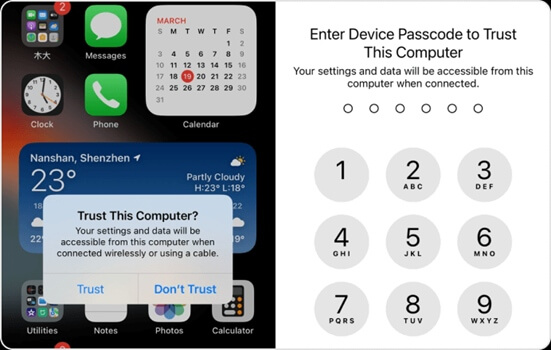
Step 4. Start Annotating: Open your Google Slides presentation in slideshow mode. Use your touch device to draw or write on the mirrored screen. The changes will show up instantly on the presentation.
Part 2. How to Annotate on Google Slides on Windows PC
Method 1 Google Slides Built-in Annotation Feature
Google recently introduced a built-in annotation feature for Slides. This stops the need for third party tools. Hence it offers a seamless experience for drawing or marking directly on the slides during a presentation.
Steps to use annotation feature on Google Sildes:
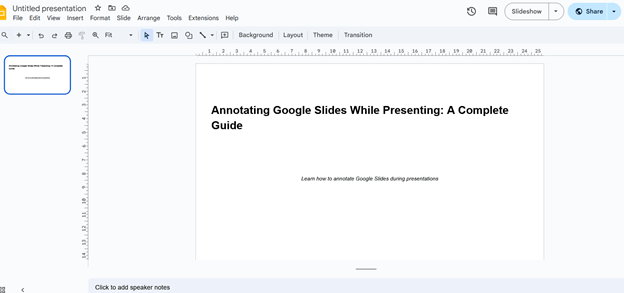
Step 1. Prepare Your Presentation: Open your Google Slides presentation. Now click Present to enter slideshow mode.
Step 2. Activate Annotation Mode: While in presentation mode hover over the bottom left corner to reveal the toolbar. Click on the pen icon to enable annotation mode.
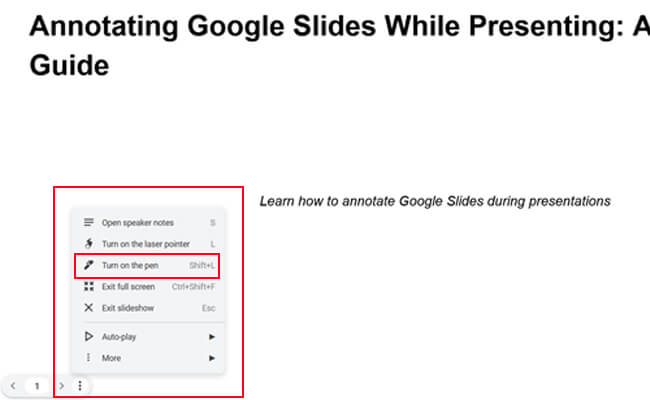
Step 3. Draw or Highlight: Use the pen tool to annotate directly on the slide. You can change the pen color and thickness using the options you have.
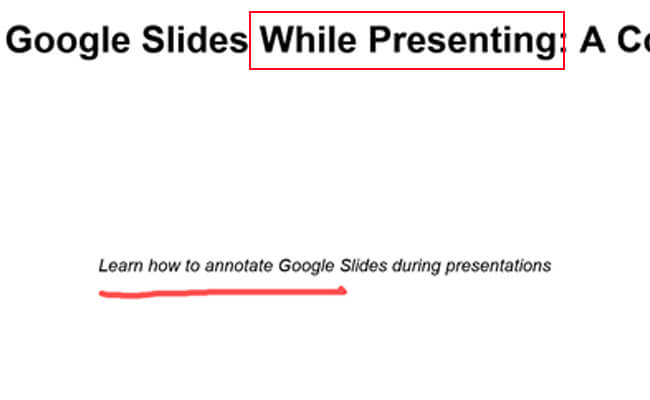
Step 4. Clear Annotations: To remove annotations please click the eraser icon or refresh the slide.
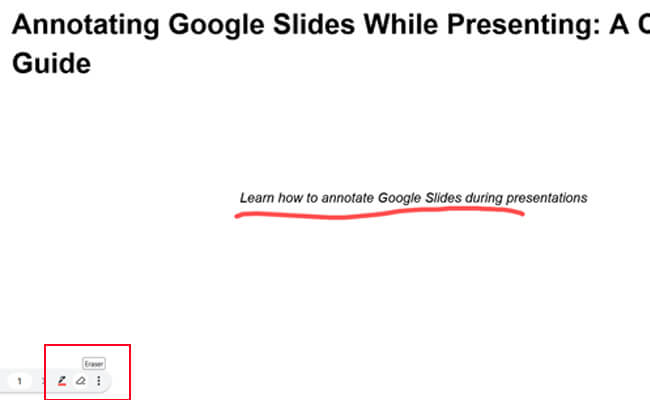
Method 2 Web Paint Extension
Web Paint is a browser extension that allows you to annotate directly on web pages like your Google Slides during a live presentation. So this tool is ideal for desktop users who need quick annotation capabilities.
Steps to draw on Google Slides during the presentation using Web Paint:
Step 1. Install the Web Page Marker Extension: Open your Chrome browser and visit the Web Page Marker extension page. Click Add to Chrome and confirm the installation.
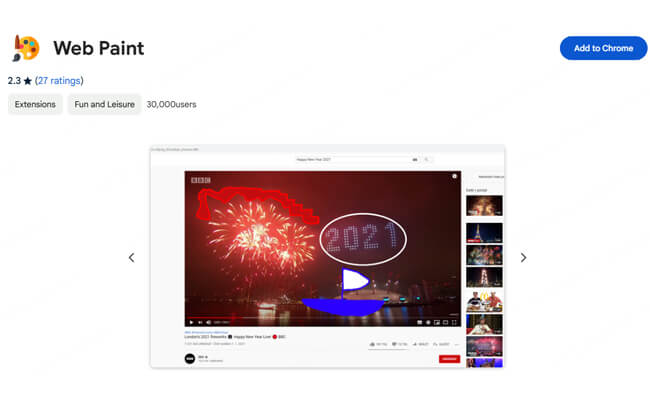
Step 2. Access Google Slides: Open your Google Slides presentation in Chrome. Start your presentation in slideshow mode.
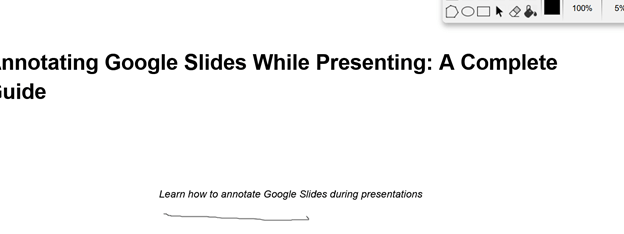
Step 3. Activate Web Paint: Click on the Web Paint icon in your browser toolbar. A toolbar will appear with various annotation tools like a pen, highlighter, shapes and text.
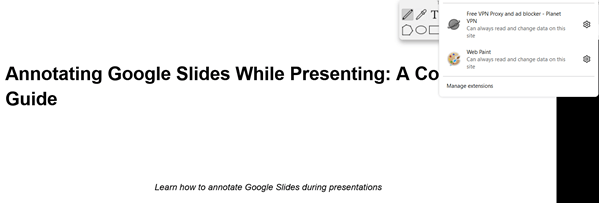
Step 4. Draw on Your Slides: Use the pen tool to annotate directly on your slides. You can adjust the color and thickness for better visibility. Save screenshots if needed to retain the annotations.
Part 3. FAQs about Annotating on Google Slides While Presenting
Currently, Google Slides does not support saving annotations directly. However, you can preserve your annotations by taking screenshots. So this method ensures your edits are captured and accessible for later use. While not a combined solution screenshots offer a practical workaround to save vital notes or highlights made during the presentation work.
iMyFone MirrorTo needs a stable Wi-Fi connection to mirror your screen. Web Paint and Google Slides built-in annotation tools can work offline after loading the presentation. These tools provide flexibility for editing or annotating slides. It is even without the internet. Hence it makes them useful for offline situations. Ensure your presentation is ready beforehand for smooth usage.
Touch devices like iPads, Android tablets and touchscreen laptops are great for making annotations. Why is that so? It is because they are simple and easy to use. On a desktop you can use a mouse or stylus which also works well. Both options let you draw, highlight or write. Hence it makes it easy to add notes or edits to your work.
Yes, you can use other tools for annotation such Microsoft Ink and Zoom’s annotation feature. Besides this the apps on tablets such as Notability and Explain Everything. These tools make it easy to write, draw or highlight on your slides or documents. They are useful for teaching, presenting or adding notes to your work. Hence it offers flexibility and comfort.
Conclusion
Making notes or drawing on Google Slides during a presentation is easy now. You can use various means to do this such as touch devices, extra tools from your browser, or Google Slides built-in tools. These features can make your slides more fun and exciting for your audience. You can underline vital things, add shapes, or write notes to explain things better.
This helps keep people focused on your presentation. Highlighting key points or adding pictures makes your message clearer and easier to follow. Whether you are presenting to your classmates, a teacher, or even at home these tools can make your presentation better. The next time you have a presentation try these options. They are easy to use and they can make your ideas stand out.
Display and Control Google Slides with A Touch Device During A Presentation.


