Call forwarding on your iPhone can come in handy when you are unable to answer your iPhone or don’t want to answer the phone. There are several situations when you may not want to or be able to answer an incoming call on your iPhone. The following situations might be included:
- You are on vacation and don’t want to answer calls from work.
- You are in an area with poor signal and as such can’t answer the phone.
- You are in the middle of a work situation like a meeting and are unable to answer the phone.
- You get a persistent call from an unknown number or someone you don’t want to talk to and are unsure if it’s safe to answer.
Tip 1: How to Set Up Call Forwarding on Your iPhone
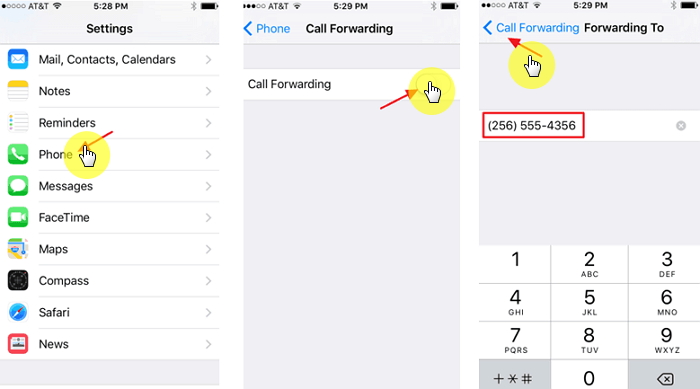
To use call forwarding, you need to set it up on your iPhone. Setting up call forwarding is fortunately very easy. Here’s how to do it.
Step 1: Launch the Settings on your iPhone and tap on “Phone”
Step 2: Tap on Call Forwarding.
Step 3: Turn on the switch next to “Call Forwarding” and then enter the number you want the call forwarded to.
Step 4: When done correctly, you should see the call forwarding icon on your status bar.
Tip 2: Using Voipfone App
Voipfone is a third-party app that you can use to set up call forwarding on your iPhone. The app is very useful to people who travel a lot for work since it can be set to redirect calls to your office. It remembers the settings automatically.
Here’s a step-by-step guide to help you use the app.
Step 1: Download Voipfone from the App store and launch it.
Step 2: The app will request you to allow your current location. This is essential when you want to use GeoDiverts.
Step 3: Enter your phone number and then create an account with Voipfone or sign in to an existing account.
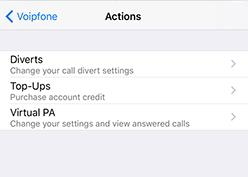
Step 4: Once you’ve created your account, tap on it to configure it. To divert calls, tap on “Diverts.”
Step 5: In the next screen, tap on the Master account or any other extension you wish to divert to.
Step 6: In the next section set the divert options. You can choose “No Divert”, “This Phone”, “Contact” or “Other” to specify where your calls will be diverted. The Manual Divert section will only be visible if GeoDivert is turned off.
Pros
- It is free.
- It is very easy to use.
- Automatically remembers your settings.
- Allows user to manually or automatically divert calls.
Cons
- It has few customer reviews and therefore it is impossible to determine its functionality.
Tip 3: Using Line 2 App
Line 2 offers a more sophisticated call forwarding app as compared to the others we’ve seen. It will cost you $9.99 to install to your device but it comes with additional features that may make it well worth the price. Aside from normal call forwarding, you can use it to make free calls via Wi-Fi/3G/4G/LTE as long as the person you’re calling also has Line 2 on their device. It also has a function that allows users to make conference calls and block unwanted contacts.
Here's how to use it to forward calls.
Step 1: Search for Line2 on the App store and install it to your computer.
Step 2: Follow the instructions to set-up the app and then go to the settings section.
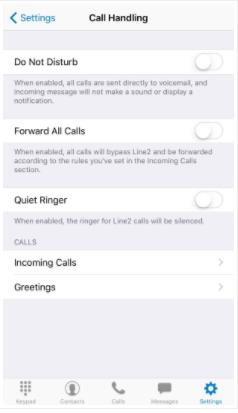
Step 3: Tap on “Call Handling” and in the next screen, you can either choose “Do Not Disturb” or “Forward All Calls.”
Step 4: You can then add the forwarding numbers on the next screen.
Pros
- Call forwarding is easy.
- It also comes with other features like the ability to block certain contacts or make conference calls.
Cons
- At $9.99 per month. So it is not free.
- Too many features can make it difficult to operate for users who first use it.
Tip 4: Using Divert Calls App
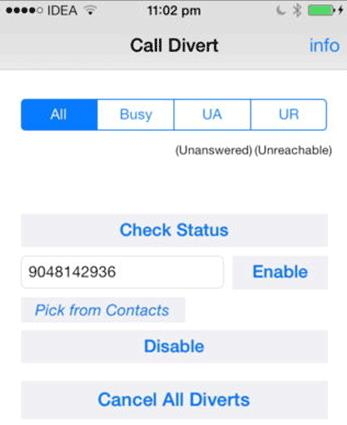
Divert Calls is a free app that you can uses to divert calls. It allows users to choose specific phone numbers that can be redirected to another phone number. With Divert Calls, you also get the option to choose the status. For example, you can choose to forward calls when busy.
Pros
- It is free.
- It is easy to operate.
- Allow you to choose the status mode to set.
- You can also select a specific contact to redirect.
Cons
- The status setting doesn’t work every time.
Tip 5: Using Call Forward App
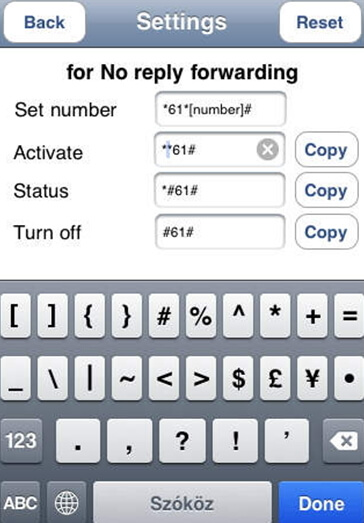
Call Forward is another app that you can use to forward calls to another number. With it, you can set the status to either no answer, no reply or busy. The app generates codes for specific contacts the user needs to dial to choose a specific contact’s caller to redirect.
Pros
- It is helpful in redirecting calls to another number.
Cons
- It is not free and costs $0.99.
- It can be complicated to use when you need to redirect a specific contact.
Tip 6: Recover Lost Call History from iPhone if You Need
Losing your call history can happen for a number of reasons. The most common of these reasons is accidental deletion although a damaged device, a virus or even a software update gone wrong can also cause call history data loss. When this happens, you may lose some important numbers you hadn’t yet included in your contact list and this can be quite problematic. Fortunately, we have a solution that allows you to recover the deleted call history in the shortest time possible. This solution is iMyFone D-Back data recovery tool that is as easy to use as it is reliable in data recovery. Other than recovering from your iPhone device directly, you are also allowed to make it without your device from iTunes or iCloud backup.
Steps to Recover Disappeared Call History from iPhone
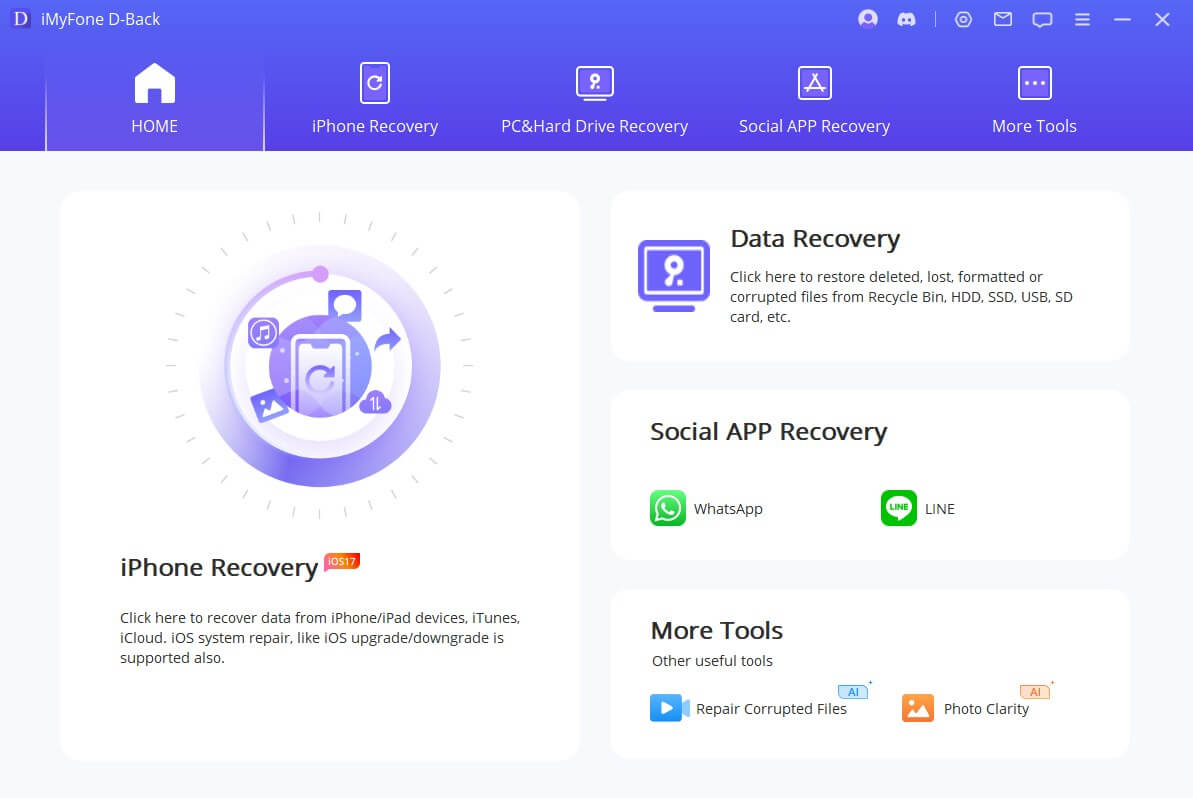
Step 1: Download and install iMyFone D-Back to your computer. Launch the program and then click on “Start.”
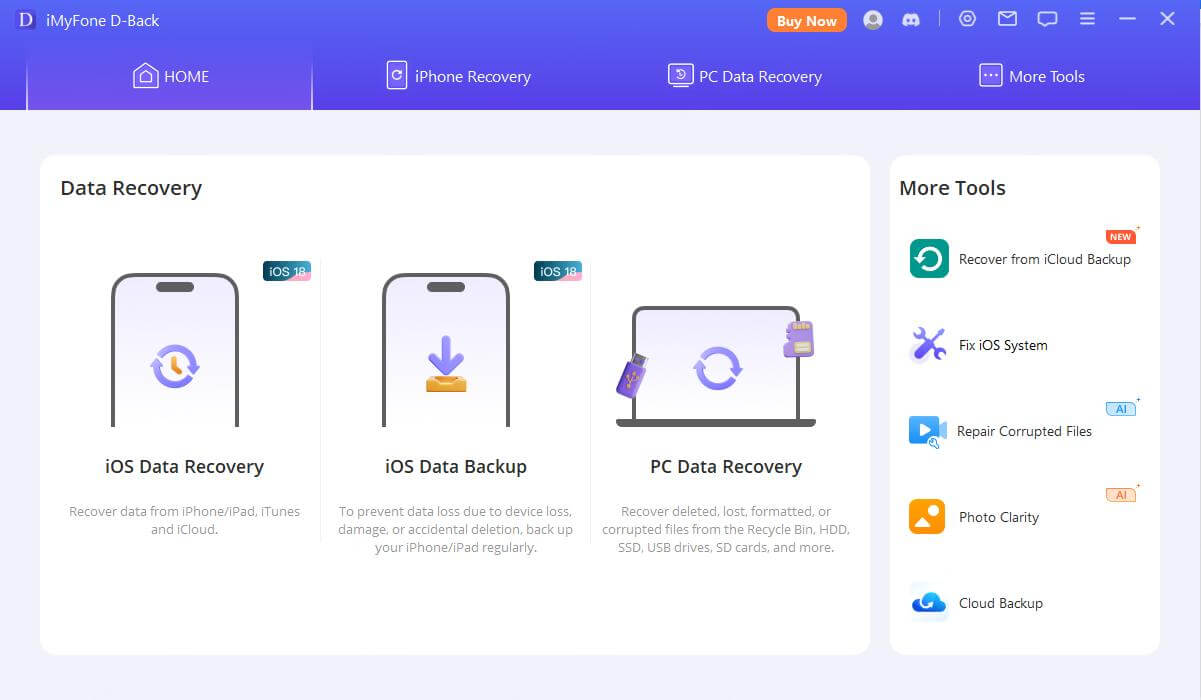
Step 2: In the next window, select the type of data you want to recover. Here choose “call history.” Click next when you’re ready.
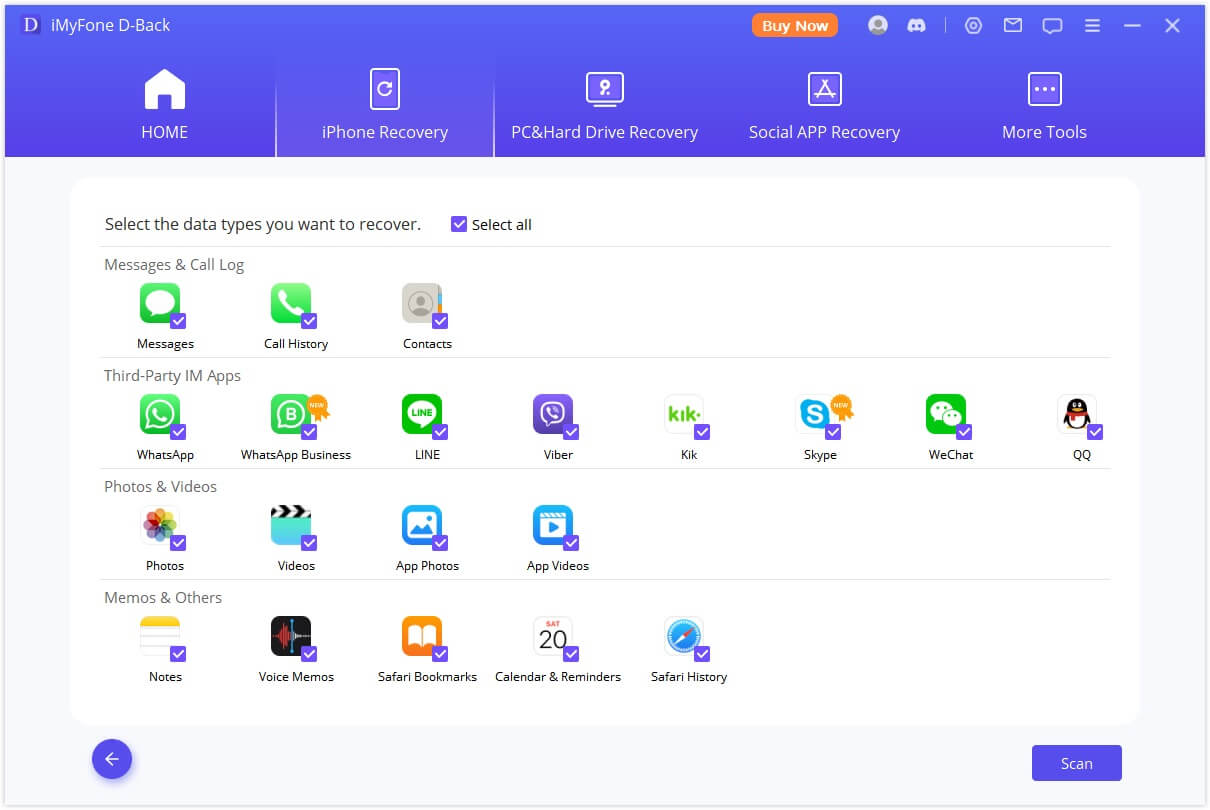
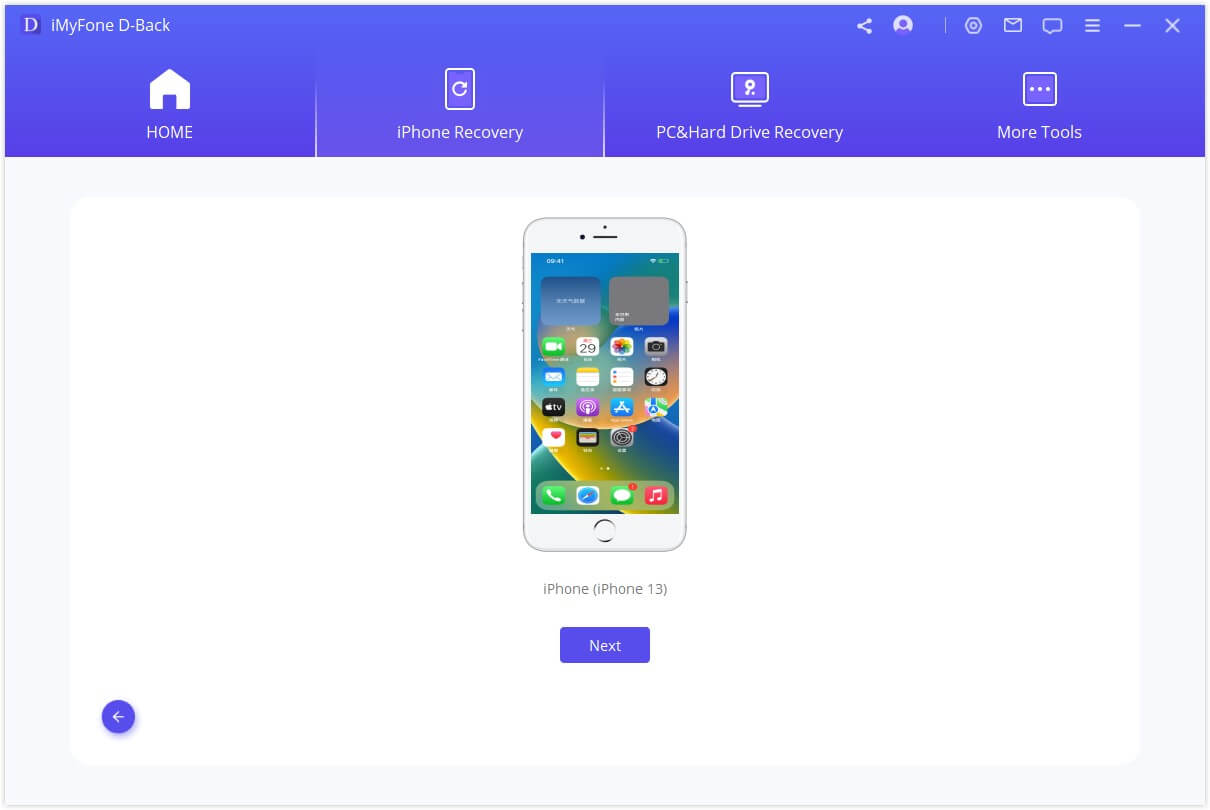
Step 3: Connect the iPhone to the computer using USB cables. Wait for the program to detect the device before clicking “Scan.”
Step 4: Once the scan is complete, you should see your call history displayed on the next window. You can select “Show Only Deleted Files” to see the deleted call history. Preview and select the ones you need and then click “Recover”. A popup will appear and allow you to choose a location on your computer to save the recovered data.
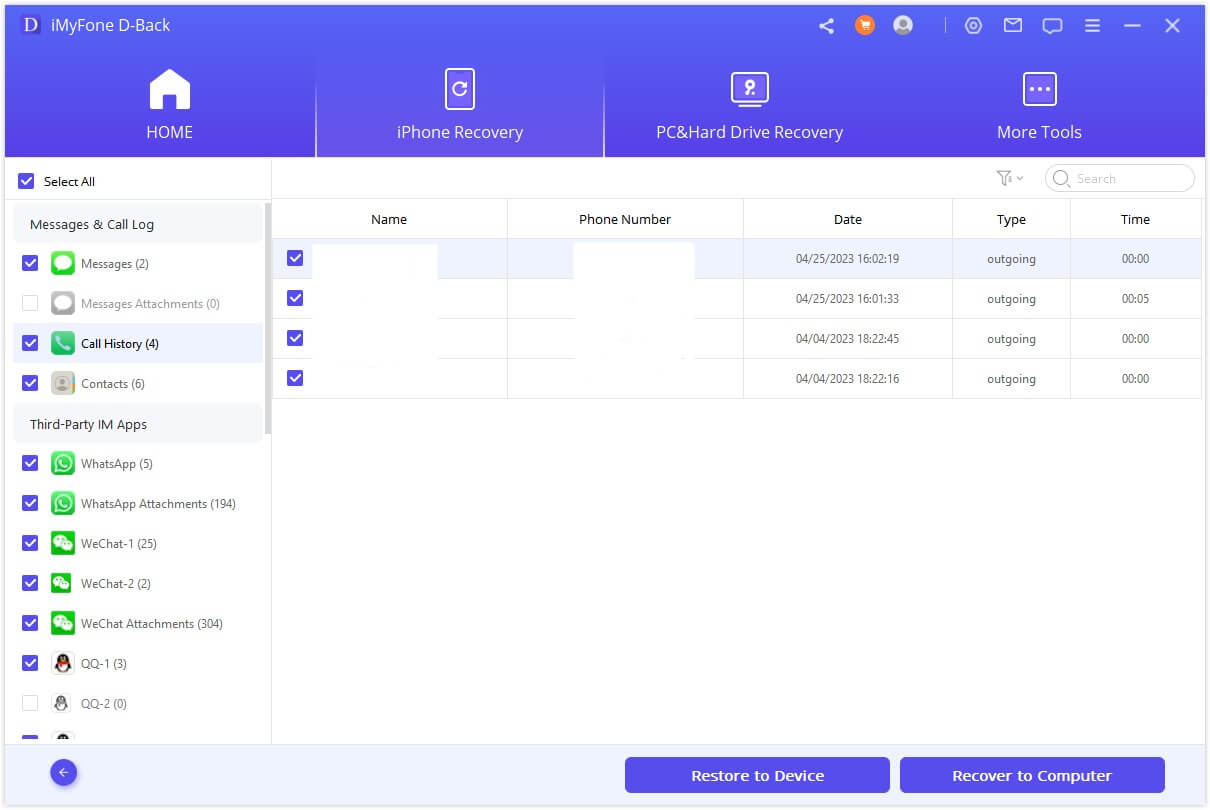
You probably already know that you can back up your call history on iCloud or iTunes. Although you can backup both existing and deleted data, you cannot see or access the deleted data even when you restore the backup. But iMyFone D-Back allows you to view both existing and deleted data on your iCloud and iTunes backups and restore the one you want.
Steps to Recover Call Logs from iTunes Backup
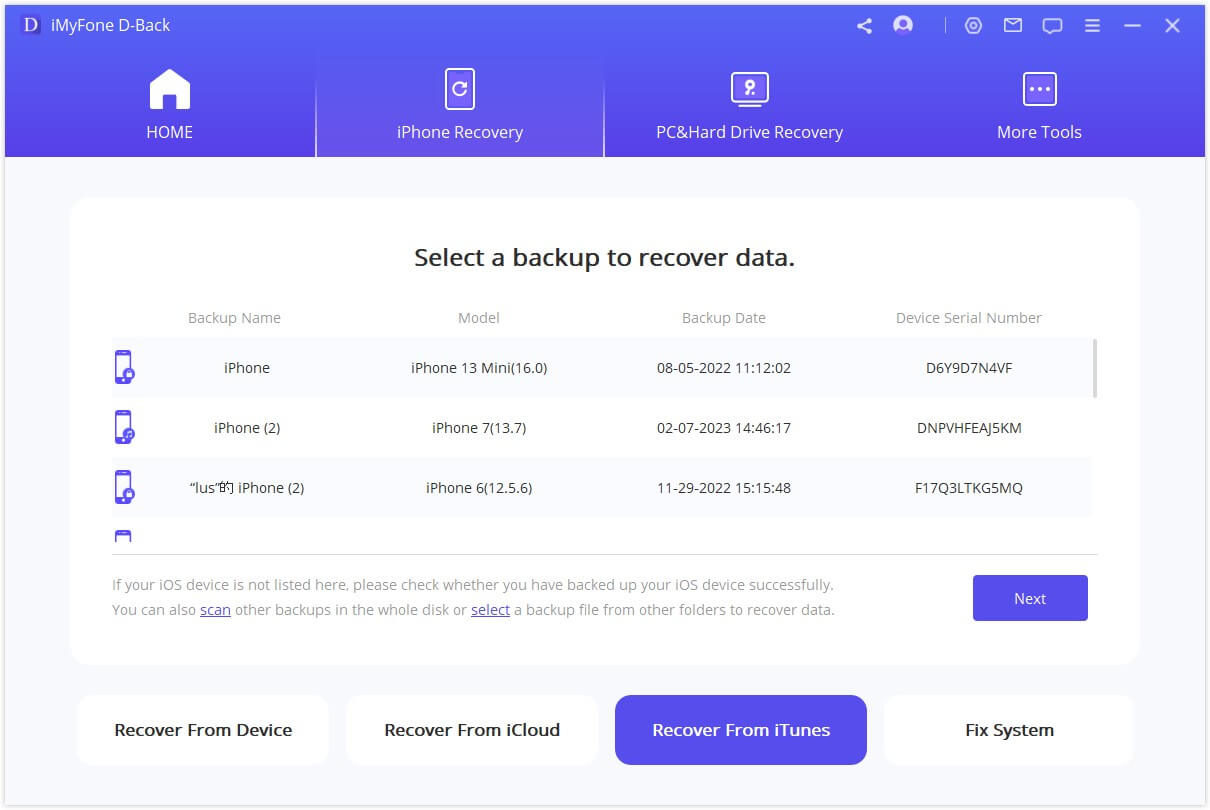
1. Run this software and seelct "Recover from iTunes Backup" and choose the call history fiel type to continue.
2. The pogram will automatically list all your iTunes backups. Choose the one you want to scan.
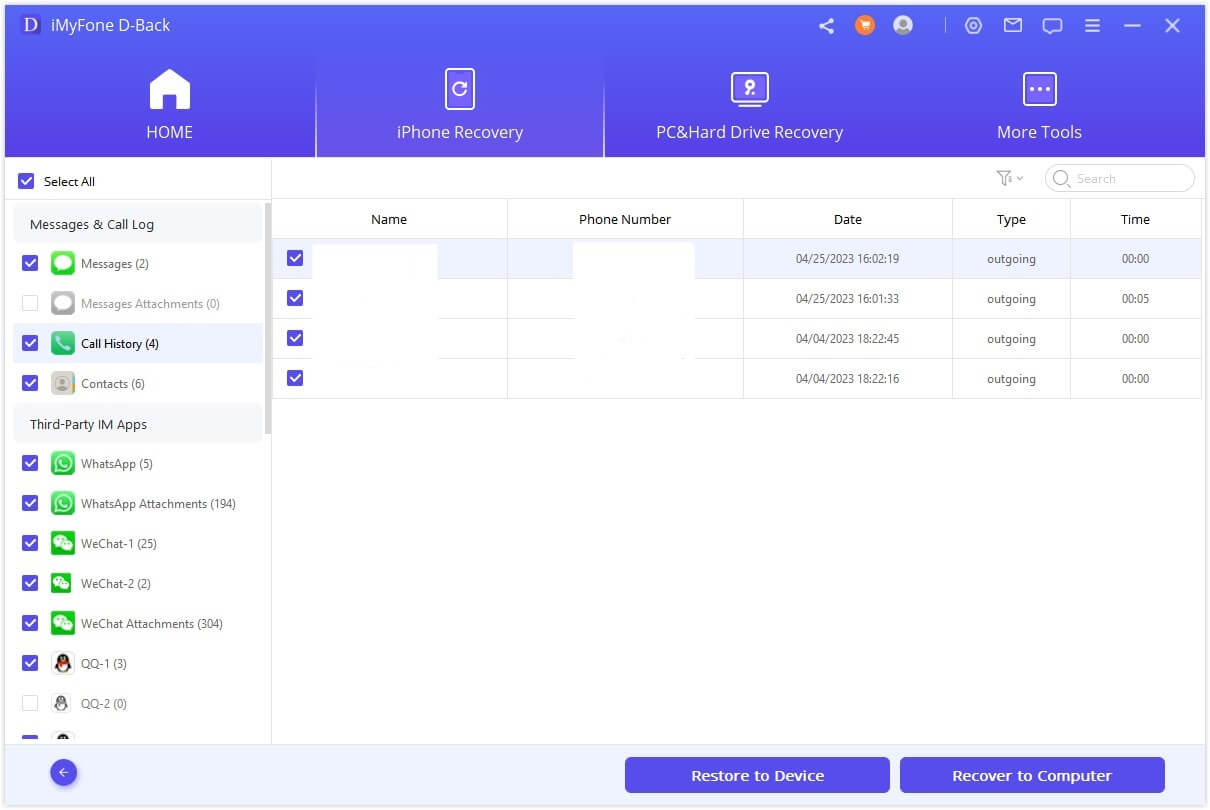
3. Once the scanning finishes, preview the recoverable call logs and only mark what you need to recover.
Steps to Recover Call Logs from iCloud Backup
1. Launch this software and go to "Recover from iCloud Backup". You can only choose call history to scan.
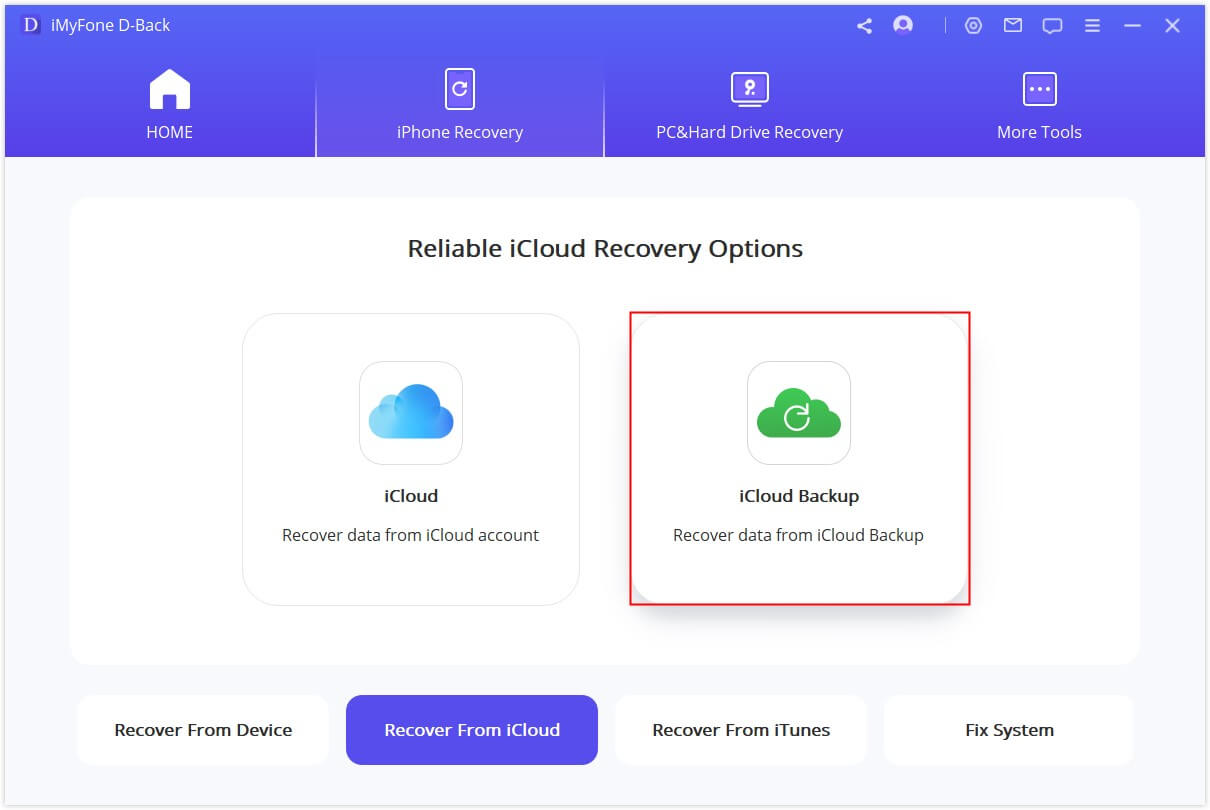
2. Sign into your iCloud account with Apple ID and password. Select the most relevant backup file to dwonload.
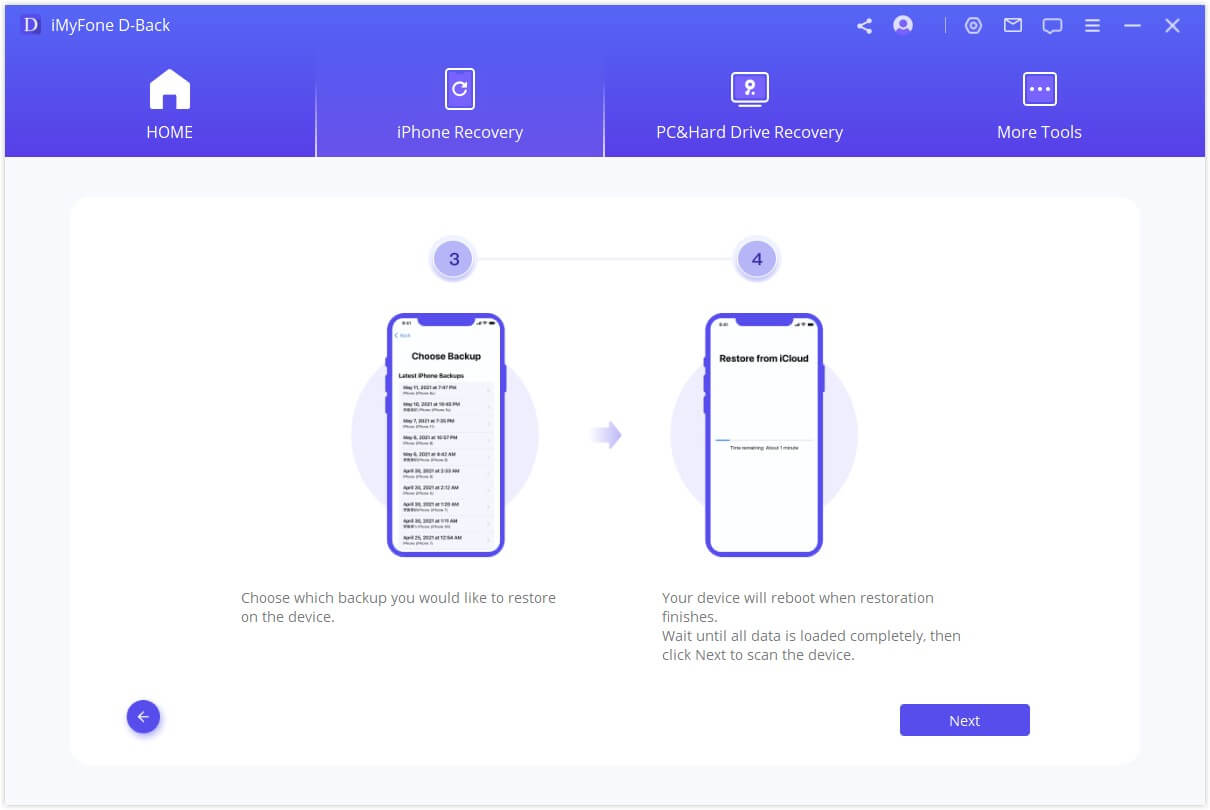
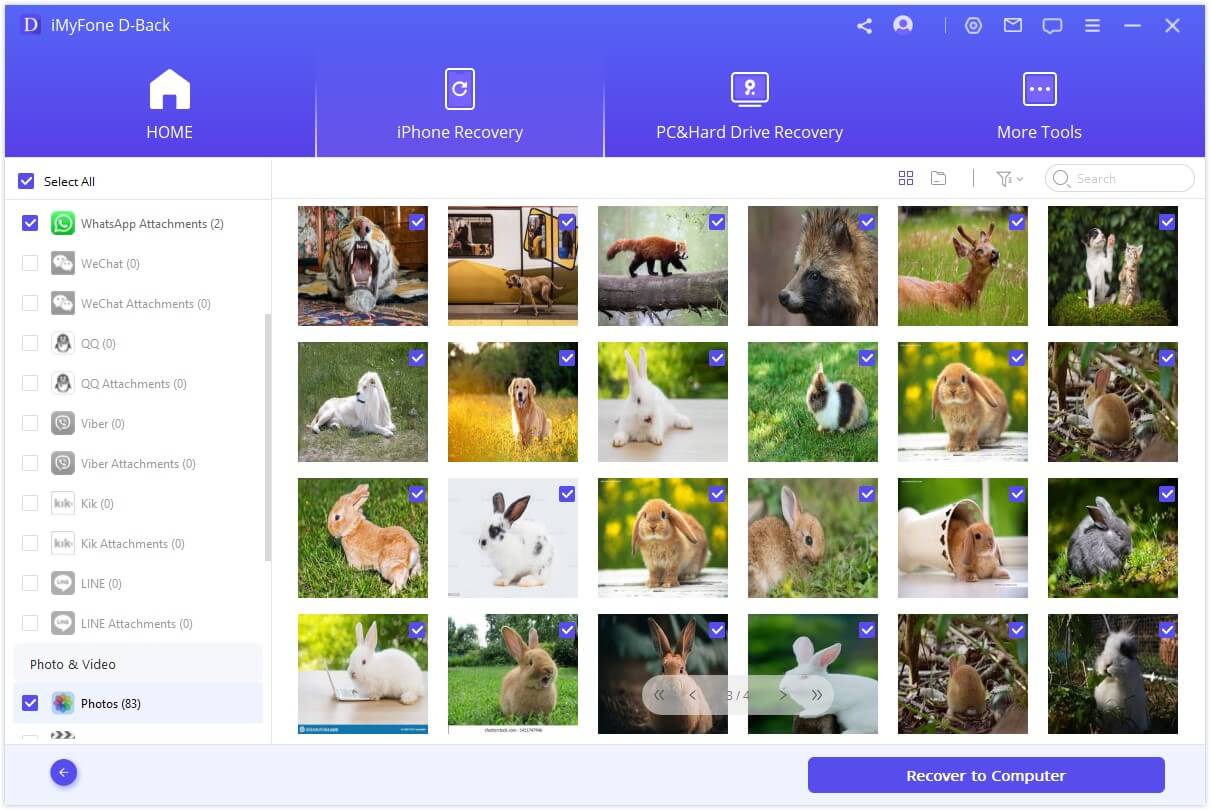
3. After downloading, you can preview and recover your needed call logs to computer.
Call forwarding can be valuable when you can’t answer the phone. The above apps allow you to get even more out of call forwarding. In addition, learning how to get back any call history you may have lost is a very wise idea. You can also try the free version to perform iPhone data recovery (only previewing allows). If you have other good methods, you can also share them in the comment area.


 September 28, 2023