Keeping a smartphone which is as feature heavy as an iPhone clear of clutter can be a major challenge. If you have owned one in the past, then you no doubt can appreciate the major problems that using an iPhone to manage photos can be like.
Do you find that this problem regularly holds back your enjoyment of your photos? Do you spend more time swiping than you do enjoying old photos?
Then we’re going to have a look at the best ways to manage photos on iPhone without needing to do too much.
Part 1 How to Manage Photos on iPhone
1 Delete Photos
The best thing that you can do to manage photos on your iPhone is to simply delete them.
- Launch Photos apps on your iPhone. Photos will be displayed according to Years > Collections > Moments. Head into Moments.
- Hit “Select” button at the top right corner and check unwanted photos, and tab “Trash” icon at the bottom right corner to delete them.
- The deleted photos will be added into trash folder called “Recently Deleted”. If you want to totally remove them, go to “Albums” tab at the bottom and hit “Recently Deleted” album. Tab “Select” button at the top right corner and choose “ Delete All” at the bottom left corner.

2 Compress Photos
Sometimes, though, you want to just manipulate a photo and change the size of it via compression. That’s fine.
- Head into Photos on your iPhone. Select some photos and hit “Action” button at the bottom left corner, and tab “Mail”.
- It will turn to “Mail” app. Fill in “To” and “Subject”. Tab “Send” button at the top right corner.
- Choose the size hat suits what you need most. Compressed photos will be send to your email.
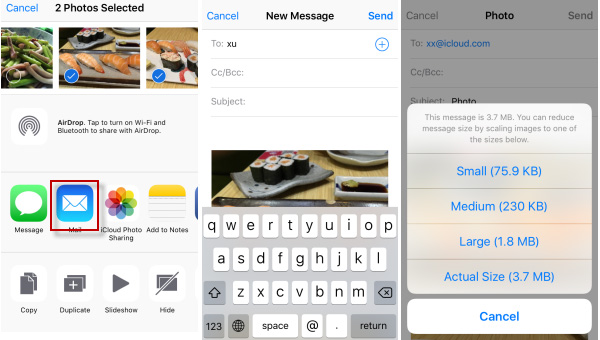
Note
At most 5 photos can be compressed at the same time. If you just want to keep the compressed photos on your iPhone, you can download the ones from email and delete the original ones. I suppose you may think it is not easy to do so. However, there is another way to compress photos easily below.
3 Transfer Photos to PC
The third option that you can turn to easily manage photos on iPhone , though, comes from backing up photos to computer.
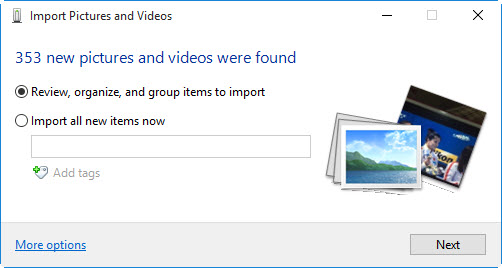
- Simply connect your iPhone to PC, and “Autoplay” windows will pop up.
- Select “Import Pictures and Videos” option.
- Browse through your files to select photos. Then tab “Import” option to transfer photos to your PC.
Part 2 All-in-One Solution to Manage Photos on iPhone
However, all of the above are tricky and at times can lead to mistakes even when you follow the rules exactly. If you wish to sort this problem out then the simplest solution exists – you just need to load iMyFone Umate Pro, on your computer, which is the well-known iOS cleaner. This is a well-loved piece of software. Its Photos function can do the above things once, deleting, compressing and transferring photos, with only one click. So, to completely manage photos on iPhone, you’d better consider this all-in-one solution.
People who want to manage photos always want to free up more space for new content. This is what iMyFone Umate Pro can do for you easily. It offers simple and easy features such as;
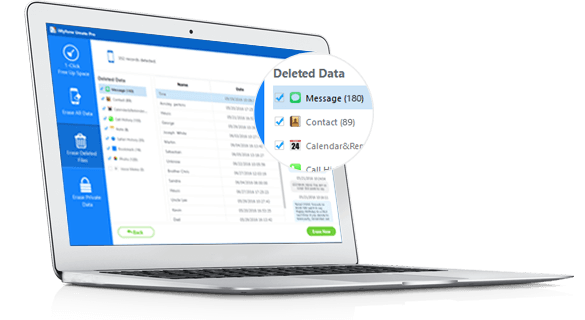
iOS Cleaner: iMyFone Umate Pro
- Clean as much as 30 types of junk files and temporary files once.
- Manage large files according to different file sizes. Large files will be backed up first.
- Back up photos to computer, mass-delete photos or losslessly compress photos and save 75% photo space.
- A bulk of apps can be removed at once.
- One-touch erasure to permanently wipe all data on iPhone or just the selective ones, 100% unrecoverable.
- Find out simply deleted files and completely erase them.
3 Simple Steps to Completely Manage Photos on iPhone
1. Connect your iPhone to computer where iMyFone Umate Pro locates.
2. Hit “Quick Scan” button to do a full space analysis on your iPhone.
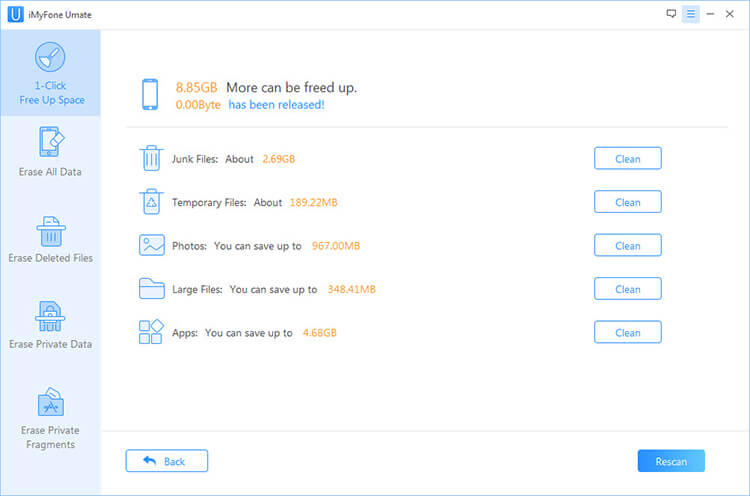
3. Tab “Clean” button beside “Photos” and choose “Backup & Compress” or “Backup & Delete”. Then you can select photos to manage.
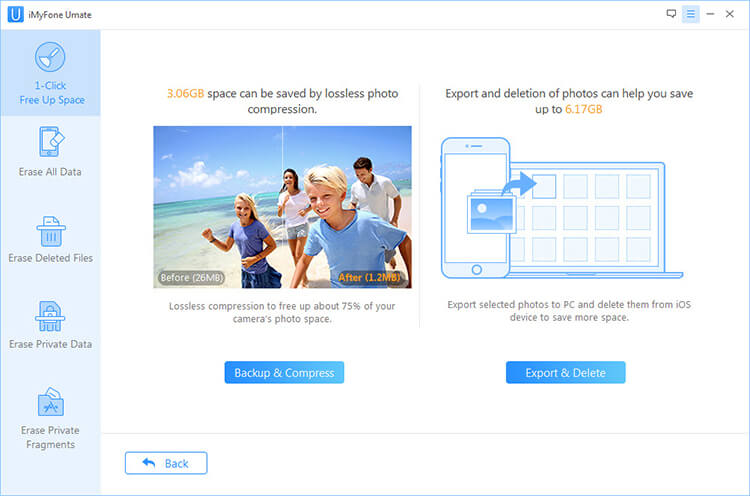
- Compress Photos: One-click to cpmpress all photos on your iPhone. The visible quality will not be affected, but you will have 75% free photo space.
- Transfer Photos to Computer: You have the choice to transfer original photos to computer before compressing or deleting.
- Clean Photo Cache: You may not be aware that photos or camera would produce cache, but that's true. Just a few steps and all photo cache can be thoroughly cleaned once. It is for free trial. You should have a shot.
- Permanently Delete Photos: Manually deleting photos is not permanent. Deleted photos can be recovered in other words. With advanced overwriting technologies, your iPhone photos can be completely destroyed, 100% unrecoverable.
- Erase Deleted Photos: If you have already deleted some photos, it is the best choice to wipe your worries about privacy leak. Previously deleted photos will be found out and permanently deleted. Even the best recovery tool cannot retrieve them.
Part 3 Useful Tips to Manage Photos on iPhone
To manage this process easily, you need to know how to manage some of its key features.
Create new photo albums. Head into Albums in Photos app > hit the “+” sign at the top left corner > type the name for new album and hit “Save”. Now you can have specific folders like you do for all of the pre-sets that Apple provides.
Add photos into new albums. Go to your “All Photos” album > tab ‘Select’ at the top right for simplicity > check some photos you want to manage > hit ‘Add To’ for simple completion.
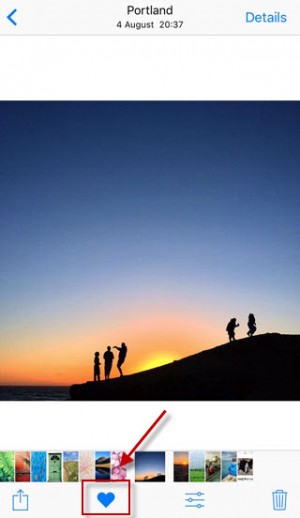
Favourite an image. When you view a photo, there is a small love heart at the bottom center. Tab it and the photos will be added to the “Favorites” album.


 March 12, 2024