We recently received an email from one of our users who complained of the right side of their screen being completely unresponsive. Their email sounded something like this:
If your iPhone screen or a section of the screen is unresponsive, there are several things that you can try to fix the problem. In this article, we are going to show you some of the best solutions.
Causes of Right Side of iPhone Screen Not Working
In many cases, the screen's unresponsiveness can be caused by software-related issues. This is especially true when you are certain the device is not broken in any way.
Other times, the problem is caused by a hardware issue such as a broken screen or any other hardware component.
Part 1. 3 Tips before Fixing This Issue
Before we get to some of the more advanced ways to repair the device, the following are just some of the simple checks you can undertake.
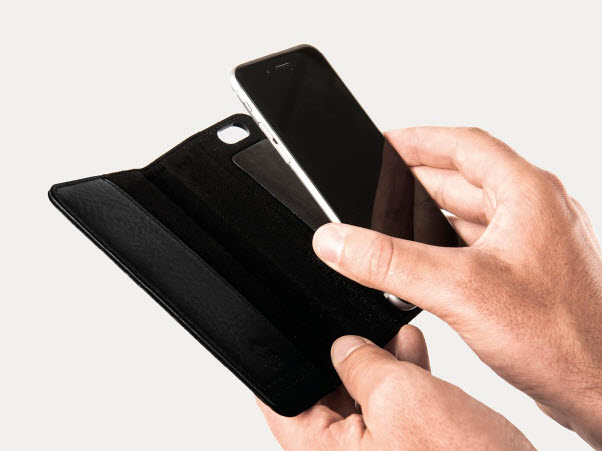
1. Remove Screen Protector
If you have a screen protector on the screen, remove it. Some of these protectors are low quality and can easily interfere with the screen's responsiveness.
Once you have removed the protector, try touching the screen to test the responsiveness.
2. Clean the iPhone Screen
Dirt or accumulated dust on the screen can also cause the right side/bottom of screen become unresponsive. The following tips should help you effectively clean the screen.
- Remove the device from the charger and turn it off completely before cleaning to avoid damage.
- Use a microfiber cloth to clean the screen. Avoid rough materials that may scratch the screen.
- Do not spray liquid cleaners directly on to the screen. Spray the cleaner on the cloth instead and wipe the screen gently.
- Avoid pressing the screen too hard when cleaning.

3. Backup Your iPhone Data
If removing the screen protector and cleaning the screen doesn't seem to fix the problem, you may need to implement a more advanced solution. So we recommend taking a moment to back up all your iPhone data first.
Before checking the details of each method, you can have a brief view of the comparison table.
| Success Rate | Difficulty | Required Time | Data Loss | What Can Be Fixed | |
|---|---|---|---|---|---|
| iMyFone Fixppo | 100% | Easy | Short | No | All system/software issues |
| Force Restart | 30% | Easy | Short | No | A few software issues |
| Update iOS Version | 50% | Easy | Long | No | Some software issues |
| Reset All Settings | 30% | Easy | Short | Yes | A few software issues |
| Restore in Recovery Mode | 80% | Complex | Long | Yes | Most software issues |
| Erase All Content & Settings | 80% | Complex | Long | Yes | Most software issues |
Part 2. Top 6 Ways to Fix Right Side of iPhone Screen Not Working
The following are just some of the best ways you can fix the right side of the screen not working.
Way 1. The Best Way to Fix Right Side of iPhone Screen Not Working without Affecting Data
Like we've mentioned before, this problem is often an indication that there is something wrong with the software. The best way to repair any software issues is to use an iOS system repair tool and the best repair tool to use is iMyFone Fixppo.
This tool is designed to help repair all kinds of iOS-related problems including eliminating issues that can cause the iPhone screen not working. The following are just some of the features that make Fixppo the ideal choice.
- It is useful in fixing all kinds of iOS-related problems with a 100% success rate.
- The standard mode will fix the device without data loss.
- It is very easy to use. As you shall see, a few simple steps repair the device in just a few minutes.
- It is compatible with iOS versions from iOS 7 to iOS 16/17/18 beta/18 on all iOS devices including the newest iPhone 15.

Download and install Fixppo on to your computer and then follow these simple steps to fix this problem.
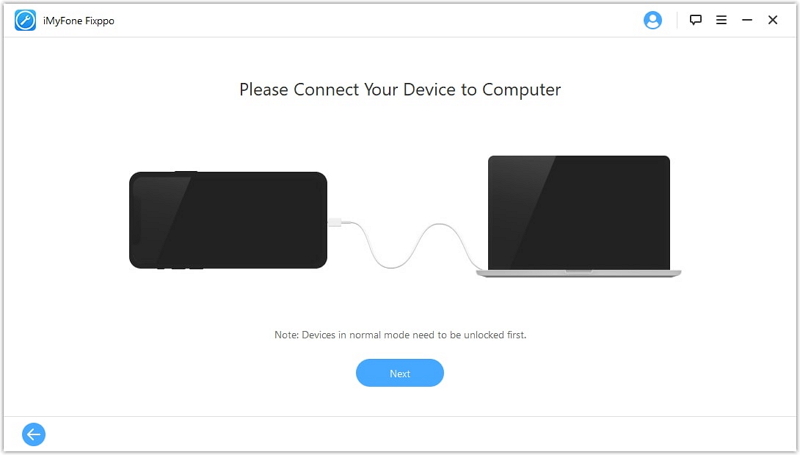
Step 1: Open Fixppo and select the "Standard Mode" from the options on the main window. Connect the iPhone to the computer and click "Next". You may need to unlock the device to allow the program to detect it.
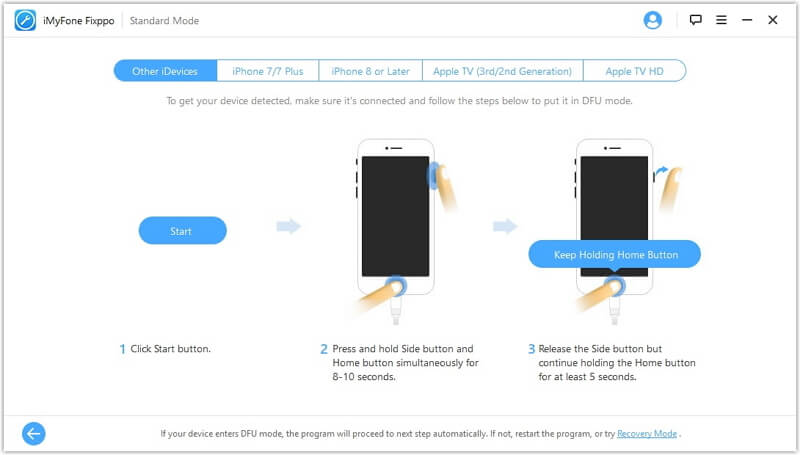
Step 2: If the device is not immediately recognized, follow the on-screen instructions to put the device in DFU/Recovery mode.
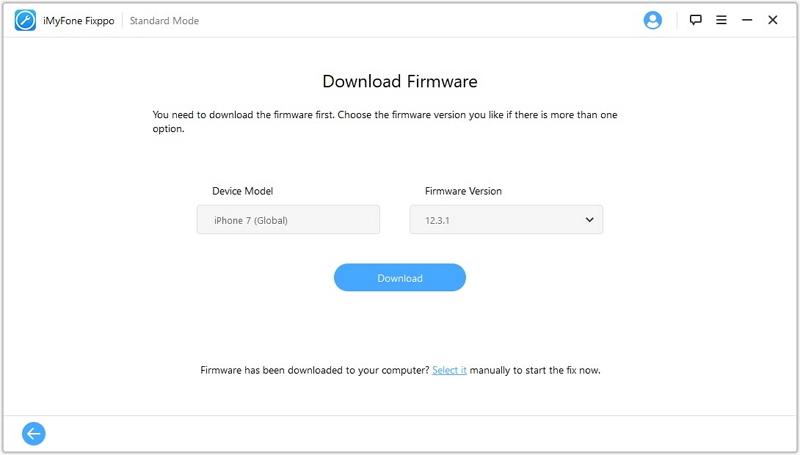
Step 3: Once the device is in recovery or DFU mode, click on "Download" to download the firmware for the device.
Step 4: When the firmware download is complete, click "Start" to begin the repair process and keep the device connected until the process is complete.
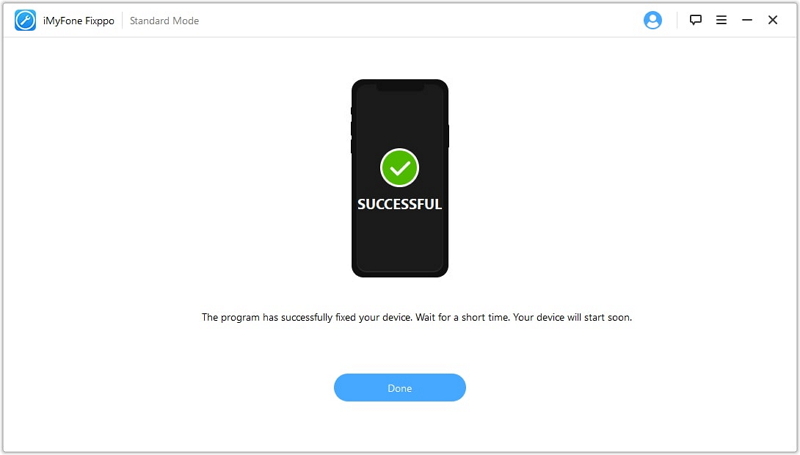
Fixppo is a must-have for all iOS device users even those who are using iPhone 14 since it can help you overcome iOS issues with little or no technical input from you. Download the free trial feature to try it today.
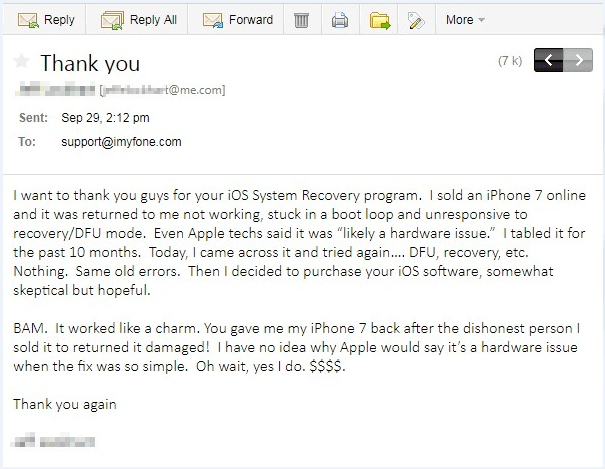
Way 2. Force Restart Your iPhone
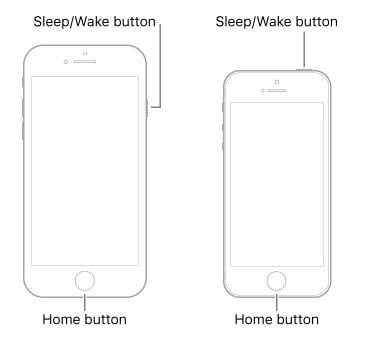
Force restarting the device has also been known to be an effective solution to this problem. Here's how to force restart your device.
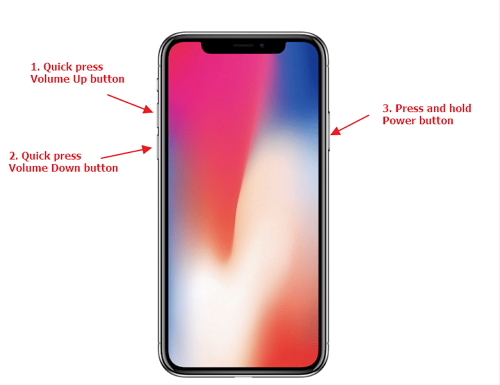
iPhone 8 and later (including iPhone 12)- Press and quickly release the volume up button, press and release the volume down button and then press and hold the power button until the Apple logo appears.
iPhone 7 and 7 Plus - Press and hold the power button and the volume down button until the Apple logo appears.
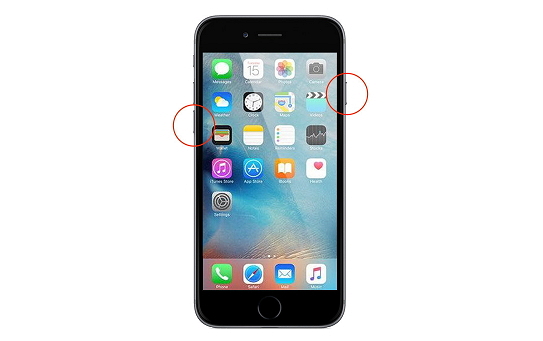
iPhone 6 and earlier - Press and hold the home button and the power button until the Apple logo appears.
Way 3. Update iPhone OS to The Latest
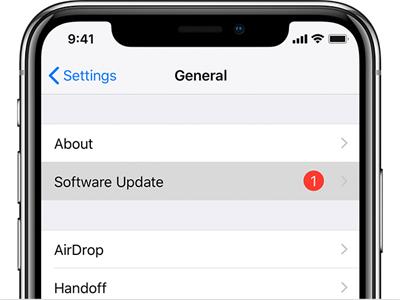
An iOS update will often have bug fixes that can repair a device with an unresponsive screen.
To update the iOS go to Settings > General > Software Update. If there is an update available, tap "Download and Install" to update the device
Way 4. Reset All Settings
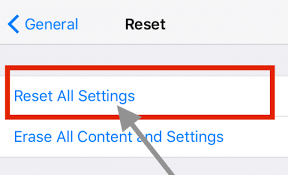
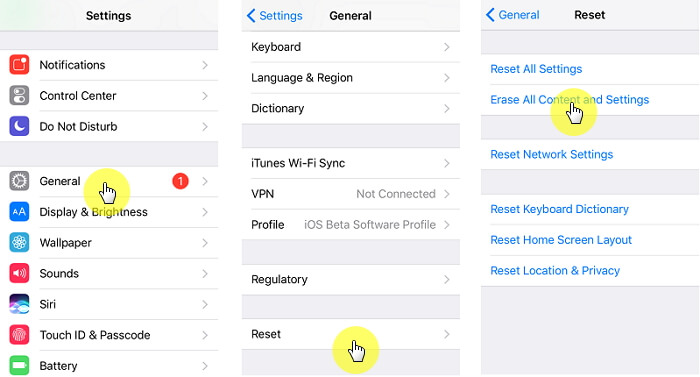
Resetting all the settings is also a great way to troubleshoot this problem. To do it go to Settings > General > Reset > Reset All Settings and enter your passcode before confirming the reset.
Way 5. Restore iPhone via iTunes in Recovery Mode
If the above troubleshooting tips fail to work or iTunes fails to recognize the device, you can try to restore the firmware without iTunes. Follow these simple steps to do that:
Step 1: Connect the iPhone to the computer using USB cables and open iTunes. When the device is connected, put the device in recovery mode using the following procedure.
For iPhone 8 or Later (including iPhone 12)- turn off the device and then hold the top button until you see the recovery mode screen.
For iPhone 7 and 7 Plus - turn off the device and then hold the Volume Down button until you see the recovery mode appears screen.
For iPhone 6s or earlier - turn off the device and then press and hold the Home button until the recovery mode screen appears.
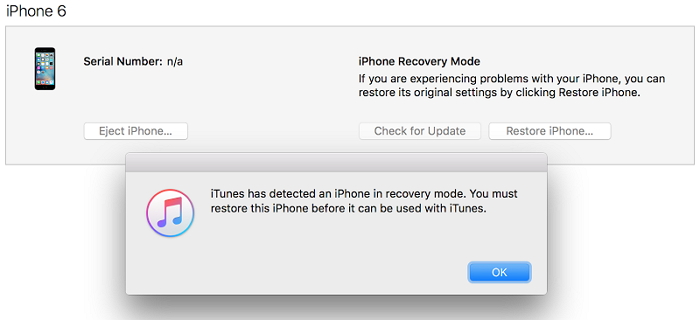
Step 2: iTunes will detect the device in recovery mode. When prompted, choose to "Restore" the device and wait while iTunes restores the device and it exits recovery mode.
Way 6. Erase All Contents and Settings
The last resort is to erase all the contents and settings on your device and by so doing, erase all the settings that could be causing the problem.
To erase all contents and settings on your device, go to Settings > General > Reset > Erase All Contents and Settings and then enter your passcode.
Set up the device again after the process is complete to see if the problem has been fixed.
Conclusion
The solutions above can all be ideal when faced with an unresponsive right screen on iPhone. Choose a solution suitable for your situation. As usual, we love to hear from you, simply post your questions, comments, and concerns in the comments section below and we'll do our best to help.


 March 28, 2025
