There are many individuals who have experienced some issues when they play their iPhone music. Some of them have experienced iPhone music keeps pausing and some users have experienced even iPhone music keeps stopping.
In addition to that, some users say that they experience the same issue frequently when playing music over headphones. Well, if you have faced this issue recently, here are the top 11 ways to fix it.
Part 1. Back up Your iPhone First
One of the major aspects you should consider before opting to repair your iPhone is to create a backup of your device. In fact, creating a backup is exceptionally important aspect no matter what sort of repair you intend to carry out.
Such approach helps reducing the risk of losing your iPhone data. When it comes to creating backups, there are two main options before you. You can use the official way or a professional tool (both of which are explained below).
The official ways of creating backups are iCloud and iTunes. Both of these options are offered by Apple and you don’t need to download any third-party tool therefore. However, both of these options allow you to create full backups only. That means, they don’t offer you the opportunity of creating selective backups. Also, they can affect the existing data on your device.

Part 2. 11 Ways to Solve iPhone Music Keeps Pausing
Now you know the importance of creating a backup and the ways of creating those backups, let’s learn how to solve “iPhone music keeps stopping” issue for the good.
Way 1. Restart Your iPhone
One of the most basic fixes you can use to address this issue is restarting the device, the method that also works when your iPhone music plays on its own. Although this fix sounds absolutely simple, it works for most of the users. Please note that the steps vary depending on the model of the device you use.
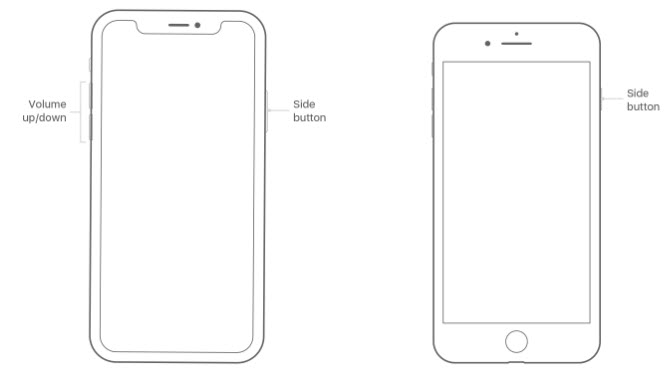
For iPhone 8 and iPhone 7
Step 1: As the first step, you should press and hold the Side button so you will see the slider.
Step 2: Drag the slider so you can turn off the iPhone.
Step 3: After about 30 seconds, press the Side button once again so the Apple logo will appear.
For iPhone X
Step 1: Press the side button and any of the volume buttons simultaneously and hold them to see the slider of the iPhone.
Step 2: To turn off the iPhone, you should drag this slider.
Step 3: Wait for about 30 seconds and long-press the side button once again to see the Apple logo.
In most of the cases, this should fix the issue for you.
Way 2. Uninstall & Reinstall the Music App
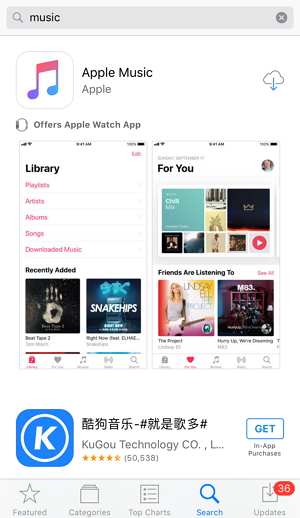
Sometimes, the issue might be associated with the Music App. In that case, uninstalling and reinstalling the app might work.
Step 1: Locate any of the icon on the home screen and long press on it so all the icons will start to jiggle. There will be a small “X” icon on the upper-left corner of the apps. Tap on this icon located on the Music App.
Step 2: Now, there will be a confirmation box with Delete button. Tap on it to confirm your action.
Step 3: Install the same app from the App Store. (it is much better if you can restart the device after deleting the app).
Way 3. Remove and Re-download Songs
If you don’t fix it yet, you may have to try removing and downloading the songs once again. Listed below are the steps to follow in this case.
Step 1: Go to Settings app and select General.
Step 2: Tap on Storage & iCloud Usage.
Step 3: Tap on the option called Manage Storage so you will see a list of the iPhone apps. You can now locate the Apple Music app as well.
Step 4: Select the option called Music and click on Edit. Then, if you need to delete all the songs, you should select “All Songs”.
Step 5: Tap on the Delete button to finish the process.

Way 4. Update iOS Version to Latest
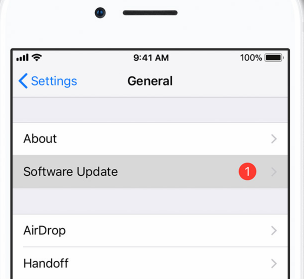
In many cases, the issue might be related to iOS. In this case, you should update it to the latest to fix the issue. Following are the steps to follow in order to update the iOS version.
Step 1: Go to Settings and locate the option called General.
Step 2: Then, select Software Update.
Step 3: Now, tap on the option called Download and Install.
Step 4: Tap on Install to update the iOS now. If prompted, provide the passcode of the device.
Please note that your device must be connected to a Wi-Fi network and have enough power (at least 60%) before performing this update.
Way 5. Turn off Siri
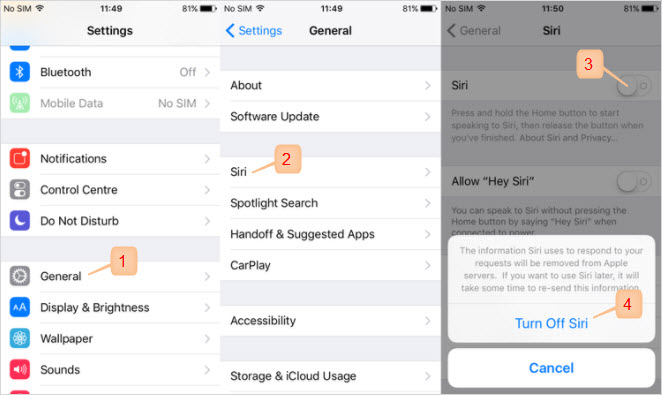
Turning off Siri is another way you can try to fix this issue. That is because, each time when the Siri is woken up, it can affect the music play.
Step 1: Open Settings app and go to General.
Step 2: Tap on the option labeled Siri and switch off the button next to it.
Step 3: Confirm your action simply by tapping on “Turn Off Siri” option.
Way 6. Reset Network Settings
Sometimes, resetting the network settings may help to fix when the music is not working normally.
Step 1: Go to Settings app and select General.
Step 2: Go to Reset and tap on the option labeled Reset Network Settings.
Step 3: Provide the passcode if asked.
Step 4: Confirm your action by tapping on “Reset Network Settings” once again.

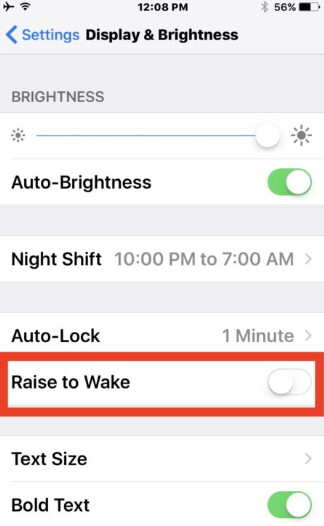
Way 7. Disable Raise to Wake
Another helpful way to fix this issue is disabling the option called Raise to Wake.
Step 1: Open Settings app and select Display & Brightness.
Step 2: Turn off the feature by toggling the button.
Way 8. Re-sync music from iTunes
This is another way to resolve potential issues associated with music. You can use iTunes to re-sync all the songs back to your device so the issue has occurred due to damaged files and it will be resolved after re-syncing the songs.
Way 9. Change to Other Headphones
For some users, the issue might be a hardware related one. For instance, due to faulty headphones. So, just try a different set of headphones to see if the problem is solved.
Way 10. Fix iPhone Music Keeps Pausing without Data Loss
If you are looking for a method that fixes this issue without causing any data loss, you should try a professional tool like iMyFone Fixppo. It is a powerful software that can address plenty of issues related to iOS devices.
Follow the steps mentioned below ty fix your iOS device without causing any data loss.
Key Features:
- The software's "Fix iOS System" feature can deal with numerous iOS problems, such as black screen, white screen, iPhone stuck in recovery mode, restart loops and so on. It can fix the problems with no loss of data.
- iMyFone Fixppo is compatible with almost all iOS devices including iPhone 15.
- It can find the deleted data fast with its four recovery modes.
Limited Time 10% OFF Coupon Code: FARTT91
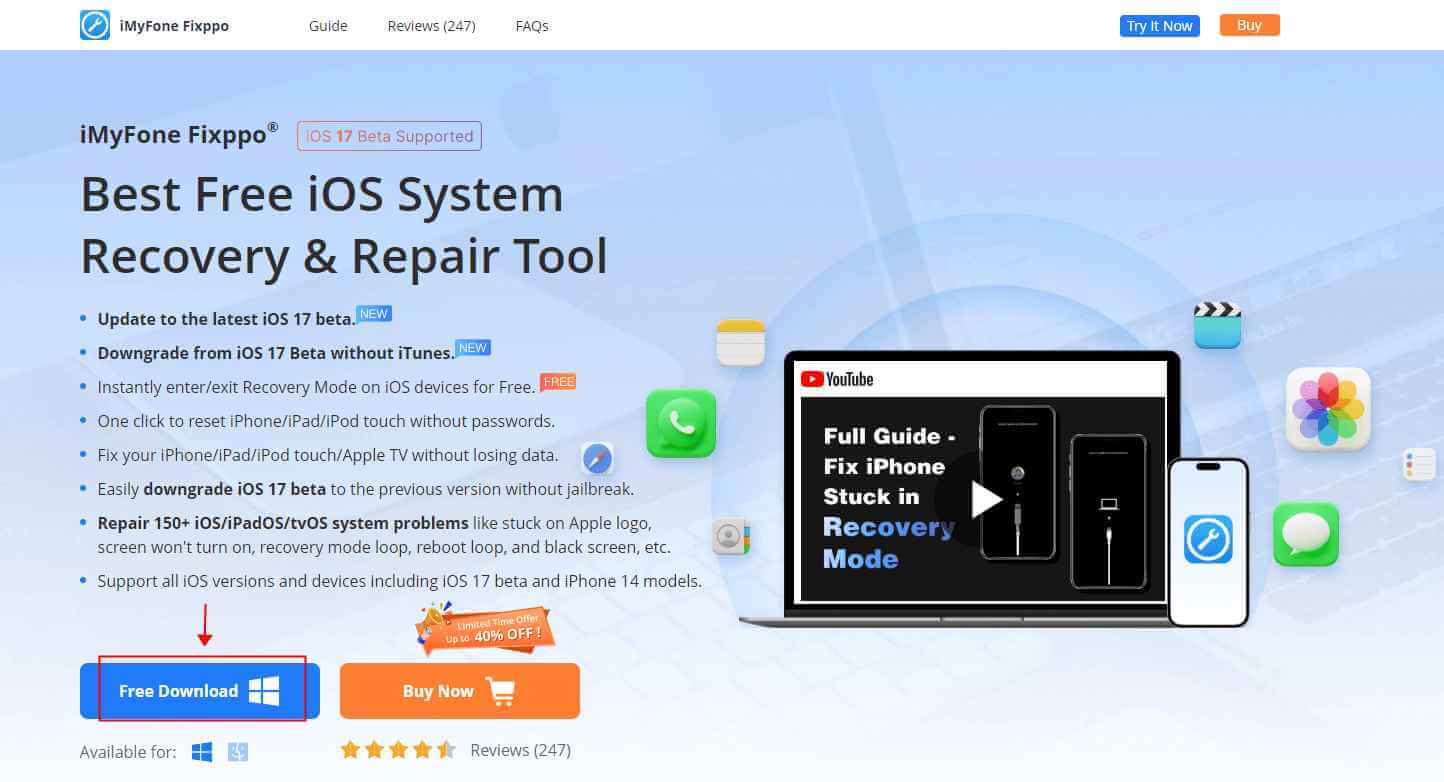
Step 1 – Download and install iMyFone Fixppo on your computer, launch the program and connect your iPhone to the computer using a USB cable.
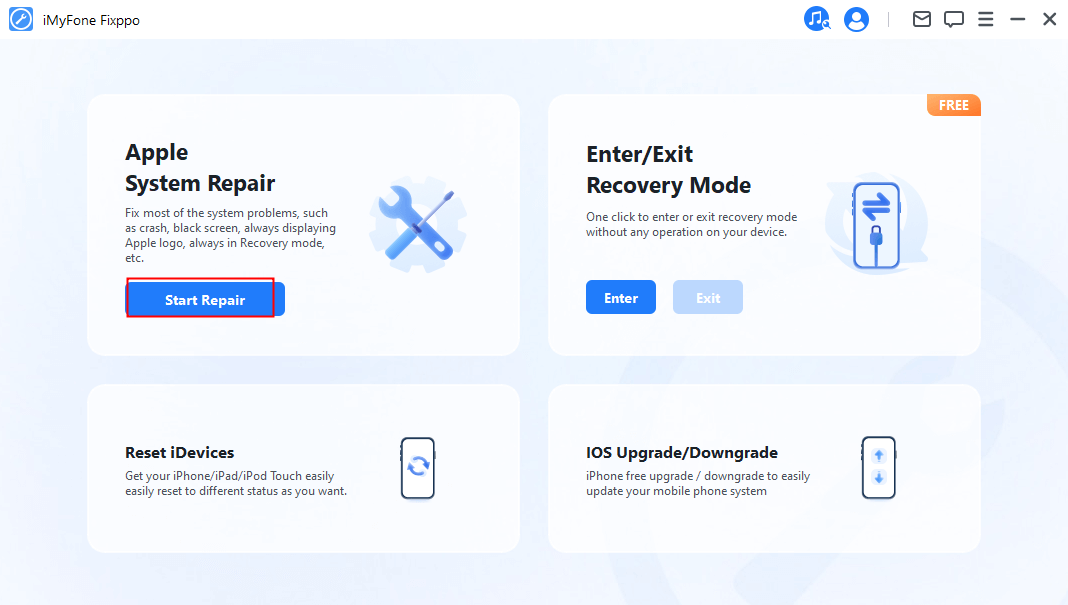
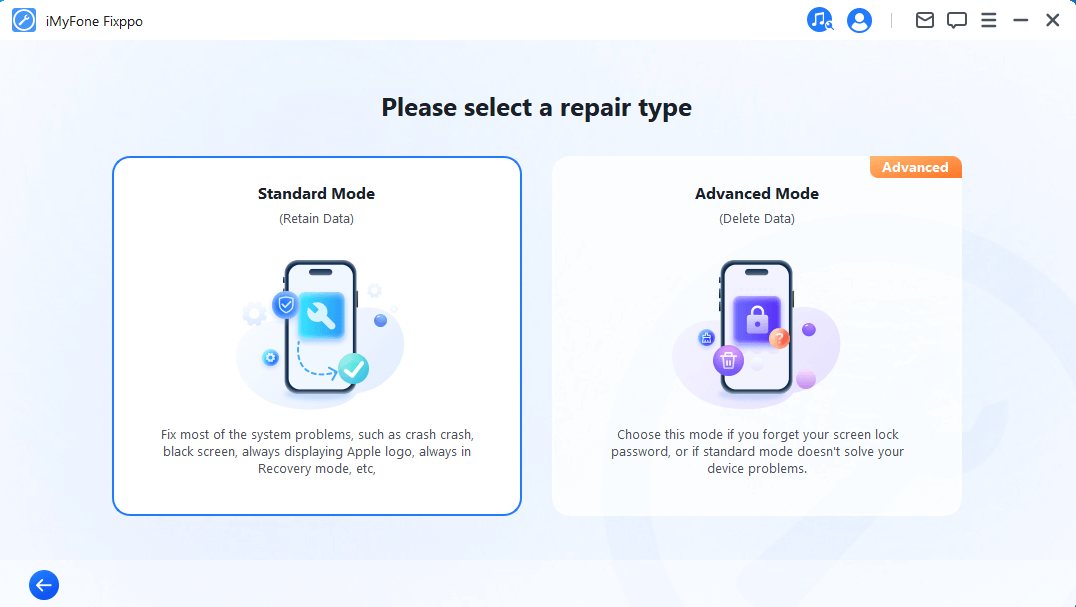
Step 2 – Click the "Start Repair" button and choose "Standard Mode".
Step 3 – Enter Recovery Mode or DFU Mode.
Connect your iPhone to the computer using a USB cable. Follow the on-screen instructions to put your iPhone into DFU or Recovery mode.
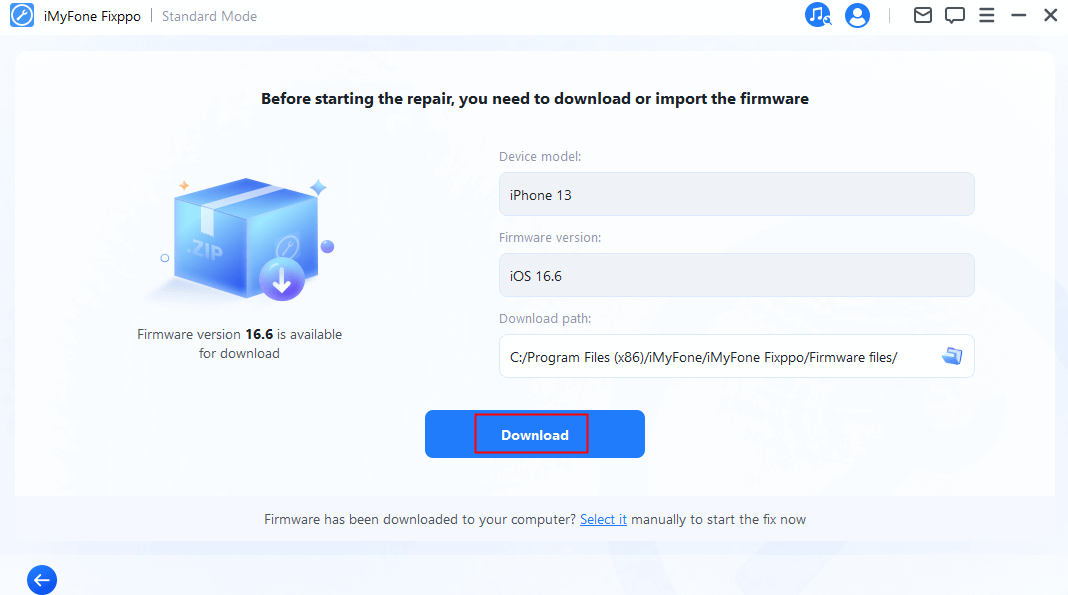
Step 4 – Confirm your device details and download the appropriate firmware packa/bge suggested by Fixppo.
Step 5 – Once the firmware is downloaded, click on "Start Standard Rapair" to initiate the system repair process.
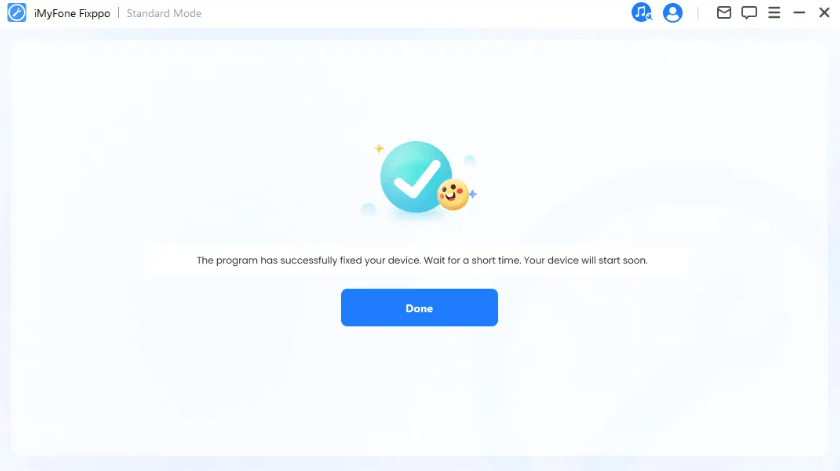
Step 6 – After the repair is complete, your iPhone will restart. Check if the iPhone Music Keeps Pausing is resolved. You may want to know: [2025] Top 12 Ways to Fix iPhone Not Ringing Issue in iOS 17/18
If none of the above options doesn’t work for you, just contact Apple Support Center for further instructions. Sometimes, there might be something wrong with the hardware. Conclusion Well, we hope at least one of the above methods will fix this issue for you and let you enjoy your favorite music on iPhone again. As mentioned in this article, we encourage our readers to back up their important iPhone data before trying any fixes. Also, we appreciate if you can leave us a feedback in the comments section below. 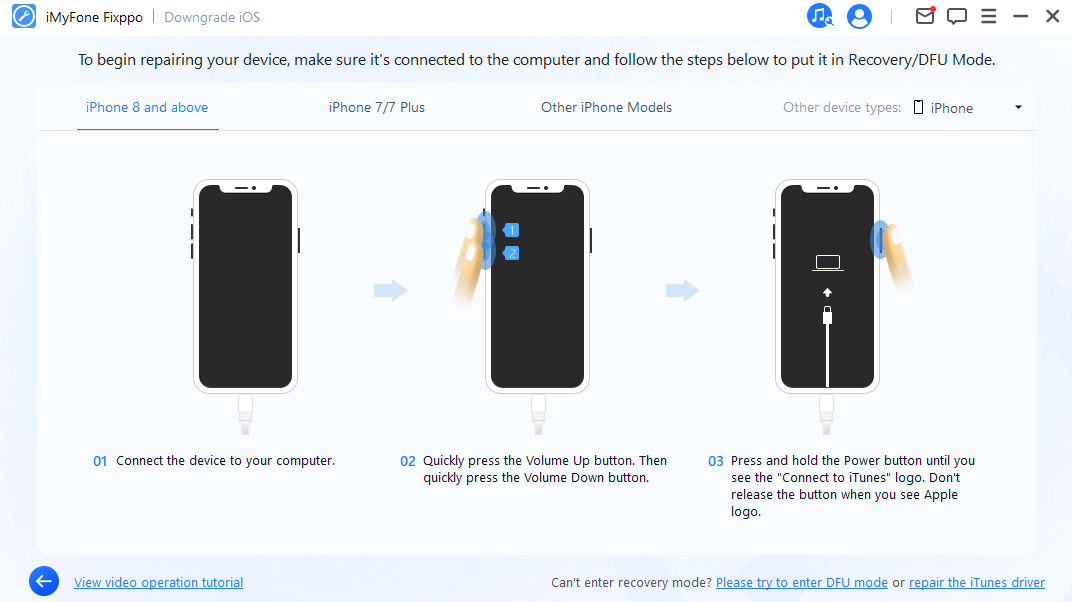

Way 11. Contact the Apple Support Center


 August 8, 2024
