As reliable as the iPhone camera is, it is not without its own shortcomings. There have been a lot of problems with the iPhone camera as new versions of iOS have been released although Apple has promptly fixed any camera bugs with a new iOS update. But now iOS 18/17/16/15/14 users are reporting that the camera freezing at odd times.
If this is you, you’ve come to the right place. Here, we will attempt to offer a number of solutions to fix an iPhone camera that is freezing.
Some Basic Solutions to Fix Camera App Freezing on iPhone
The following are just some simple steps you can take to both help diagnose the problem and fix it.
- Close the camera app for a few seconds before reopening it again.
- Check that you have adequate storage on the device for new photos.
- If you don’t, delete some photos to make room for new ones.
- Try switching from the front to back camera to see if only one of the cameras has a problem. If only one is freezing, it may be a hardware problem and you may need to seek technical assistance to get it fixed. If they are both freezing, it may be a software problem.
More Choices to Fix the Issue
If the above solutions do nothing to fix the problem of iPhone camera not working, try the following solutions to see if any of them can fix the issue.
Tip 1. Force Reboot the iPhone
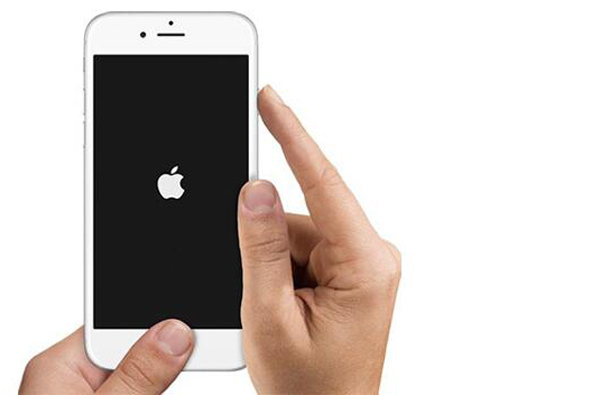
A force-reboot is a great way to fix some minor problems with your iPhone and it may work here as well. Here’s how to do it.
Step 1: Press and hold the Sleep/Wake or Power button until the “Slide to Power Off” slider appears.
Step 2: Slide to turn off the iPhone.
Step 3: Wait at least 30 seconds and press and hold the power button again until you see the Apple Logo and the device restarts.
Tip 2. Close the Camera App and Open it Up Again
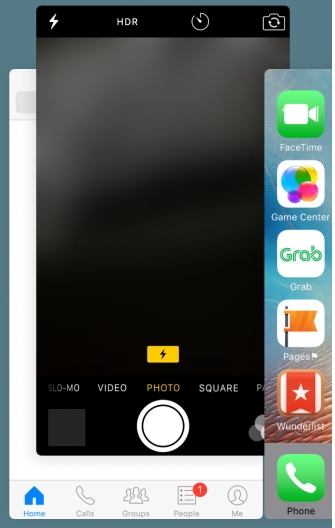
Closing and re-opening the camera app can also easily fix the camera app’s freezing issue. Here’s how to do it.
Step 1: Double-tap on the home button to open the recently used apps.
Step 2: Swipe up from the bottom to close the Camera app.
Step 3: Wait a few seconds and re-open the camera app.
Tip 3. Update the Software to the Latest Version
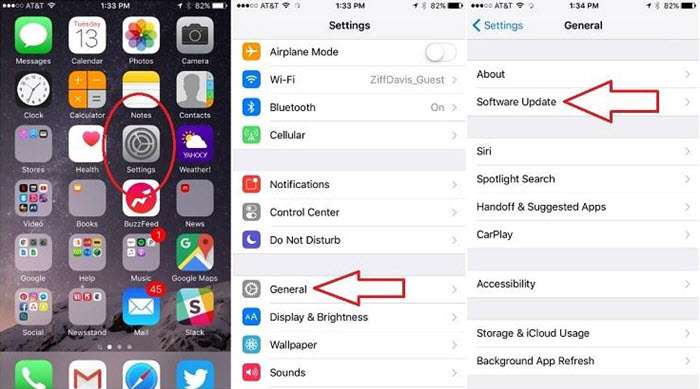
An outdated iOS can cause all sorts of problems with your device. Therefore, if you think that you may not be running the latest iOS 18/17/16/15/14, take a moment to update it and see if the issue is fixed.
Step 1: Open the Settings app on your device and then tap “General.”
Step 2: Tap “Software Update” and if there is an update tap “Download and install”.
Once the update is complete, try using the camera again to see if the problem has been fixed.
Tip 4. Clear RAM on your Device
Follow these simple steps to clear the RAM on your device to fix your iPhone camera freezing on iOS 17/18 issue.
Step 1: Press and hold the Power button until you see the “Slide to Power Off” Slider.
Step 2: Remove your finger from the power button but keep pressing the Home button.
Step 3: If you get to the home screen in a few seconds, you will have successfully cleared the RAM on your device.
Tip 5. Clear iPhone Cache
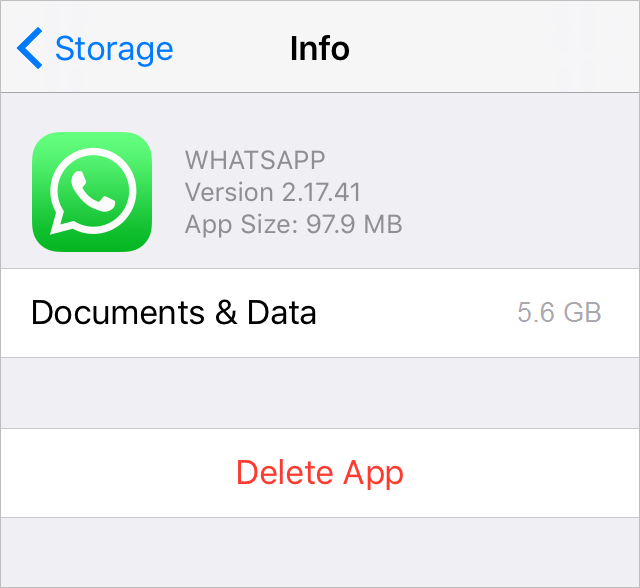
Clearing cache on your iPhone is also one of the ways to fix this issue. Here’s how.
Step 1: Go to Settings > General > Storage & iCloud.
Step 2: Tap “Manage Storage.”
Step 3: Tap on any item under “Documents & Data” and slide it to the left. Tap “Delete.”
Step 4: Ta “Edit” and then “Delete” everything.
Tip 6. Repair this Bug with iMyFone Fixppo (iOS 18/17/16/15/14 supported)
If all the above solutions fail to fix the problem, you may want to consider using a program that is designed to fix iOS system issues including a device that is stuck in recovery mode, the Apple Logo or when certain features on the device are not functioning normally.
This tool is iMyFone Fixppo and it comes with two-modes that can be used to fix the simplest or the most problematic issues with your device. Its standard mode ensures that you won’t lose any data when fixing the device and you can also use it to exit recovery mode in a single click.
Here’s how to use iMyfone Fixppo to fix your device.
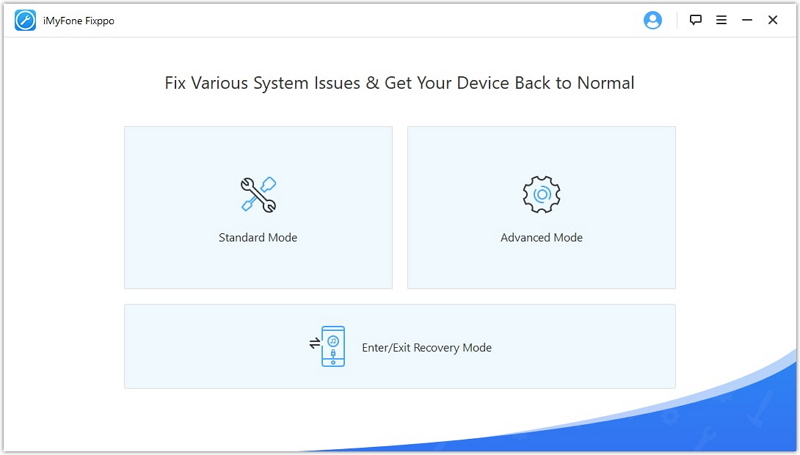
Step 1: install the program on to your computer and then launch it. On the main interface, you should see the three main modes of recovery available. Connect the iPhone to the computer using USB cables. Select the “Standard Mode” which will fix the device without data loss.
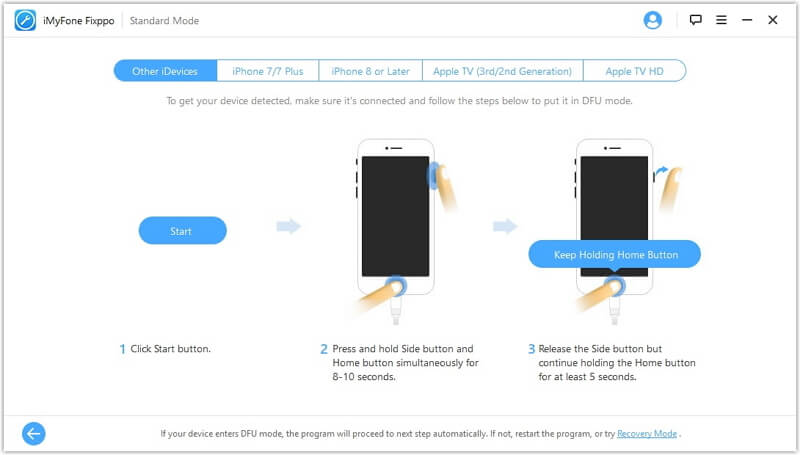
Step 2: Click Start to begin a countdown and then follow the instructions on the screen to put the device in Recovery Mode.
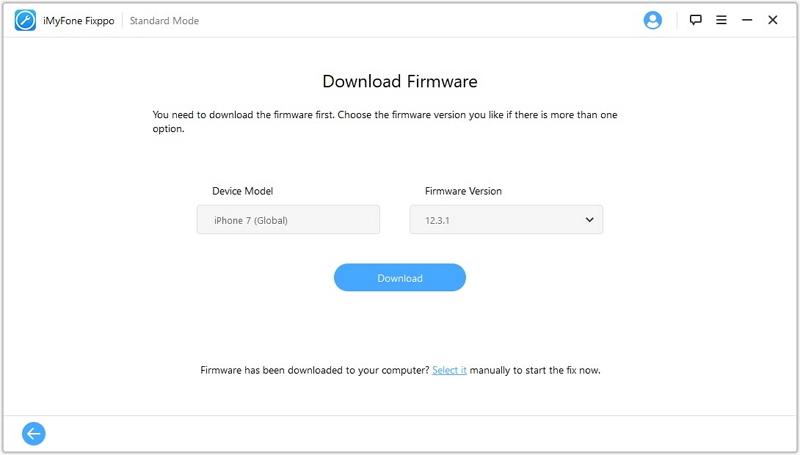
Step 3: Once the device is in Recovery mode, you will be prompted to download the corresponding firmware. Click “Download” and wait while the program downloads the firmware.
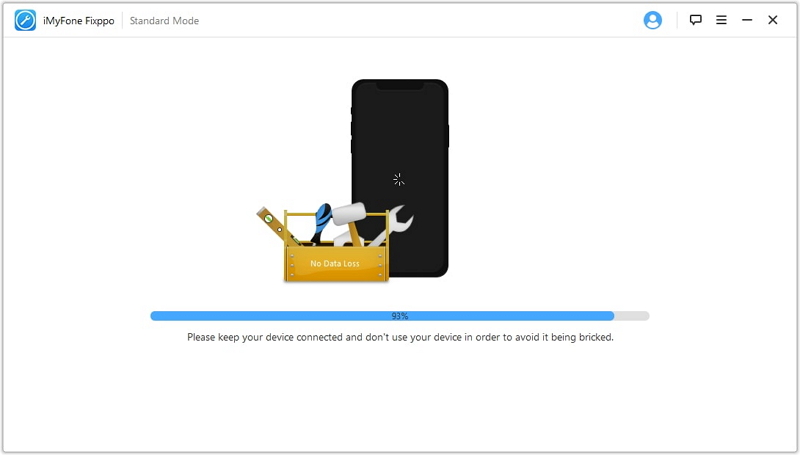
Step 4: Once the download is complete, click “Start Fix” and the program will begin fixing the device immediately. The device will restart in normal mode soon after the process is complete.
Tip 7. Repair Your iPhone with Apple
If none of the above solutions work, you may need to get your device repaired at the Genius bar in Apple stores. If your device is still covered by the warranty, you may be able to get the device fixed for free. If not, Apple experts charge quite a lot as compared to third-party technicians but the quality of service is better than most.
You can go to https://getsupport.apple.com/ to begin the mail-in service or call 1-800-MY- APPLE (1-800-692-7753)
You can also go to https://www.apple.com/retail/geniusbar/ to set up an appointment at the Genius bar. Genius bar appointments will often include a free diagnosis and repairs can often be completed on the spot. Just make sure you have an appointment with the Apple stores are often very busy and you may end up waiting too long.


 March 27, 2025