Have you recently experienced a touch issue with your iPad? Even if you are not using it, the screen is responding all by itself?
If yes, you are not alone.
Many users have complained that the iPad types on its own. It is called iPad ghost typing.
Here you can find some ways to fix iPad ghost typing issue as the problem might also occur because of software issue.
Top 5 Ways to Fix iPad Ghost Typing
If you encounter the problem that your iPad is typing on its own, keep reading then.
Way 1. Clean the Device Screen
This issue might occur if there is something present on the screen and it accidentally got registered on it because the iPad display recognizes only human hands when they touch.
So, clean the iPad screen using a clean microfiber cloth. Don’t spray anything on the screen. Dampen the cloth and rub it over the display to remove unwanted prints on the screen.

Way 2. Restart Your iPad
Many common iPad issues get solved on restarting the device.
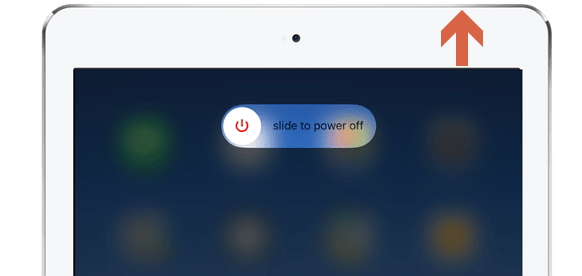
Step 1: Just press and hold the Power or Top button until you see the slider.
Step 2: Slide right to turn off your device. After a few minutes, turn on your iPad and check whether the problem is solved or not.
Way 3. Update iPad to Latest Version
The developers release new iPadOS 14 for fixing bugs and software issues. So, update and check whether the iPad ghost typing issue gets fixed.
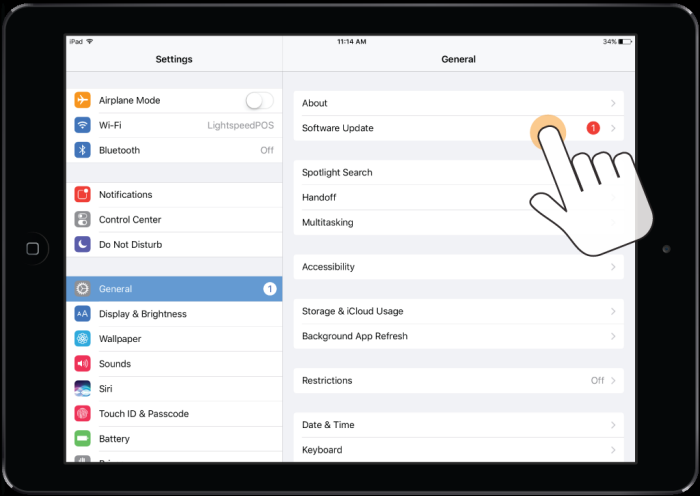
Step 1: Open Settings -> General -> Software Update.
Step 2: The device will start checking for new updates.
Step 3: You can download and install the update if available.
Way 4. Fix iPad Ghost Typing without Data Loss
If you are worried that you will lose the iPad data on fixing this issue, you can use iMyFone Fixppo, which comes with the latest technology to solve various iPad issues without data loss. You just need a few minutes to fix this issues.
- It applies its exclusive technology to fix most iPad-related errors.
- No data loss will be caused when you fix your device problems.
- User-friendly interface and positive results make it the best iOS repair tool in the market.
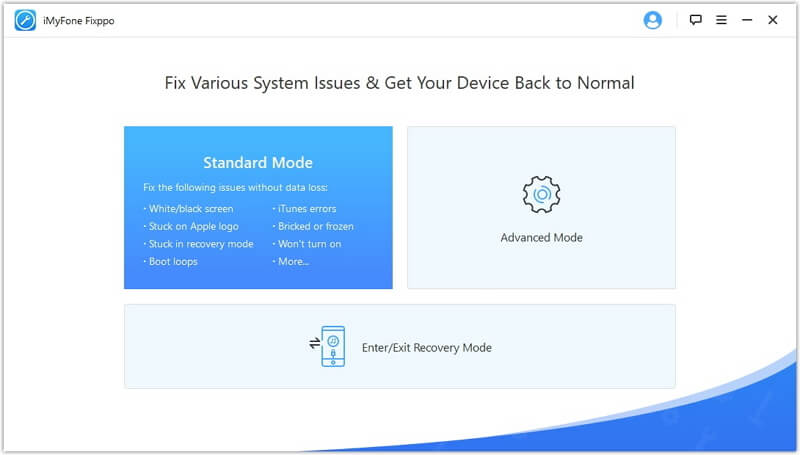
Step 1.Open Fixppo on your computer and click “Standard Mode” which is capable to fix many iPad issues without any loss of data.
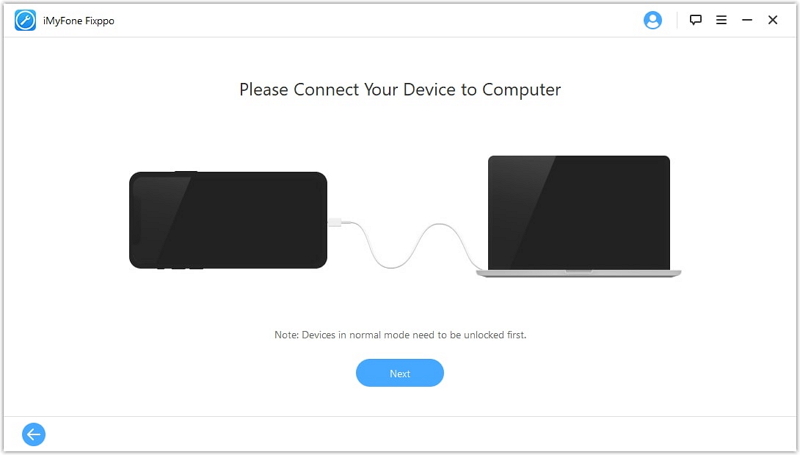
Step 2.Connect your iPad to the computer and click “Next”. On successful detection of your iPad, it will proceed to the next step. In case it does not proceed, you have to put your device in DFU or Recovery Mode.
Step 3.The tool will detect your device automatically and show the latest iPadOS 14 firmware versions. Select the appropriate versions for your iPad and click on “Download”.
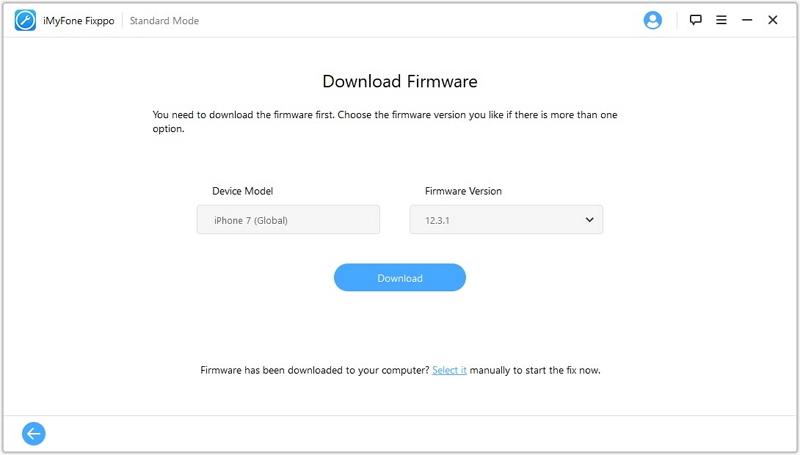
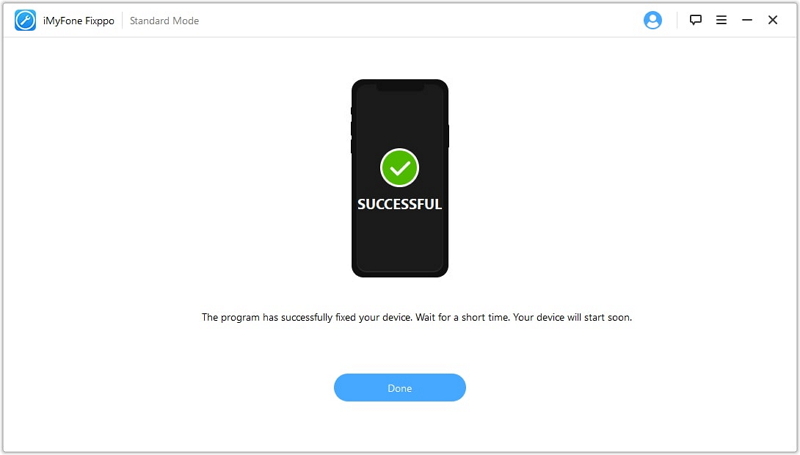
Step 4.Now, check your iPad and the firmware information. Next, click the “Start” button. The process of fixing iPadOS issues will begin immediately. Check if you can restart your iPad normally. After restarting, the issue will get fixed. If it doesn’t restart, you have to retry the above steps or try the Advanced Mode of this tool.
Still hesitate to try it? Do not fret. iMyFone Fixppo has been trusted by many professional websites.

Way 5. Restore iPad via iTunes
If the issue is still not fixed, you have to restore your iPad via iTunes.
Step 1: Open iTunes on computer and connect your iPad. Follow all the onscreen steps and select your iPad that appears in iTunes.
Step 2: Under the “Summary” section, click Restore iPad. In the pop-up window, click Restore again.
Step 3: iTunes will erase all the contents of your iPad and install the latest iPadOS 14 on your device.
Step 4: After Restart, you can set the iPad as new.
Tip. Make a Local Backup before Fixing
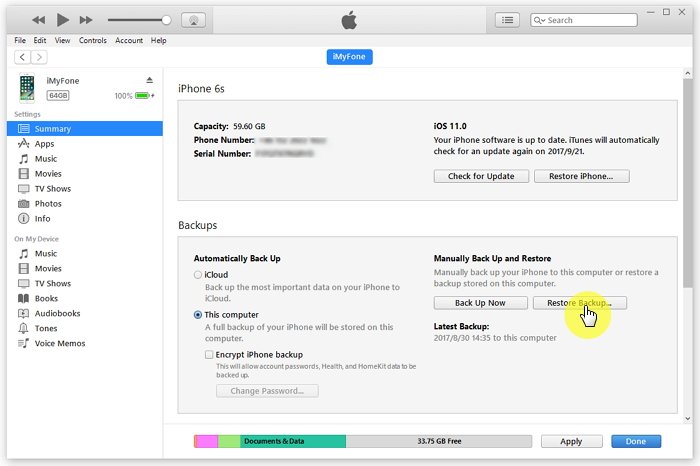
Before you begin to fix this issue, make sure that you back up your iPad data. It is important to create a backup of the entire data as the methods given above might erase all the data of your iPad. You can rely on iTunes or iCloud if you want.
Using iTunes or iCloud, you must back up the entire data. But, if you want to select the individual files, you can use iMyFone D-Back. It is a secure and advanced tool for backing up and recovering data of iPhone and iPad.
Step 1.Run D-Back on the computer and choose “Recover from iPadOS Device”. Click on “Start”. Connect your iPad to the computer. Click “Next” on successful detection of your iPad.
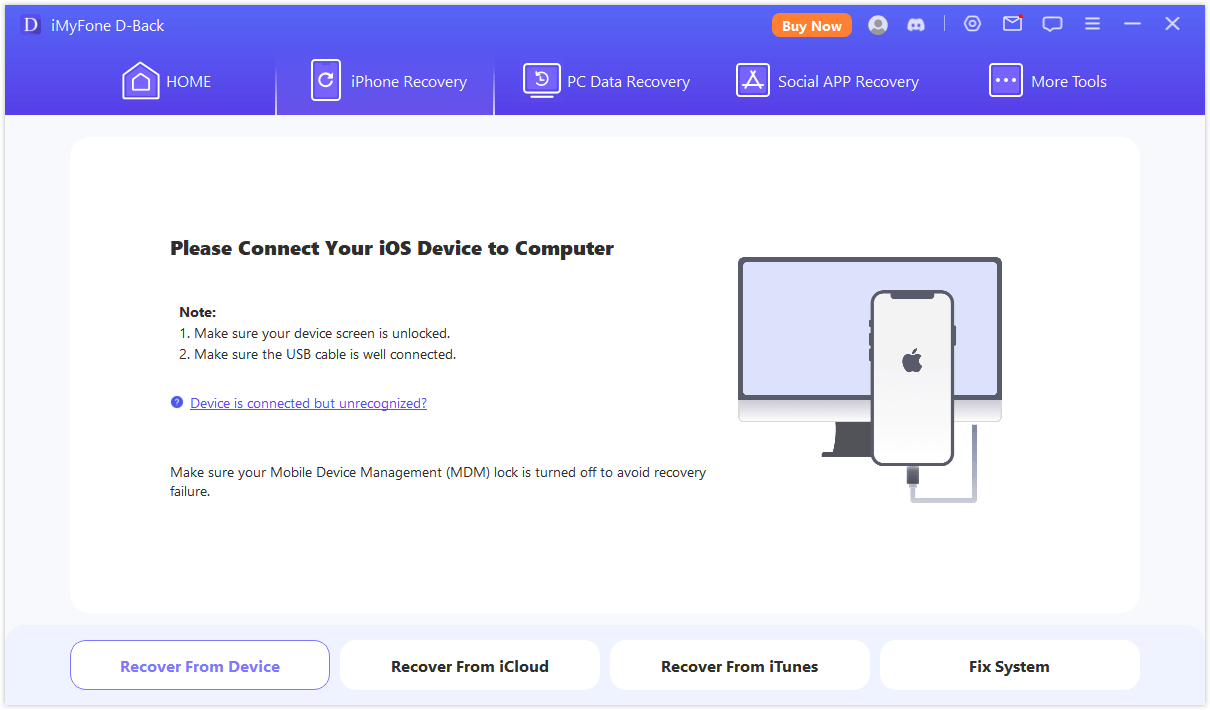
Step 2.Select the file types you want to back up and click “Scan”.
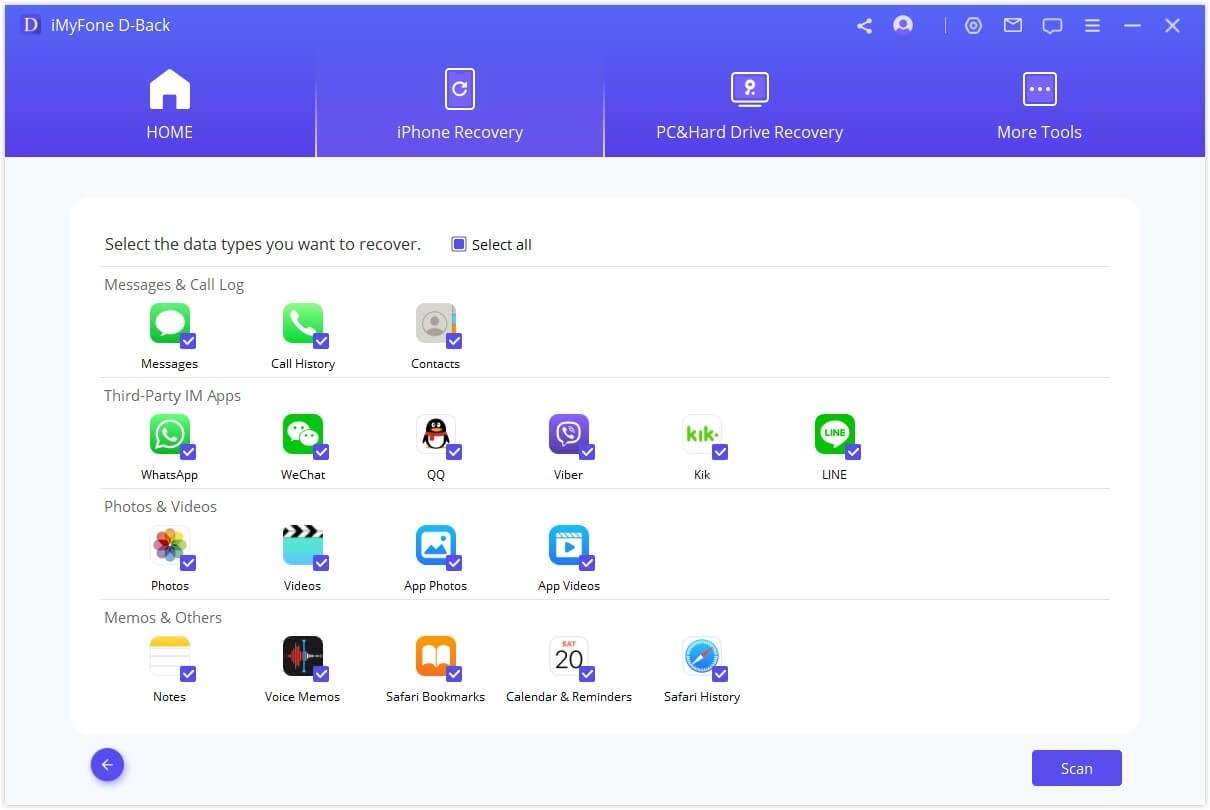
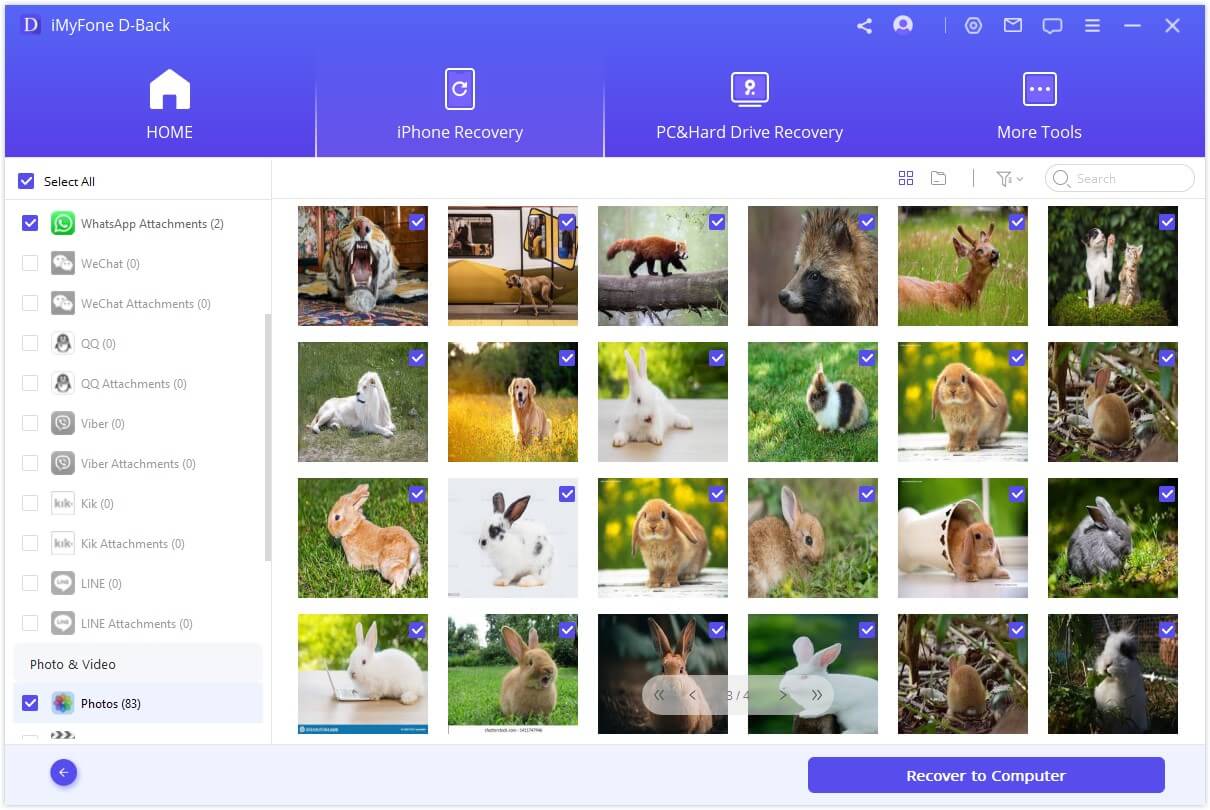
Step 3.All the files that can be backed up will be displayed. Choose the ones you want to back up and click “Recover”. You need to create a new folder or an existing one to store the backed up data. Once the process is over, the data will be backed up to your computer.
Conclusion
The iPad ghost typing is a common issue, so you don’t need to worry about it. In addition, we have listed all the possible solutions for fixing it. View all the ways carefully and try the one according to the problem. Leave your comments below for any queries and suggestions.


 February 8, 2023