Best 9 Methods to Fix iPhone Says It’s Charging but It’s Not
Category: iPhone Issues

4 mins read
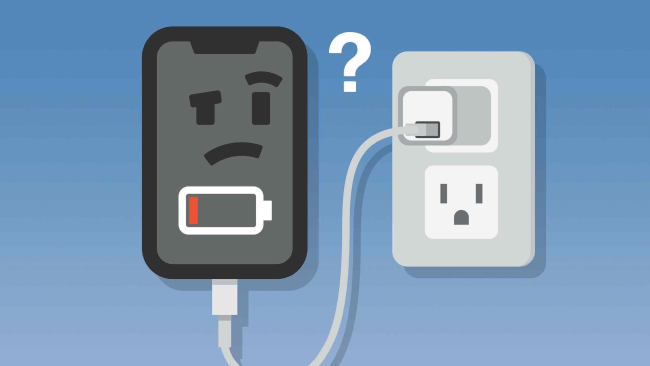
Have you ever plugged in your iPhone to charge, only to find later that the battery percentage hasn't increased at all?
Many people are experiencing this frustrating issue where iPhone says it's charging but it's not. This can be particularly troublesome when you need your phone charged quickly, especially in an emergency situation.
In this guide, we'll discuss about the potential causes and provide practical solutions to help you get your iPhone charging properly again.
In this article:
Part 1: Why Does My iPhone Say It's Charging but It's Not?
When your iPhone says it's charging but it's not, it often refers to a situation where the iPhone shows the charging icon, but the battery percentage does not increase, and the device does not actually charging. This problem can occur for several reasons:
- Dirty Charging Port: If there is dust or debris inside the iPhone’s charging port, it's hard to make a connection between the charger and the phone, let along charging.
- Third-party Charging Accessories: Using third-party charging accessories can sometimes cause compatibility issues as they might not be fully compatible with the iPhone.
- iPhone Overheating: If the iPhone gets too hot, either from the environment or from heavy use while charging, it might stop charging to protect the battery.
- Battery Health: If the iPhone’s battery has reached the limit of its lifespan, the battery won't hold a charge properly.
- Software Issues: Sometimes, the problem may be due to a software glitch or bug that causes the iPhone to not charging. This can happen after a software update or the outdated software.
You can do the 4 basic checks first. Or, if you need to solve the problem as soon as possible, head to check how to fix the software glitches that cause your iPhone not to charge normally.
Part 2: Fix iPhone Says It's Charging but Isn't - 4 Basic Checks
If your iPhone says it's charging but the battery percentage not going up, please do the following 4 checks first.
1 Clean Charging Port
If the device is having charging issues, check for any obstructions in the charging port of it. The port may be clogged with dust, pocket lint or debris, preventing the cable to connect properly.
Check the charging port and if you find something, clean it gently with a soft cloth.
2 Replace Charging Cable or Adapter
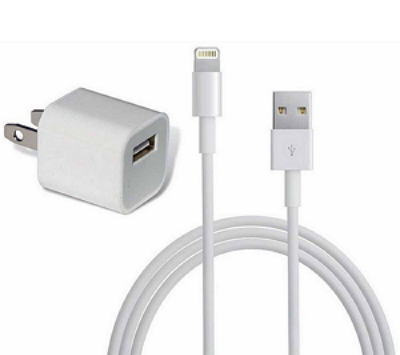
If you're using a third-party charging cable or adapter, the incompatiblity issue could happen occassionally. The low-quality cables can always lead to issues with device connection.
You should opt for the original Apple charging cable or adapter. It you're using the authorized one but still couldn't get the iPhone to charge, please check if it's damaged.
If the lightning cable or the adapter is torn or damaged, you need to change it so that the iPhone can charge properly.
3 Move iPhone to a Cooler Place
iPhone overheating while charging could be the reason why your iPhone shows charging but not charging.
iPhone will stop charging temporarily if it gets too hot, which is a safety feature to protect the battery from damage.
Whether it's running multiple apps simultaneously, or if it’s in a hot environment, the device won’t actually charge until it cools down. Therefore, please find your iPhone a cooler place and stop using it while charging.
4 Check Battery Health
Over time, an iPhone's battery can degrade and lose its ability to hold a charge effectively, also known as iPhone's battery is in poor health. In that case, the iPhone looks as if it's charging, but with the battery percentage goes up very slowly or won't go up eventually.
To address this issue, you should check your iPhone's battery health by going to Settings > Battery > Battery Health & Charging > Maximum Capacity.
If the "Maximum Capacity" is significantly lower (typically below 80%) or if there is a message indicating that your battery's health is significantly aging, you should consider replacing a new battery.
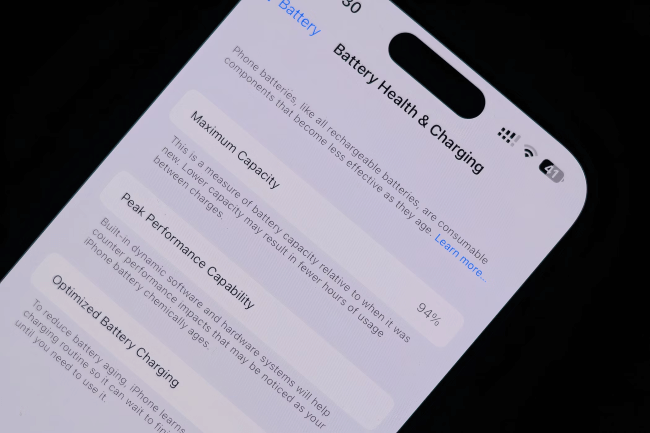
You can turn on the "Optimized Battery Charging" feature to reduce your battery aging, which learns from your charging routine and waits to finish charging past 80% until it knows you’ll need the iPhone to be fully charged. A great feature to improve the battery performace.
Part 3: Fix iPhone Says Charging but Not Charging - 5 Advanced Ways
iPhone says it's charging but not going up? Well, after 4 checks, you still have 5 advanced ways to solve this tricky problem.
1 Disable Background App Refresh
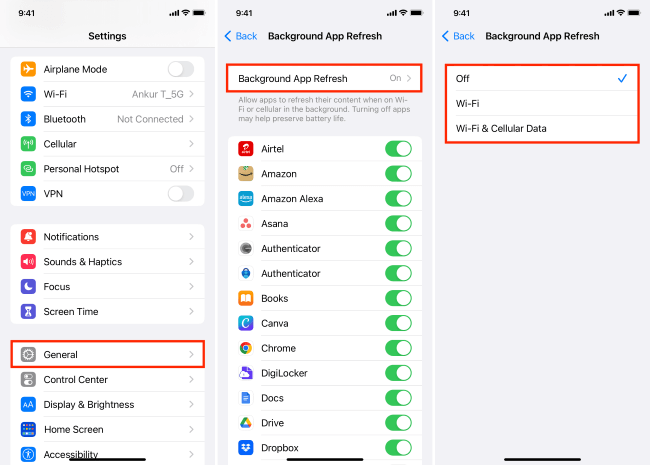
The Background App Refresh feature allows apps to update their content in the background to keep the apps up-to-date. But it can drain the battery, especially if multiple apps are refreshing content at the same time.
When you notice the iPhone says it's charging but it's not, it's possible that apps running in the background are using much more power than the power coming out from the charger. That's why you need to disable this feature.
To do that, please go to Settings > General > Background App Refresh to see the list of apps that are allowed to use this feature. You can turn it off entirely or disable it for specific apps.
2 Force Restart Charging iPhone
Sometimes, the software on your iPhone can experience glitches that cause it to incorrectly display the charging status or prevent the device from charging normally.
A force restart here can help resolve these issues by rebooting the system and clearing minor errors that might be obstructing the charging process. To force restart, follow steps below.
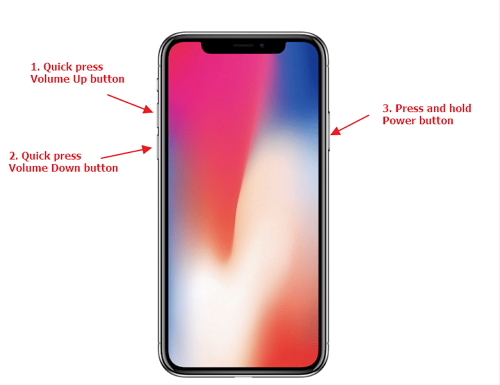
For iPhone 8/X/11/12/13/14/15/16: Press and release the Volume Up button and then Volume Down button. Now press and hold the Side button until your iPhone restarts.
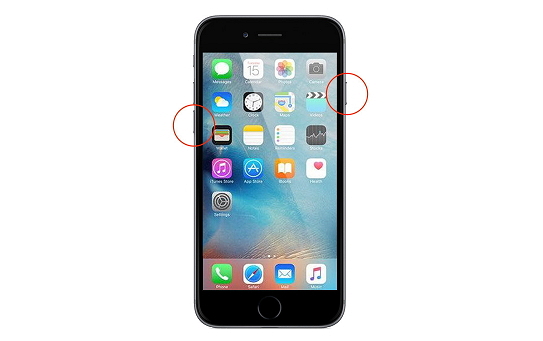
For iPhone 7 and 7 Plus: Press and hold the Side button and Volume Down button until you see the Apple logo.
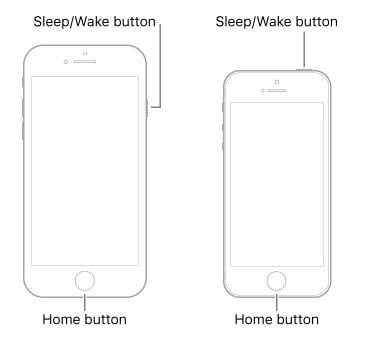
For iPhone 6/6 Plus and earlier: Press and hold the Power button and Home button until the Apple logo appears.
After performing a force restart, charge your iPhone again to see if the issue of iPhone not charging but says it is is fixed successfully.
3 Update Your iOS to the Latest
Software updates often include performance improvements and bug fixes that can resolve various issues, including when iPhone says it's charging but isn't.
If there are problems during the iPhone charging process, don't hesitate to check if there is a new update available, reducing the risk of software-related issues that might affect charging.
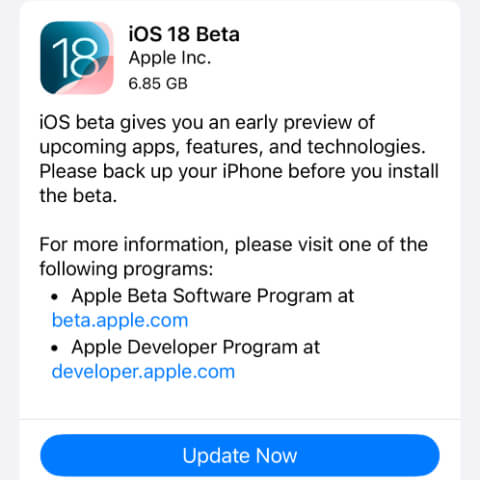
To update your iOS, make sure the iPhone is connected to a stable Wi-Fi network then go to Settings > General > Software Update. If an update is available, follow the on-screen instructions to complete the update process.
4 Fix iPhone Shows Charging but Not Charging for System Glitches
iPhone says it's charging but it's not can be fixed by using an iPhone system repair tool like Fixppo, which is designed for resolving deeper software glitches that standard troubleshooting methods can't solve.
You don’t need to have any technical skills, Fixppo can fix this iPhone charging issue with its user-friendly steps.
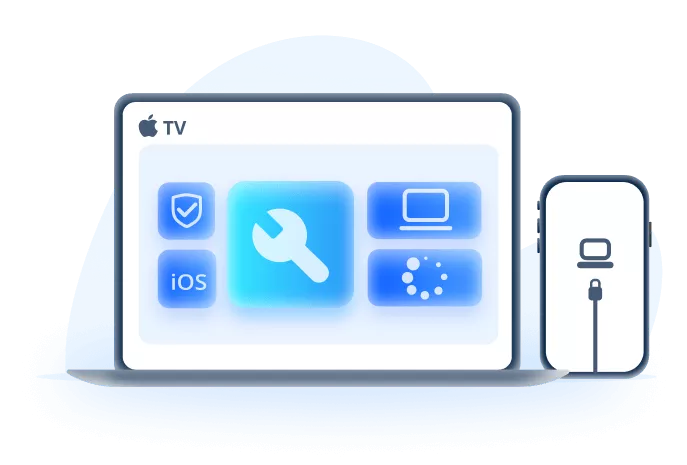
Key Features of iMyFone Fixppo:
- No Data Loss: Easily fix iPhone says charging but actually it's not without losing data.
- Maintain Battery Health: Restore your iPhone to normal charging state to protect the battery's health.
- Easy-to-use & Powerful: When encountering iPhone not turning on while charging or iPhone not charging, this software can help.
- Wide Compatibility: Support fixing all iPhone 11/12/13/14/15/16 models running the latest iOS 17/18.
Want to fix the iPhone overheating when charging problem and cool down your iPhone immediately? You can download Fixppo and follow to see how to do.
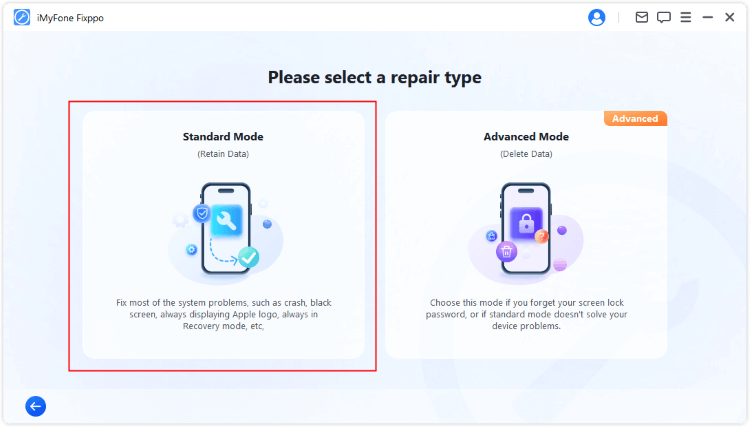
Step 1: After downloiading Fixppo, open it and connect your iPhone to the computer. Then choose Standard Mode, which can fix the iPhone charging issue without losing data.
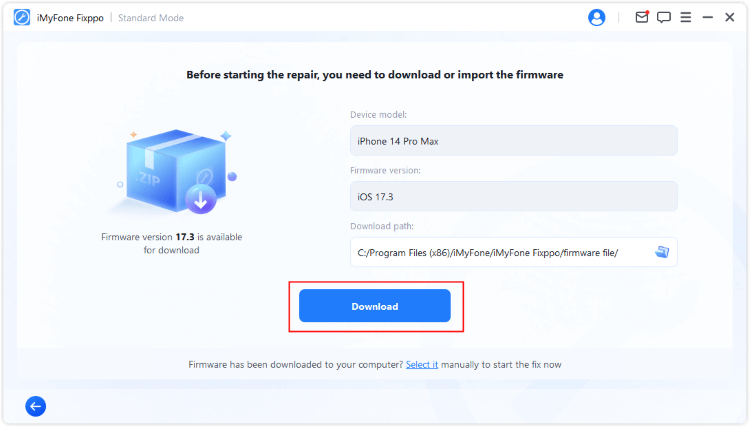
Step 2: Fixppo will begin to detect your iPhone. Please click the Download button to get the iOS firmware used for fixing iPhone.
Step 3: When downloaded, please click the Start Standard Repair button for Fixppo to begin solving your iPhone.
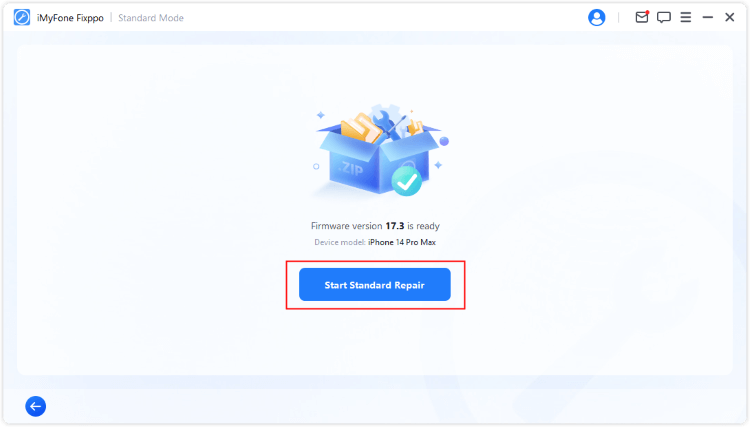
iPhone will restart soon when Fixppo has successfully fixed it. You can plug your iPhone into charge again, it's now able to charge with the battery increasing normally.

5 Restore iPhone with iTunes
Restoring your device via iTunes is also a good option to eliminate iOS issues that cause your iPhone says charging but not charging. But during the process, all the contents of your device will be erased.
To try this methods requires you to make a full backup first.
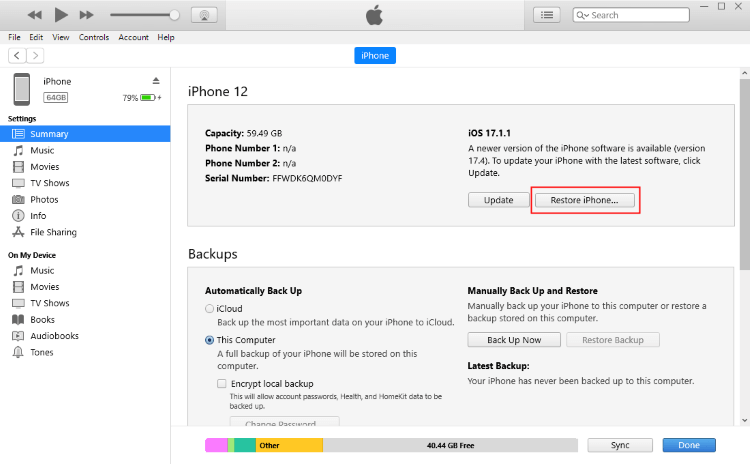
Step 1: Open iTunes and connect your iPhone that won't charge to the computer.
Step 2: Click the the iPhone icon once the device gets detected, then switch to the Summary tab, from where you can click the Restore iPhone button to start.
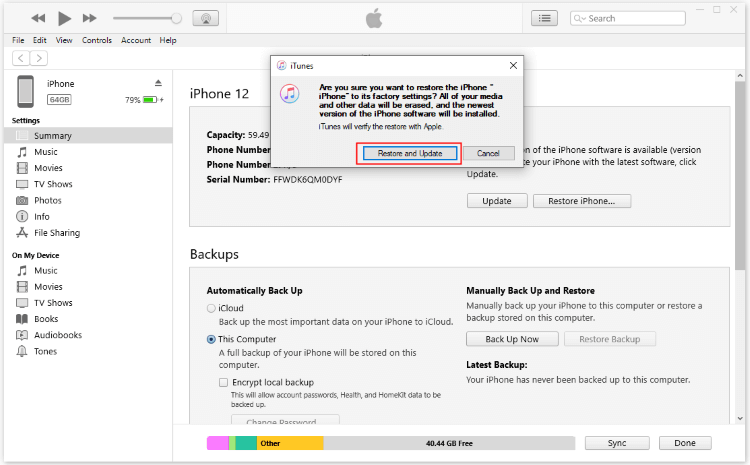
Step 3: Later, click the Restore and Update button for iTunes to restore your iPhone.
Conclusion
In the face of iPhone says it's charging but it's not issue, feel free to try our solutions including iMyFone Fixppo, which can save your iPhone from annoying charging issue instantly.


