"Hy everyone, I've lost my Viber messages a lot, is there a way I can backup and restore my Viber message on iPhone?"
-- Steph
Yes, there is. The reason you lost your Viber message is, Viber app doesn't store your data in its servers so it's quite difficult to restore from Viber's server. Following any of the steps in this article, you'll be able to backup and restore your Viber messages and even be able to restore without a backup.
Stay on this article to see all the possible ways.
3 Ways To Backup And Restore Viber Messages On iPhone
The best three methods to Backup and Restore Viber Messages on iPhone are: using your email, with the help of iCloud backups and iTunes backup. Keep reading for detailed steps.
Method 1: Backup and Restore Viber Message on iPhone Via Email
Viber gives you the option to back up your message using your email. Here your Viber data is zipped and allowed to be emailed to yourself or to another mail.
How to Backup Viber Messages on iPhone Via Email
Step 1: Launch your Viber app on iPhone.
Step 2: Tap "More Option" to open the Viber system settings.
Step 3: Select "Settings" from the options.
Step 4: Choose "Calls and Messages" next, "Email Message History".
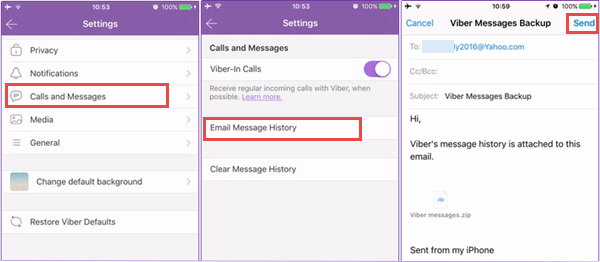
Step 5: Viber will automatically zip your messages and allow you mail it.
Note
Backing up Viber messages with your email is limited, your backup doesn't include pictures or videos attached in your chat history.
How to Download Viber Messages Backup fom Email
Step 1: From your iPhone, launch your Email app.
Step 2: If prompted, log in to your email address.
Step 3: Search for the latest backup file and download it.
Note
The viber chats (photos and videos not included) are in CSV format and can't be restored on your iPhone.
Method 2: Backup and Restore Viber Messages on iPhone Via iCloud
With iCloud, you can backup and restore Viber messages on iPhone. Sign in to your iCloud and enable a feature to allow iCloud backup, keep reading for the detailed steps.
Step 1: After signing in to your iCloud, locate and "Enable iCloud Drive."
Step 2: Switch the Viber option to "On."
Step 3: From your iPhone, open your Viber app and tap "More Option."
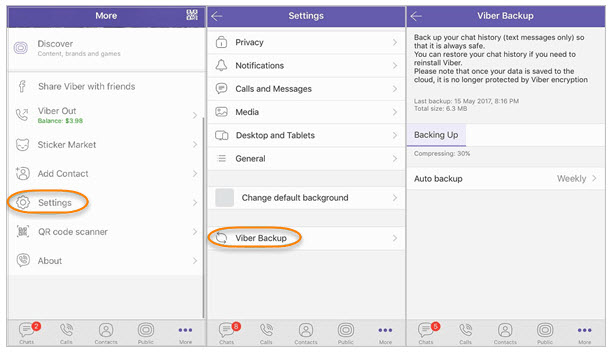
Step 4: Follow this direction, select "Settings" next "Account" then "Viber Backup" then choose "Back Up Now".
Step 5: Allow Viber to back up your messages to iCloud. You can also instruct Viber to back up your messages automatically; in the "Viber Backup" list, select "Auto Backup" then choose an option.
How to Restore Viber Messages on iPhone from iCloud Backup with iMyFone D-Back
Step 1: From the iMyFone official site, download the iMyFone D-Back software to your PC.
Step 2: Launch iMyFone D-Back and click "Recover from iCloud" from the left options.
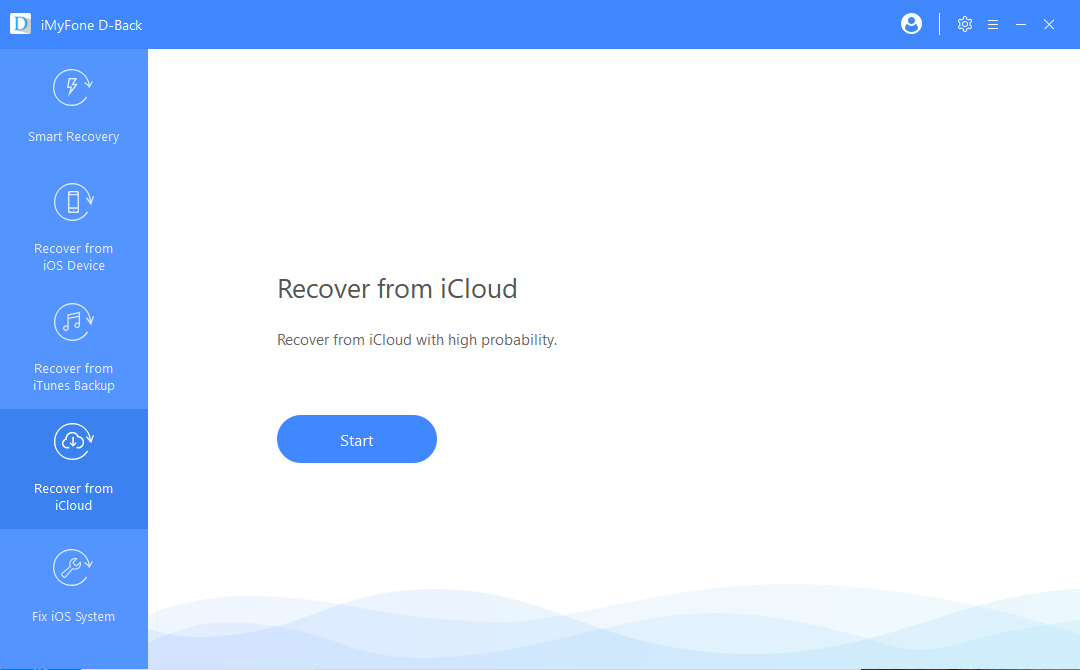
Step 3: Select "Start." To commence the recovery. Input your Apple ID and Password then tap the "Enter" key.
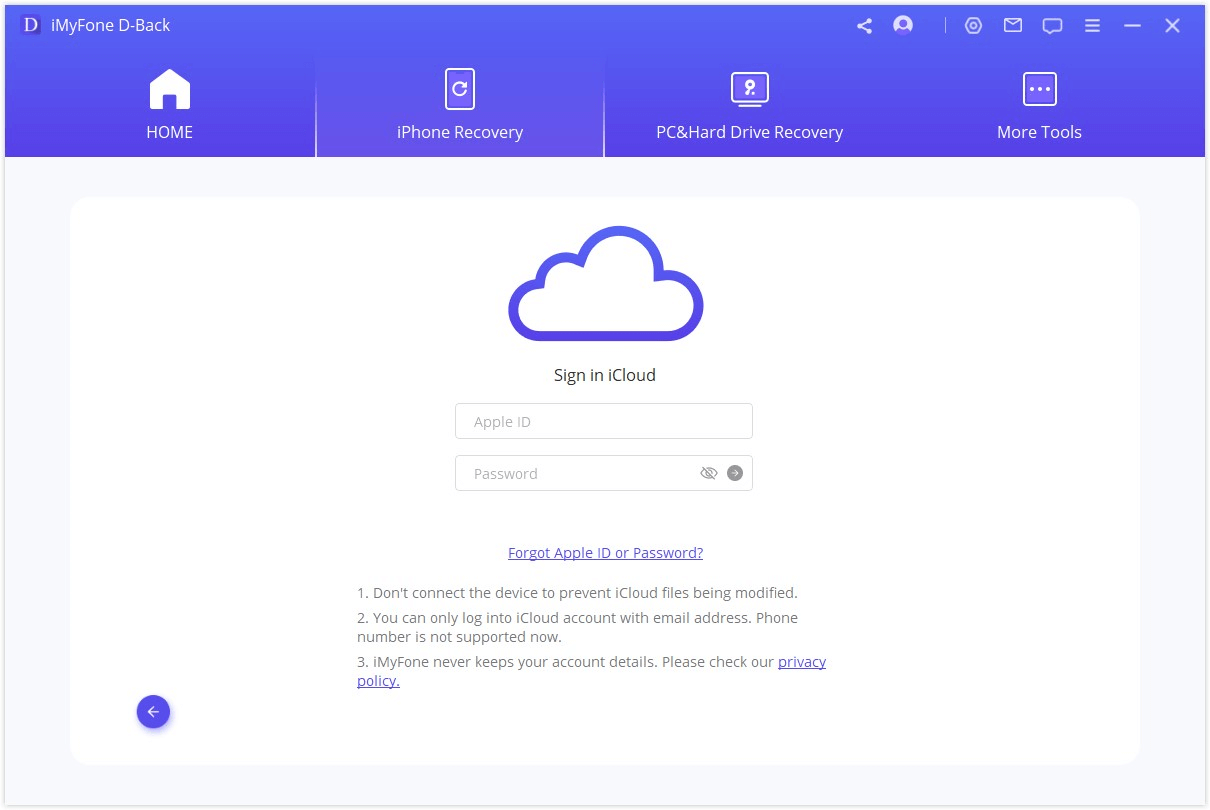
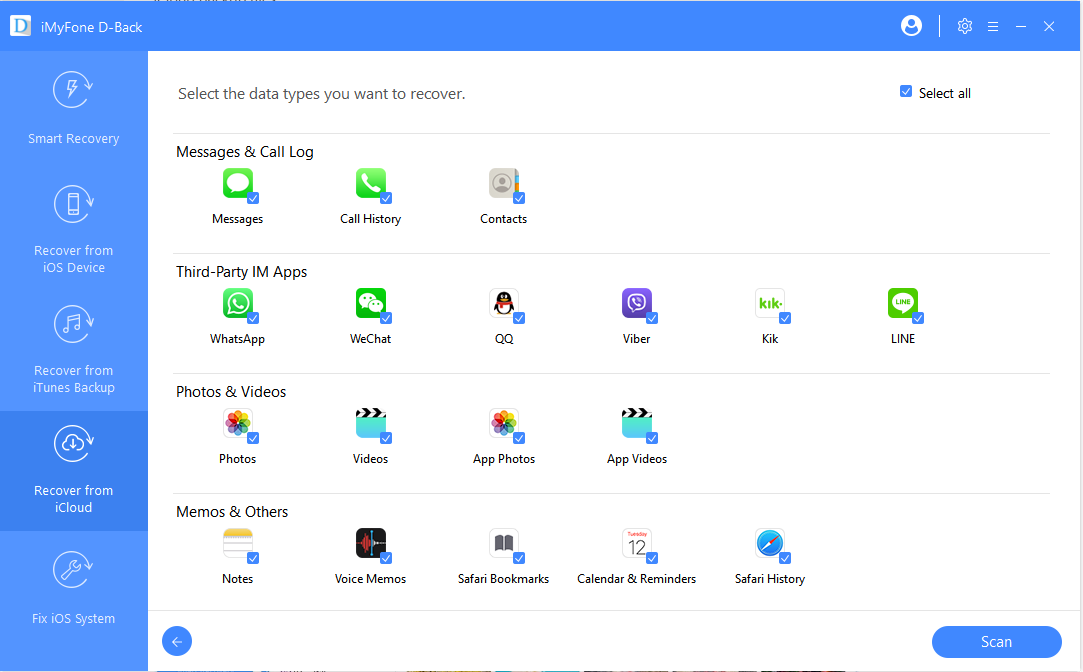
Step 4: From the options, select "iCloud Backup" then "Viber" next “Scan” at the lower right of your screen.
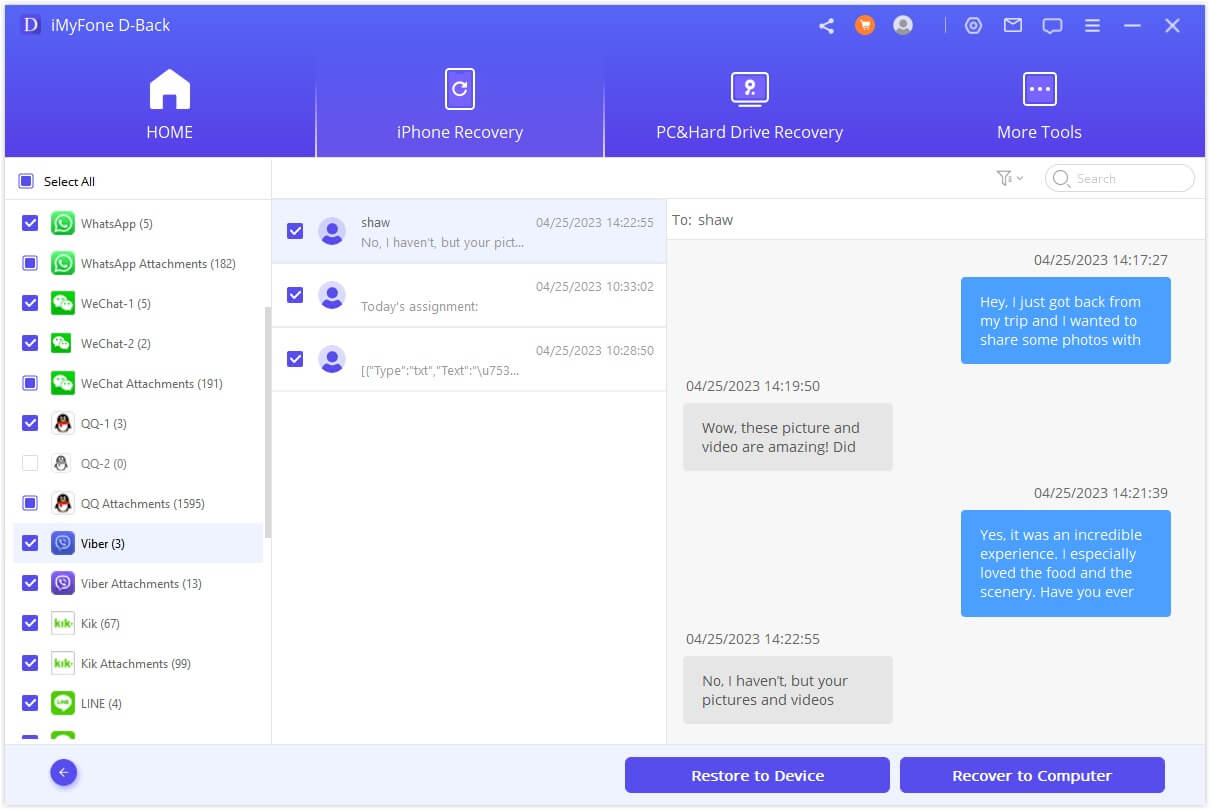
Step 5: iMyFone then scans and preview your Viber messages, then click "Recover."
Method 3: Backup and Restore Viber Messages on iPhone Via iTunes
Like iCloud, you can backup and restore Viber messages on iPhone using iTunes. This is an iCloud alternative. You need a PC with the latest iTunes software to do this.
How to Backup iPhone Viber Messages to iTunes
Step 1: Connect your iPhone with a USB and launch iTunes.
Step 2: From the upper left, select your iPhone. iTunes shows a summary of your device.
Step 3: From the central screen, click "Back Up Now". Allow backup run.
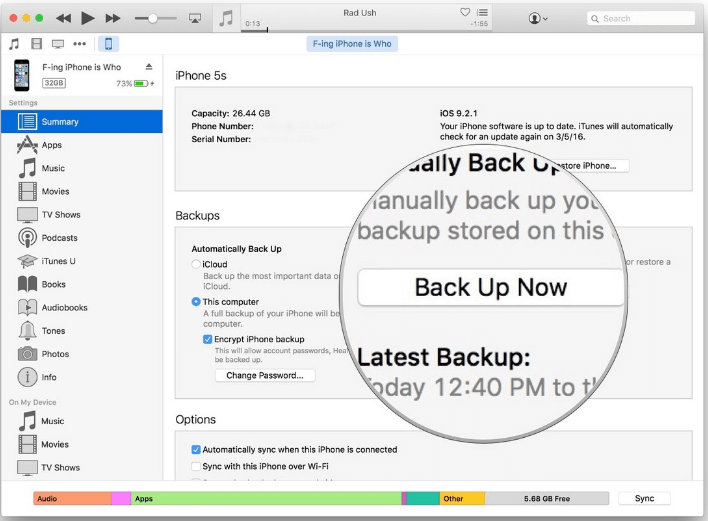
Step 4: Confirm your back up; select "iTunes" then "Devices."
Note
iTunes backs up your whole device and doesn't specify the contents it backed up.
How to Restore Viber Messages on iPhone from iTunes Backup with D-Back
Step 1: From the iMyFone official site, download the iMyFone D-Back and install it on your PC.
Step 2: Launch the iMyFone D-Back software and select "Recover from iTunes Backup" from the left options, then click on "Start."
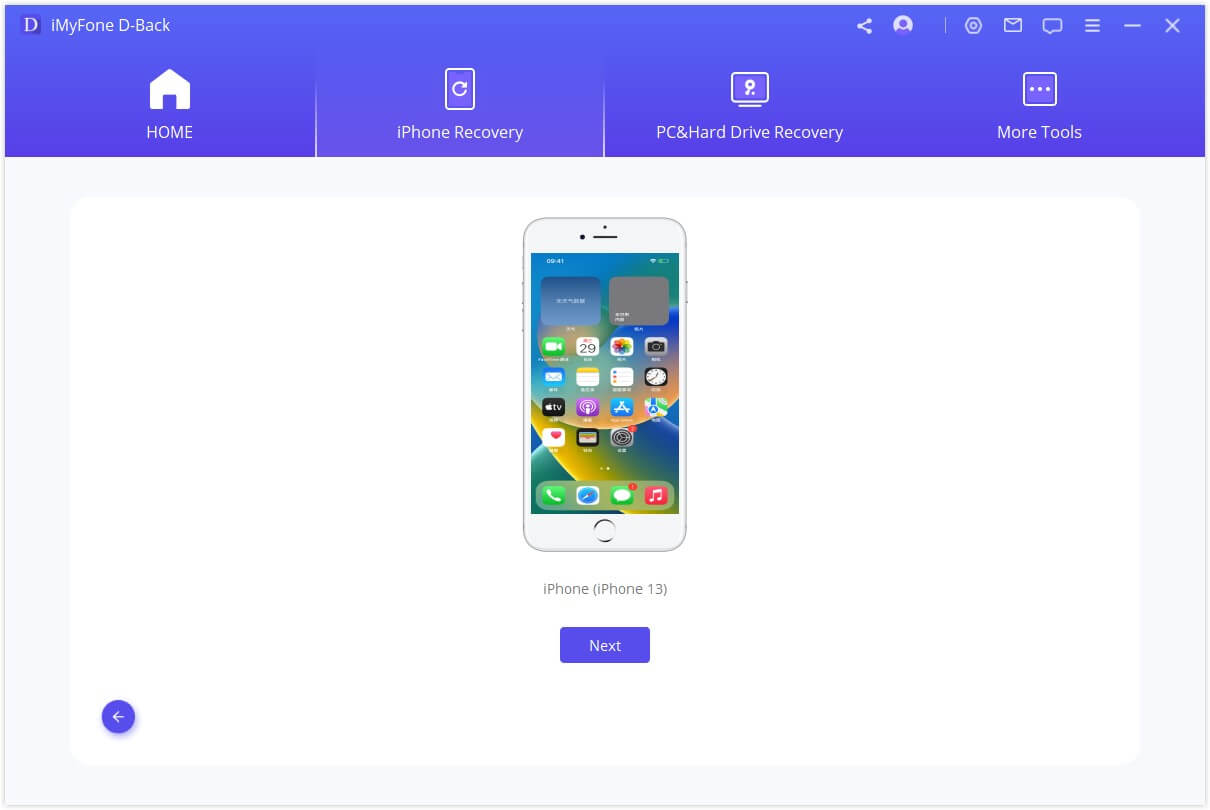
Step 3: Pick the exact backup you intend to restore from the list of backups given.
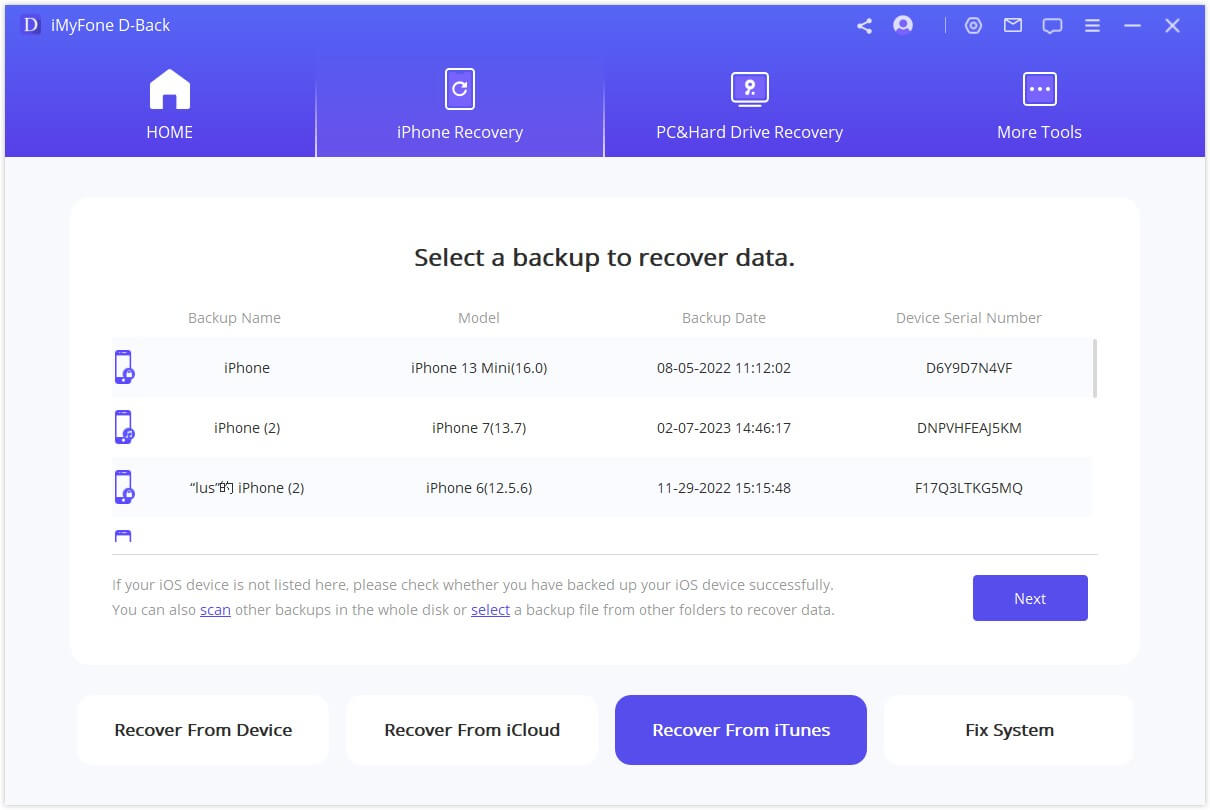
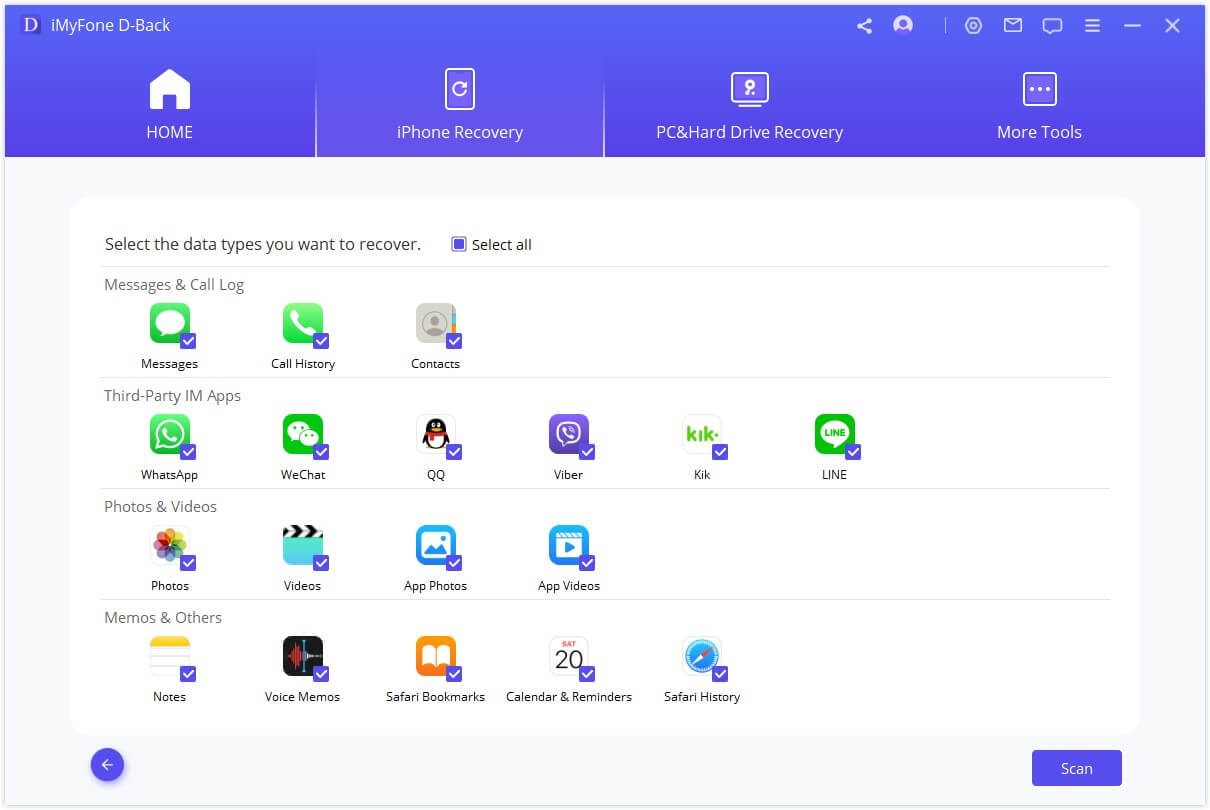
Step 4: From the next window, locate and Select "Viber," then click "Scan."
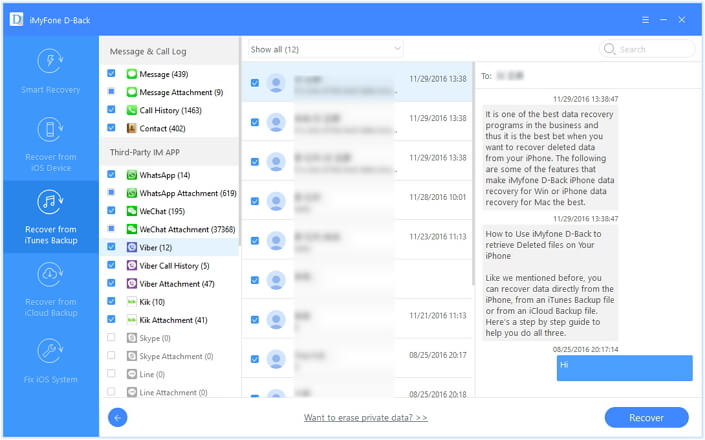
Step 5: Allow iMyFone to scan and preview files, then click on "Recover."
How to Restore Viber Messages on iPhone without Backup
It is also very possible to restore Viber messages on iPhone without having a backup. iMyFone D-Back is the right software for doing this.
Developed by iMyFone inc, a tech firm devoted to providing solutions for iOS, Android, Windows PC and Mac Operating systems. iMyFone D-Back has many awesome features.
Key Features:
- D-Back allows you to make selective recoveries i.e. viber messages, photos, voice memos, videos, Safari history, etc.
- Using D-Back you can recover files from iTunes or iCloud backup, even from iOS device directly without backup.
- Supports almost all iOS versions on iOS devices, including iOS 11.2.1/11.3/11.4/12/13 and iPhone 11/11 Pro (Max)/8/X/XS (Max)/XR/11.
- It is hassle-free, allowing you to recover data in three steps.
Steps to Restore Viber Messages From iPhone Directly
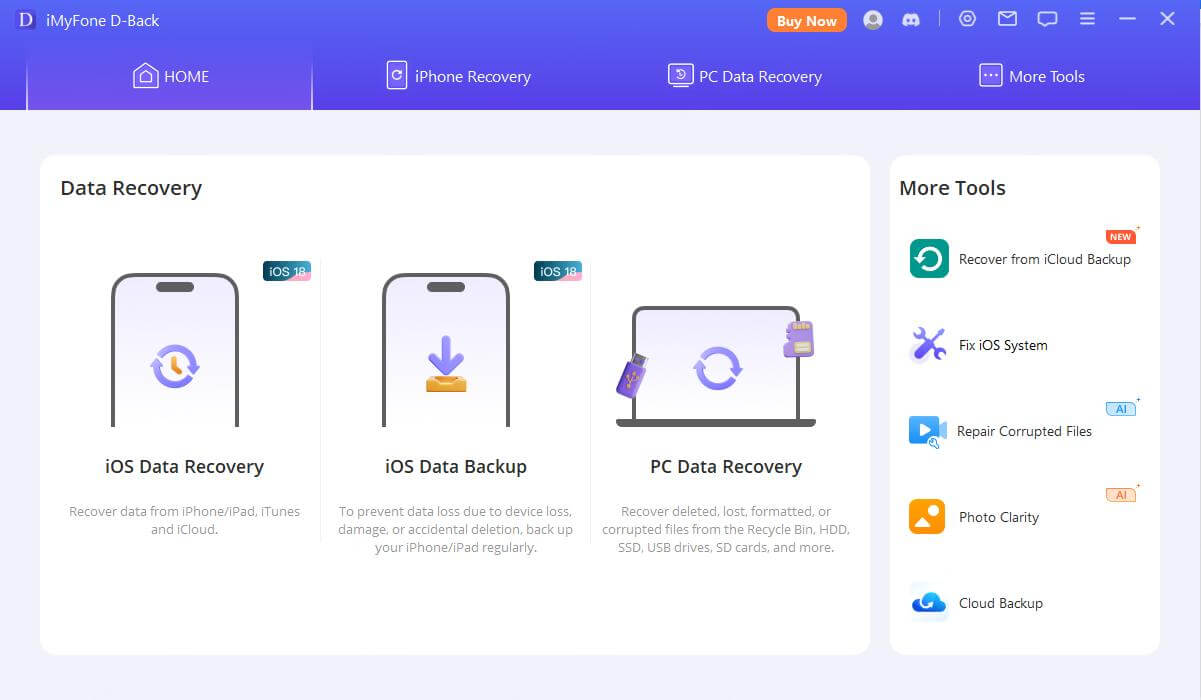
Step 1. Launch D-Back and select "Recover from iOS Device" from the left option list, then click "Start."
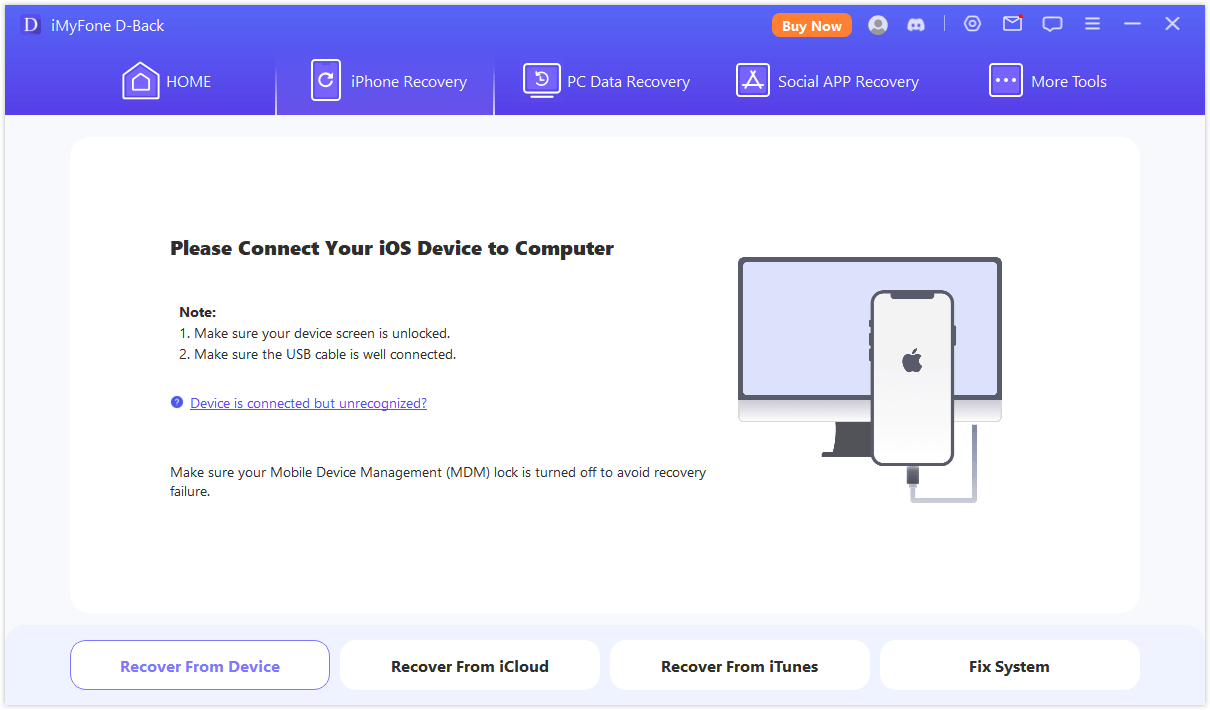
Step 2. Connect your iDevice to your PC with a USB, when D-Back detects it, click "Next."
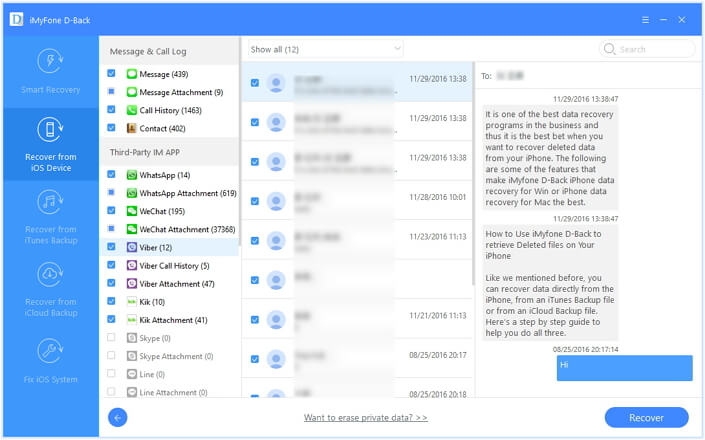
Step 3. From the next window, select "Viber" then "Scan."
Step 4. Allow D-Back scan and display the files, you can preview it and click "Recover" at the bottom-right of your screen.
Conclusion
Just like Steph, you might be wondering how to backup and restore my Viber message on iPhone. After reading this article, you should have three methods to go about this operation. We also introduced a software called iMyFone D-back iPhone Data Recovery, which has many awesome features. We showed you how to use is to restore Viber messages directly from your iDevice. We believe we were able to help and hope you share this article.


 January 12, 2023

