Have you ever faced this situation? Let’s say that you’ve had many unused files on your iOS device for a long while and then simply press the delete button and those files are lost forever. Or, you’ve left your phone somewhere and someone has inadvertently deleted some important files from your phone. And you suddenly need those files tomorrow for an important meeting. So, time’s ticking and you need your files back or your boss will think you’re a disorganized mess.
This is actually a more common occurrence than you’d think and can affect anyone at any time. So, how to recover data from iPhone SE in such a hurry-up situation? The answer is simpler than you would think.
A Professional Tool You Will Need
iMyfone D-Back iPhone data recovery or iMyfone D-Back iPhone data recovery Mac is leading for iOS devices recovery and gives you a plethora of data recovery options such as doing a complete or partial restore of your iOS device and recovering deleted files and photos using custom recovery methods.
The Best iPhone Data Recovery Software
- Recover data no matter how you lose it, such as your device is broken, stolen, attacked by viruses, jailbreak, upgraded or factory reset, or accidentally locked.
- Recover 22+ important text messages, contacts, images, videos and more files.
- Preview the deleted data before recovery.
- 4 Recovery modes: Recover from iOS deivce, Recover from iTunes Backup, Recover from iCloud Backup and Smart Recovery.
Let us see how to recover lost data from iPhone SE with iMyfone D-Back both directly or through iCloud/iTunes.
1 Recover Deleted Data from iPhone SE with iMyfone D-Back
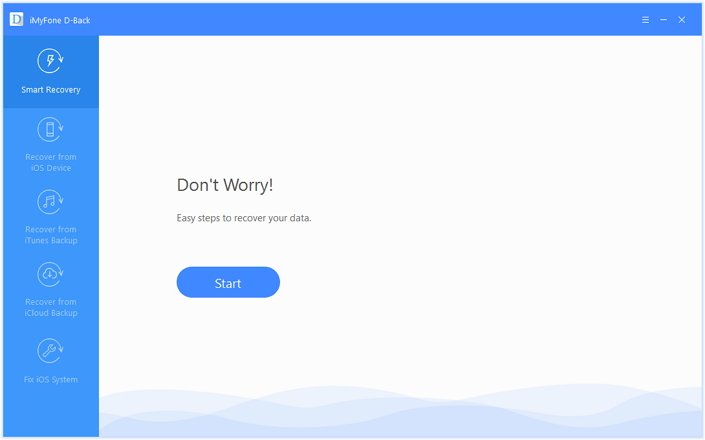
Using Smart Recovery to get your important files back is a great option you can use with iMyfone D-Back as it allows you to relocate and restore your files and data swiftly by the file types and how you lose them, ensuring that there is no need to worry about scanning and recovery paths.
Note: You could also choose "Recover from iOS Device" to recover lost data directly from device. If you have made some iPhone backups before, just choose "Recover from iTunes Backup" or "Recover from iCloud Backup".
Smart Recovery –click on ‘Start’ from Smart Recovery
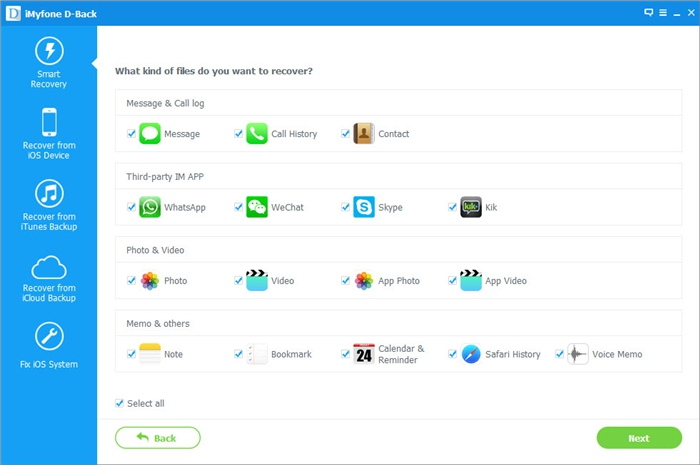
Next, just pick the file types you want to restore – you can select multiple file types as well.
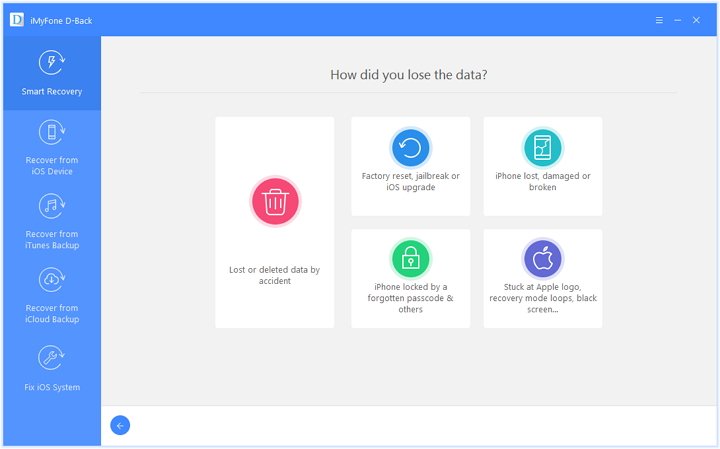
Then, simply pick how you lose the files for successive scanning and recovery.
That’s it! Just scan and recover your lost files – and let the iPhone recovery software do the rest! Now you know recovering data from iPhone SE is as easy as blowing off dust.
2 Recover Deleted iPhone SE Data From iTunes Backup
Similar to the previous method, pick ‘Recover from iTunes Backup’ and then click on ‘Start’.
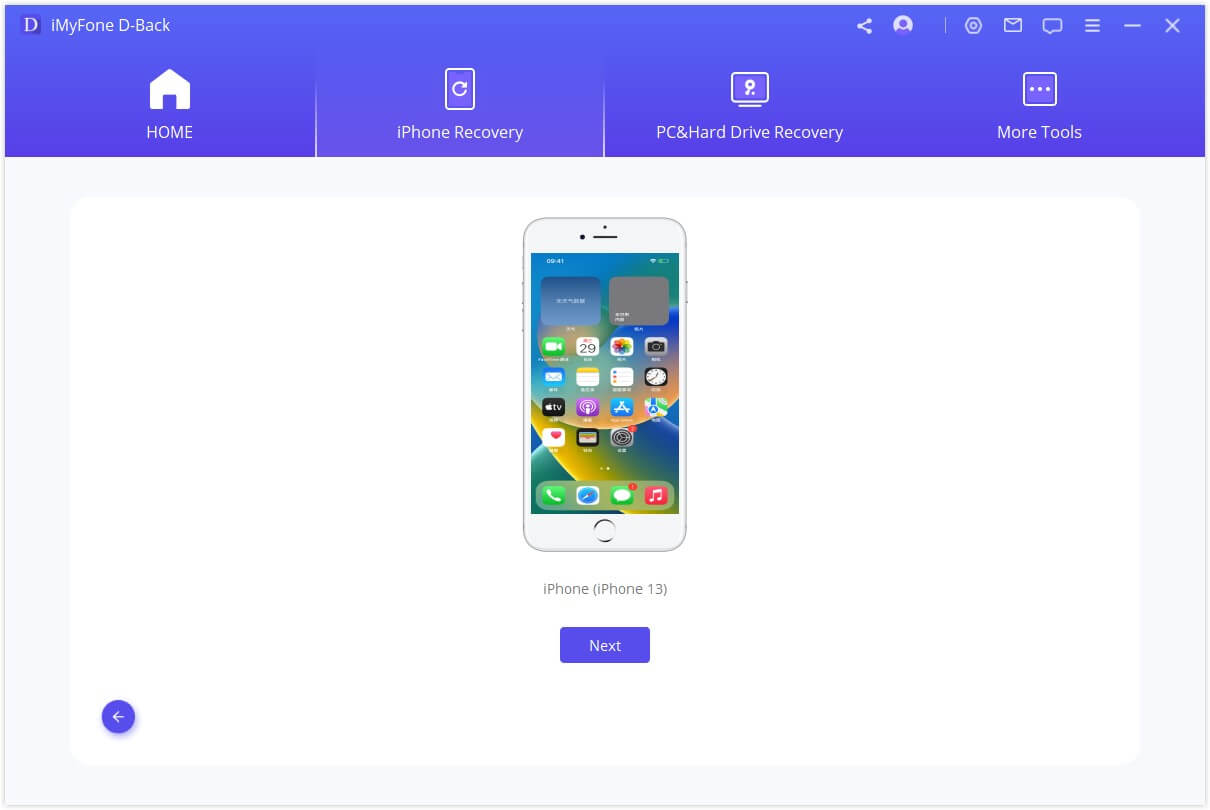
Then pick the relevant iTunes backup you want to restore and then simply click on ‘Scan’. It may take up to a few minutes to scan and search.
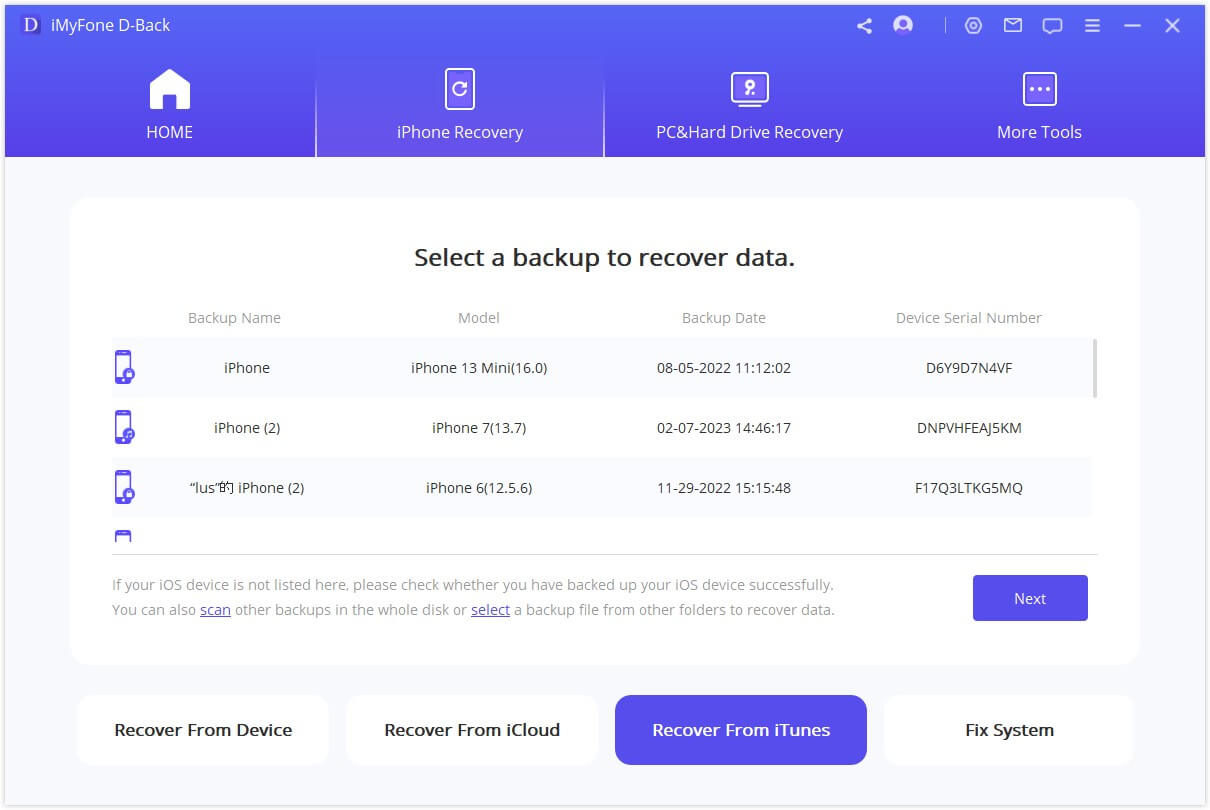
Then, the data and files from an iTunes Backup will be clearly presented on the interface. You will be able to preview the files to confirm whether you need them. And last, select the ones you want – and that’s it! Your files are restored.
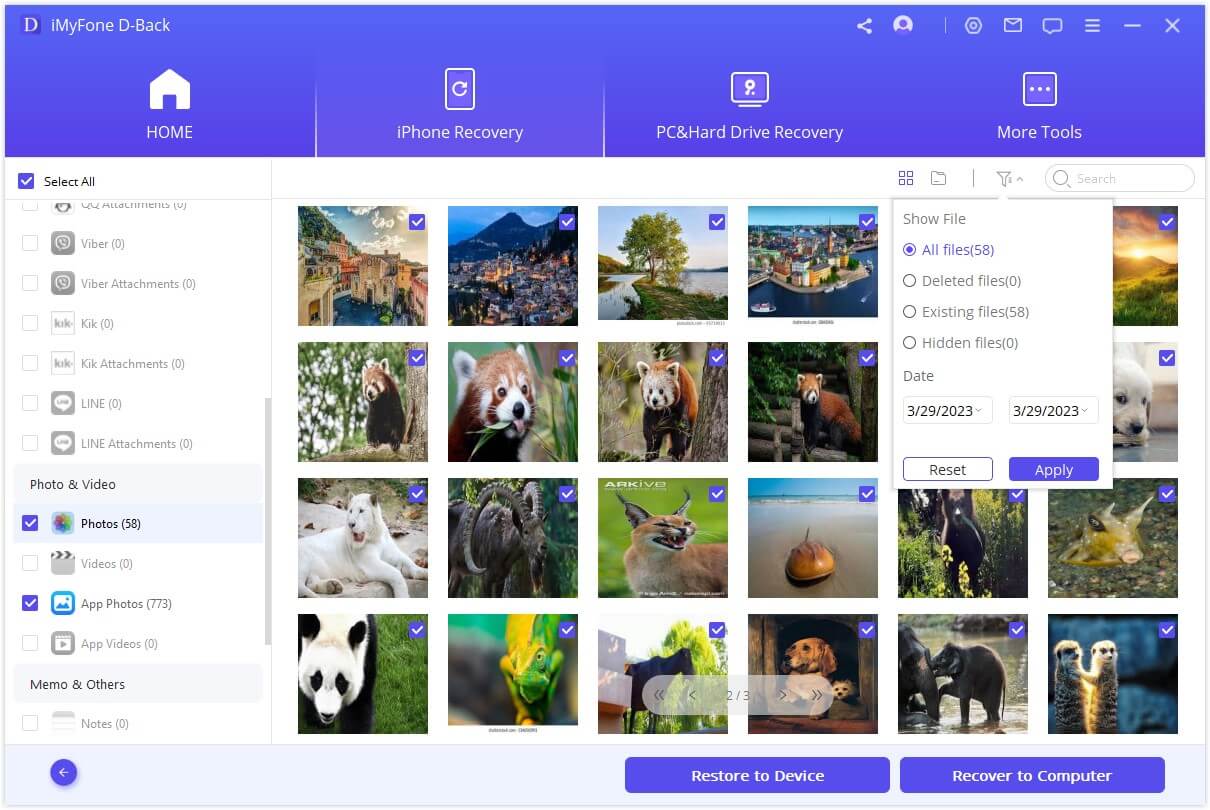
3 Recover Deleted iPhone SE Data From iCloud Backup
Similar to the previous method, pick ‘Recover from iCloud Backup’ and then click ‘Start’.
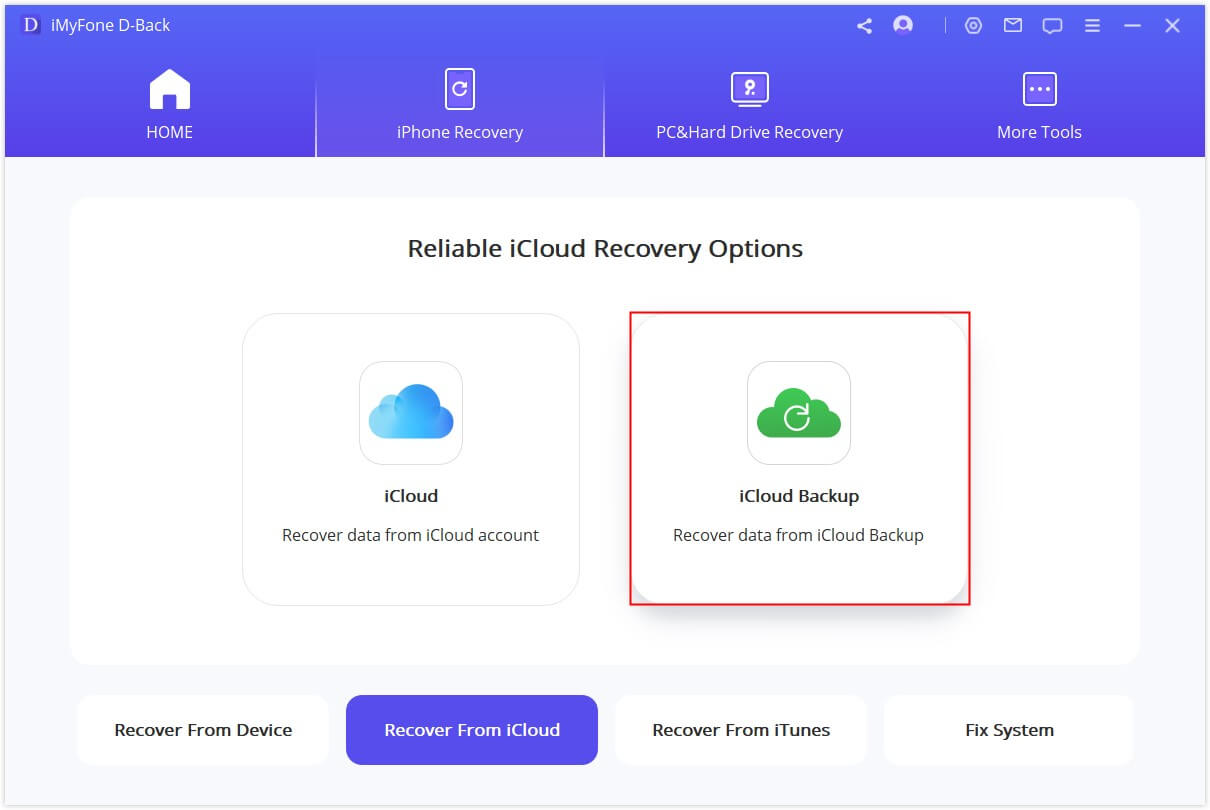
Just log in your iCloud account details and the software will find all the backups in your account to restore from. Simply select the backup you want to restore from and click ‘Next’ to proceed. It may take up to a few minutes to download the file so make sure you are always connected to the network.
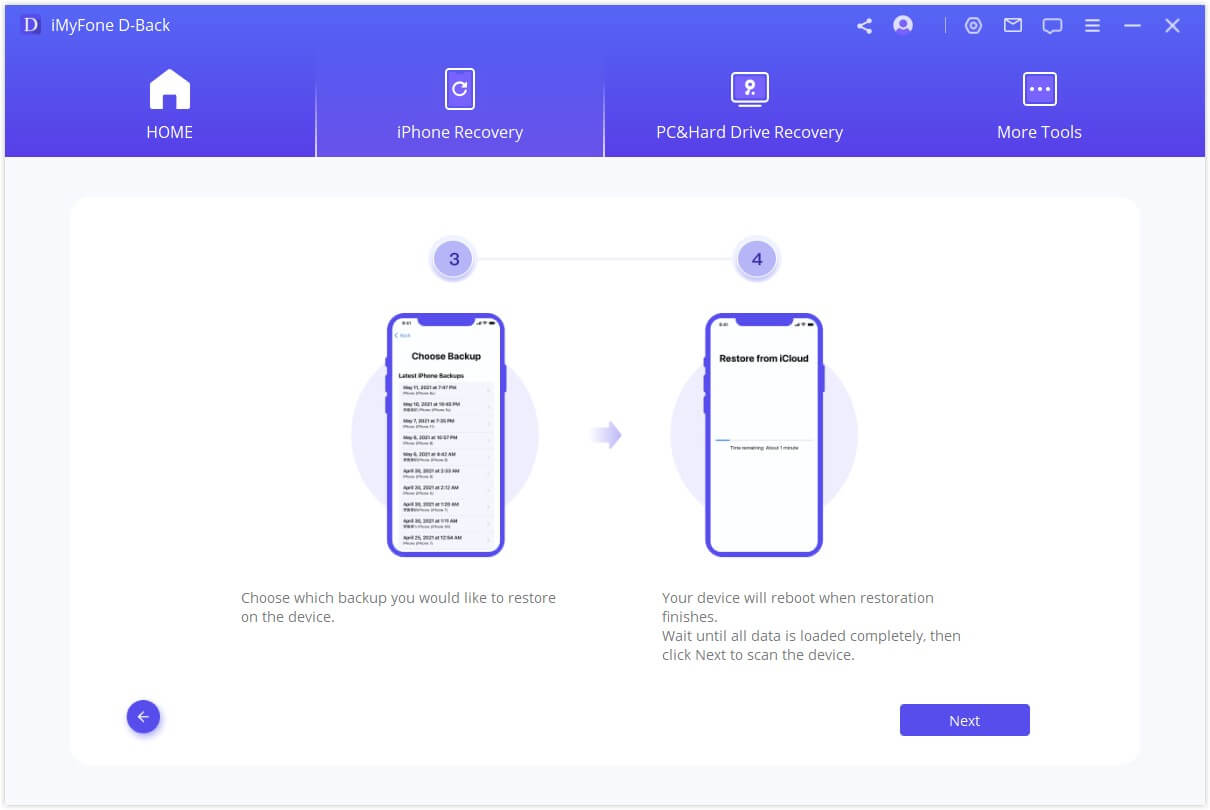
Then, just simply preview the data and choose what you want to retrieve and just click ‘Recover’.
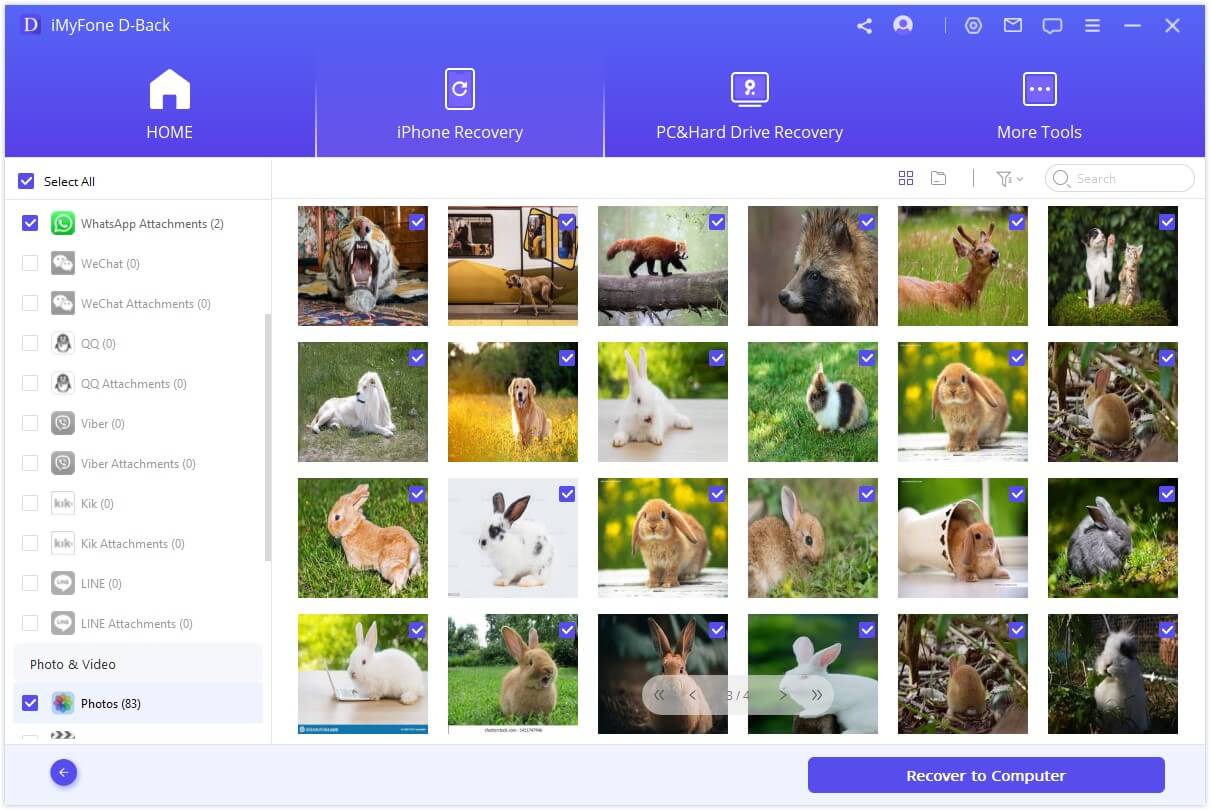
Now, all you need to do is select a folder where you want to store this recovered data and wait for the restore process to finish, and you’re done!
As you can see, iPad and iPod Touch! Make sure you always have it installed on your PC wherever you go to make sure you never have to worry about how to recover deleted data from iPhone SE again!


 June 20, 2023
