Sometimes you may get a really important iMessage that you are compelled to print it as evidence that you have it. Printing iMessages can be a problem in itself but it is not entirely impossible to. In this article, we are going to look at a few ways you can print a copy of your iMessages.
Note: The ways can be used for latest iOS 11/12/13/14.
1. How to Print iMessages for Free
While this method may not be able to display the timeline or even show the sender and receiver of the messages, it is still a good way to print the content. Follow these simple steps to do it.
Step 1: Go to the message you want to print and ensure that the entire message is viewable. Click "Edit" and then check the button beside each item in the conversation.
Step 2: When the part of the message you want has been selected, send it to yourself. It will arrive as one long broken paragraph.
Step 3: Press the message until the copy button appears and press copy.
Step 4: Go to "Notes" and paste in a new note. Send this note to yourself and you can now Print it.
Note: There isn't a timeline by using this method.
2. Export and Print iMessages Conversations using a Third-Party Tool
If you want to have evidence of the timeline and sender and receiver information appearing on the iMessage, a third-party data tool maybe your best option. The best tool to use in this case is iMyFone D-Back. It is primarily an iOS data recovery tool but also offers you a great way to extract data such as iMessages and export as HTML, making it very easy to print. And you can use it to export and print iMessages for iOS 11/12/13/14.
How to use iMyFone D-Back to Export and Print iMessages
Step 1: Download and install the program to your computer and then follow these very simple steps to export and print your iMessages.
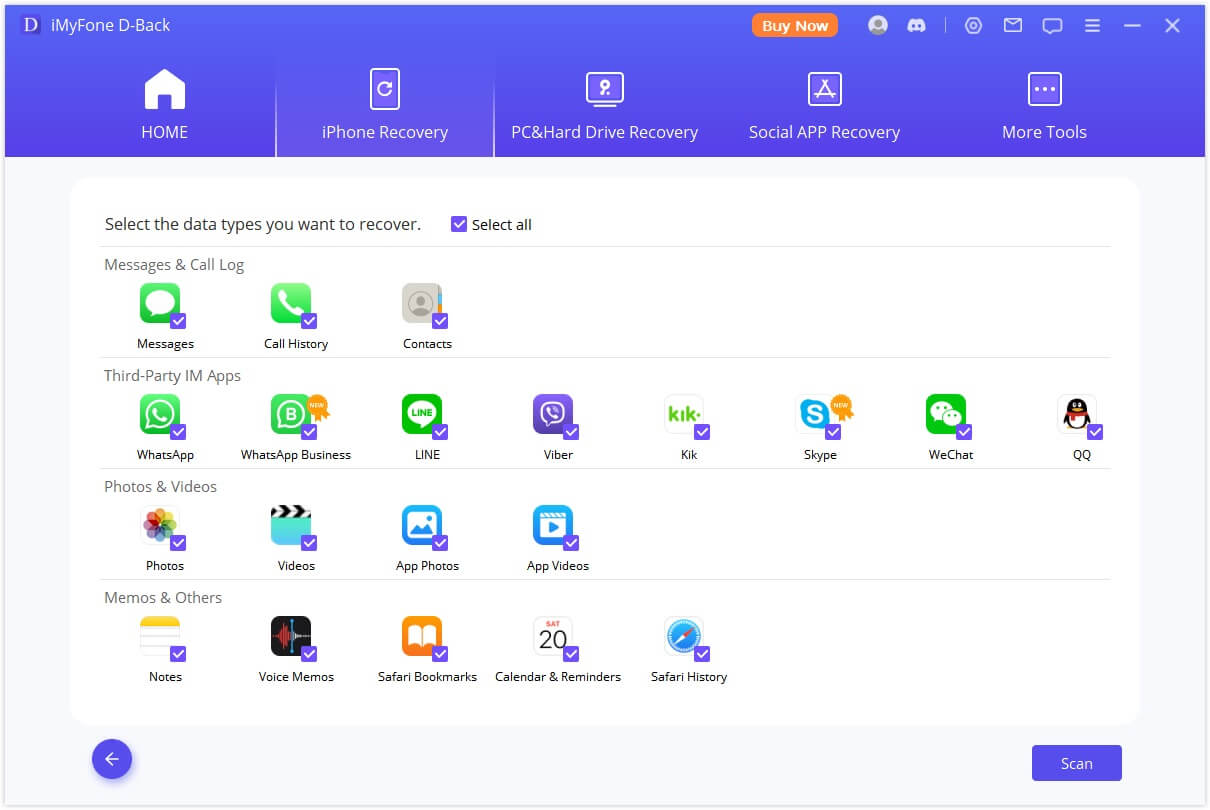
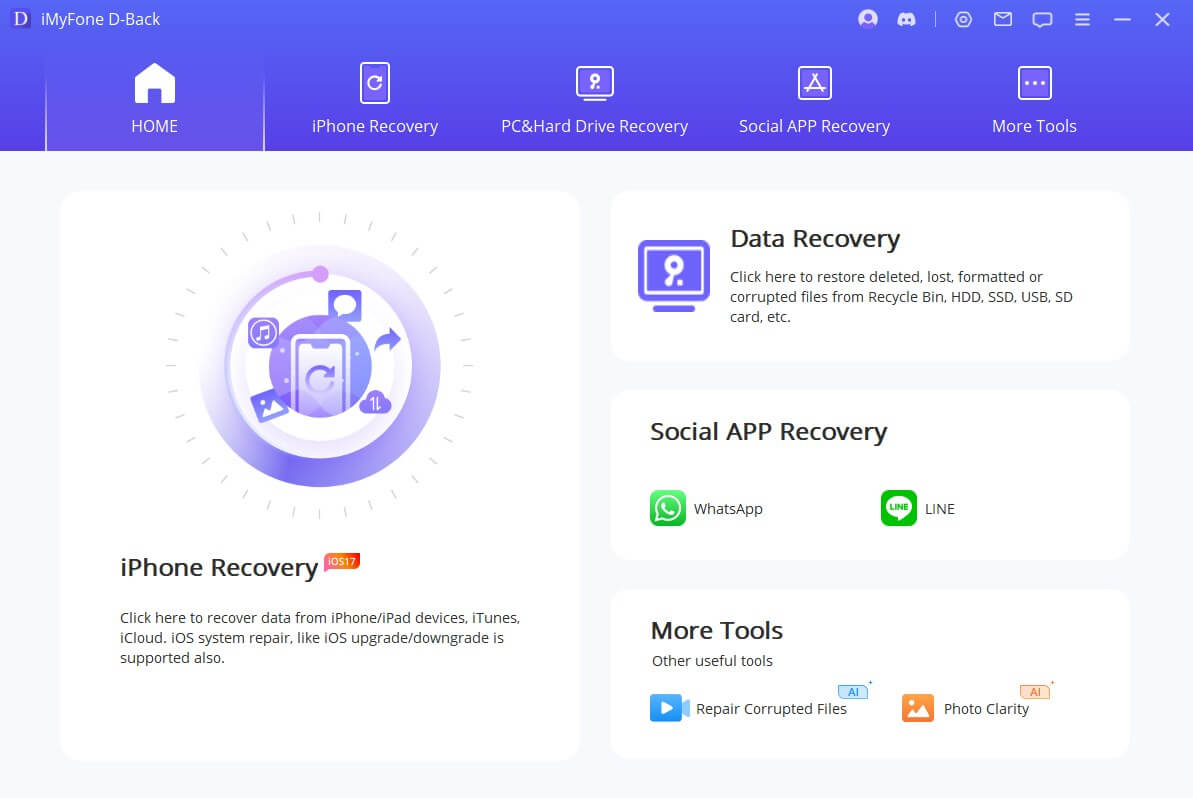
Step 2: Open iMyFone D-Back and from the main window, select "Recover from iOS Device". Click "Start" and then choose "Message" from the next window. Click "Next" to continue.

Step 3: Connect the iPhone to the computer and as soon as the program recognizes the device, click "Scan".

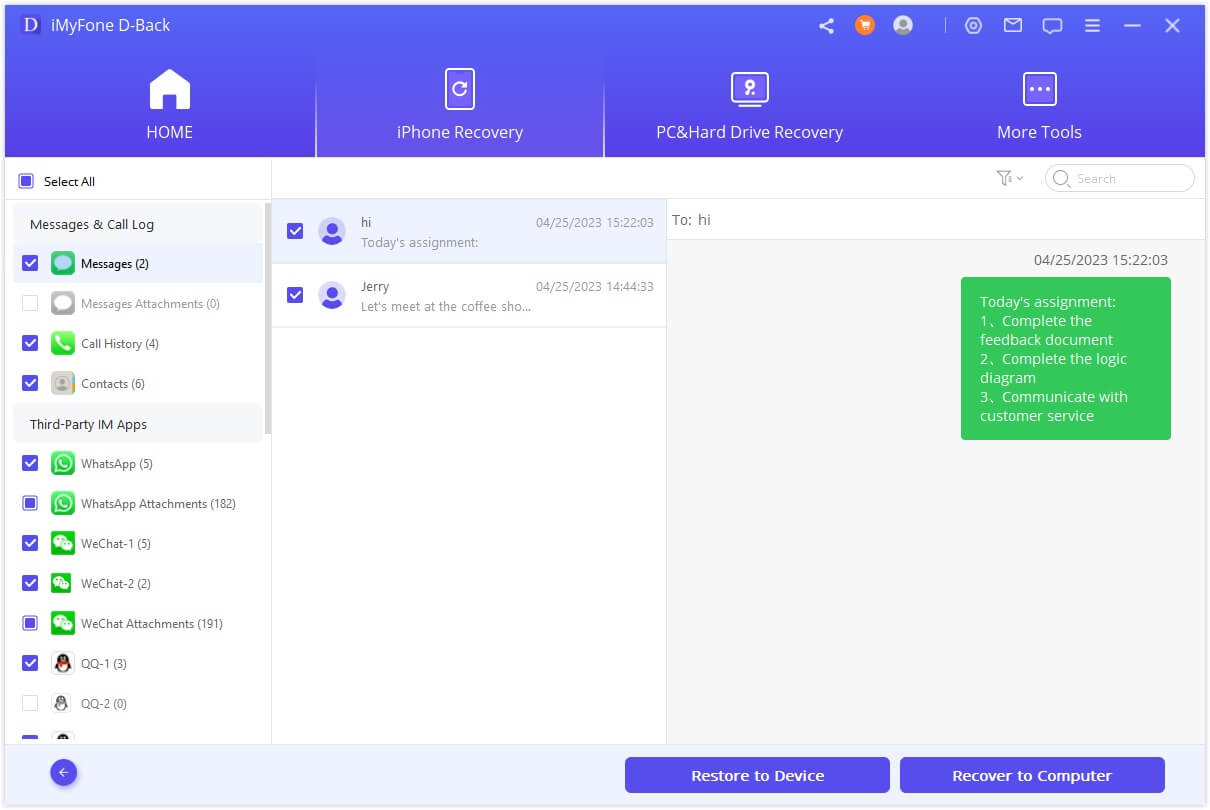
Step 4: When the scanning process is complete, all the messages on that device will be displayed in the next window. Select the message you want to export and click "Recover". You will be requested to select a destination folder on your computer. Once the exported messages are saved on your computer, you can go ahead and print them.


 January 12, 2023