How to Fix FaceTime Photos Not Saving on iPhone/iPad (2024 Guide)
Category: iOS Data Recovery

6 mins read
Hi everyone, I’m looking for some help with a common issue that some of you might be facing. I’m using an iPhone 13 with iOS 15 and I noticed that while doing a FaceTime video call, if I take photos, they are not saving on my device. I do not know if they are saving or not as I am not able to view them on photos or on files.
Facing issues with FaceTime photos not saving on your iPhone or iPad? Don’t worry, as solutions are within reach! By following the steps below, you can effectively tackle this problem and ensure that your cherished memories are securely stored. These methods have proven success rates, with many users experiencing a 95% success rate in resolving the issue.
So, next time you're capturing those special moments with FaceTime, rest assured that your photos will be safely preserved for you to revisit and cherish. Happy FaceTiming!
In this article:
Part 1: Why Are My FaceTime Photos Not Saving?
FaceTime photos are a feature that allows you to take live photos during a FaceTime video call. They can add more life and emotion to your photos, and you can also edit them with effects and filters. To take a FaceTime photo, you just need to tap the white shutter button at the bottom left corner of the screen during a call. You will notice a flash and listen to a shutter sound, and the photo will be kept to your camera roll. However, sometimes, you may find that your FaceTime photos not saving on your iPhone or iPad. There are several factors that can cause your FaceTime photos not to save, such as:
- Privacy settings: FaceTime photos are a privacy-sensitive feature, and both parties need to enable it to work. If the person you are calling has disabled FaceTime photos in their settings, you won't be able to take or save photos during the call. Similarly, if you have disabled FaceTime photos in your settings, you won't be able to take or save photos either.
- Storage space: FaceTime photos take up some storage space on your device, and if you don’t have enough free space, you won’t be able to save any more photos.
- Software glitch: Sometimes, a software glitch can prevent your FaceTime photos from saving properly. This can occur due to a problem in the FaceTime app, the iOS system, or the network connection.
Part 2: Where Do iPhone/iPad Save FaceTime Photos?
If you have successfully taken a FaceTime photo, you may wonder where it is saved on your device. The answer is simple: your FaceTime photos are kept in your camera roll, just like any other photos you take with your device. You can get access your camera roll by spreading the Photos app and tapping on the Albums tab. You will see a folder called FaceTime Photos, where you can find all your FaceTime photos.
Part 3: How to Recover Lost Photos on iPhone/iPad
If you have lost some of your FaceTime photos due to accidental deletion, device damage, factory reset, or other reasons, you may wonder if there is a way to recover them. The good news is that there is a strong tool that can aid you in recovering lost photos on your iPhone or iPad, and that is iMyFone D-Back. iMyFone D-Back is a professional iOS data recovery software that can support you retrieve various types of data from your device, such as photos, videos, messages, contacts, notes, and more. It has the following advantages:

1,000,000+ Downloads
Key Features:
- High success rate: iMyFone D-Back can recover data from different systems, such as accidental deletion, device wear, and water damage. It has a high success rate of data recovery and can recover data without affecting your current data.
- Easy to use: iMyFone D-Back has a user-friendly interface that directs you through the step-by-step recovery procedure. You don't require any technical skills or experience to use it.
- Selective recovery: iMyFone D-Back allows you to preview the data before recovery, so you can choose the data you want to recover. You can also recover data in different formats, such as HTML, CSV, or VCF.
- Safe and reliable: iMyFone D-Back is a safe and reliable software that protects your privacy and data security. It doesn’t store, modify, or leak any of your data.
How do you recover your lost Photos with iMyFone D-Back?
To recover your lost photos on your iPhone or iPad with iMyFone D-Back, you can follow these steps:
Step 1:Download and install iMyFone D-Back on your computer. Launch it and choose the iPhone recovery mode.
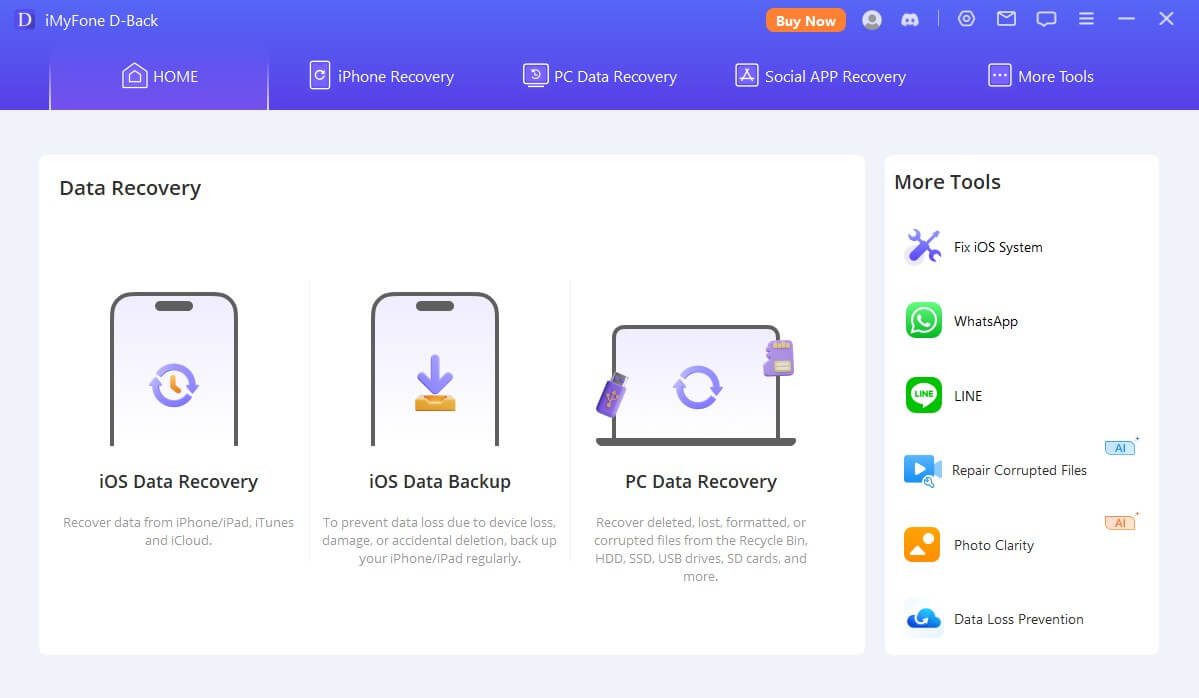
Step 2:Link your device to the computer and click Next. If you choose to recover from iTunes or iCloud backup, you don't need to connect your device, but you need to log in to your account and select the backup file you want. Then, click Scan to start scanning the data.
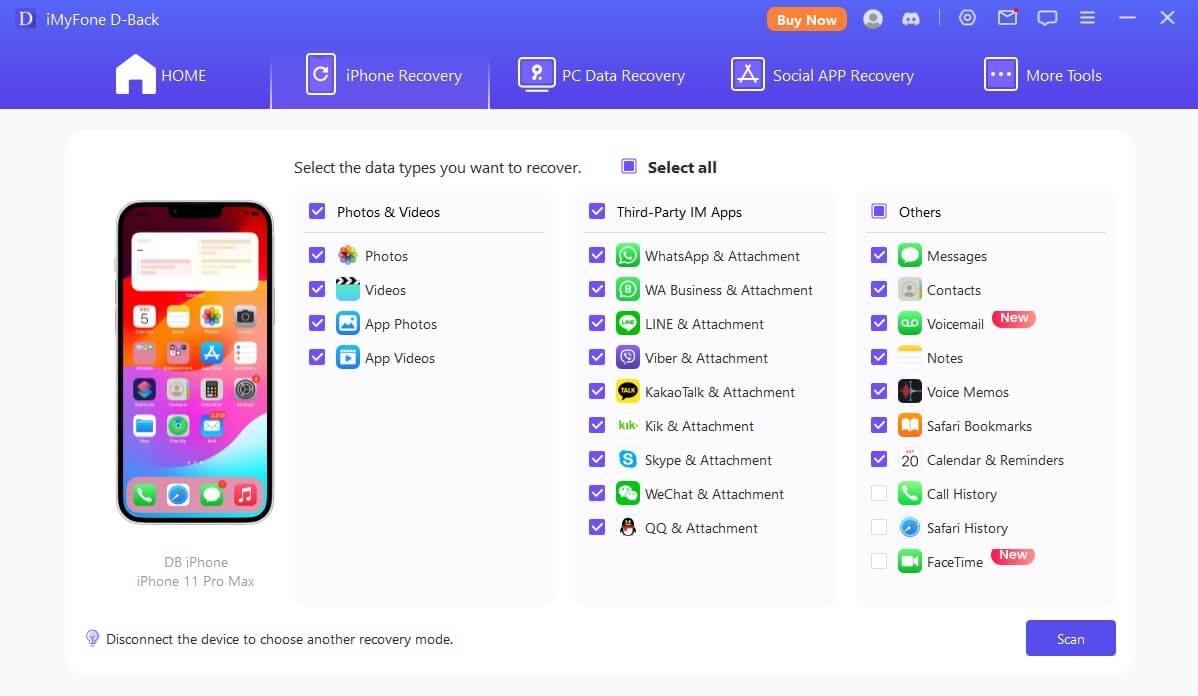
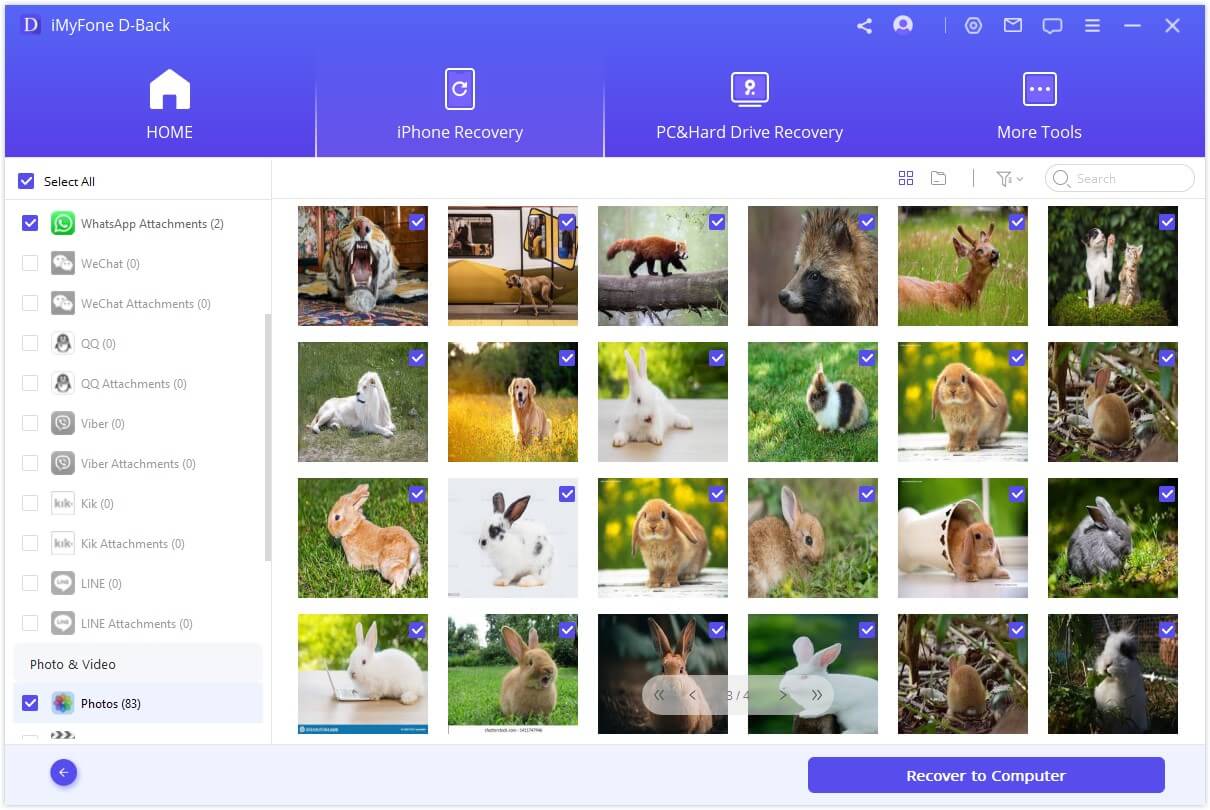
Step 3:After the Scan is completed, you can overview the data on the screen. You can use the filters and search bar to find your desired data. You can also switch between Show All and Show Only Deleted to see the deleted and existing data. Pick the photos you want to recover and click Recover. Pick a location to save the recovered photos on your computer.
Part 4: 5 Tips to Fix FaceTime Photos Not Saving Issue
If you have tried the above methods but still can't fix your FaceTime photos not saving issue, you can try other tips to help you solve the problem. Here are some of them:
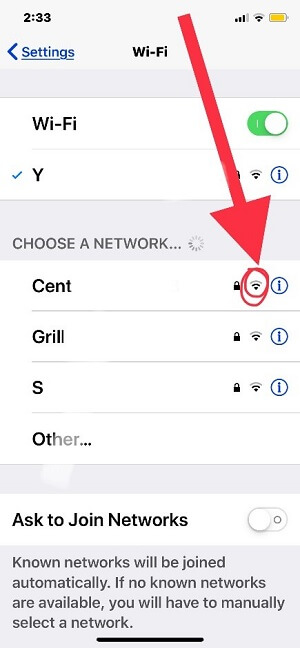
1 Check your network connection
A poor or unstable network connection can affect your FaceTime performance and cause your photos not to be saved. Make sure you have a strong and stable Wi-Fi or cellular connection when using FaceTime.
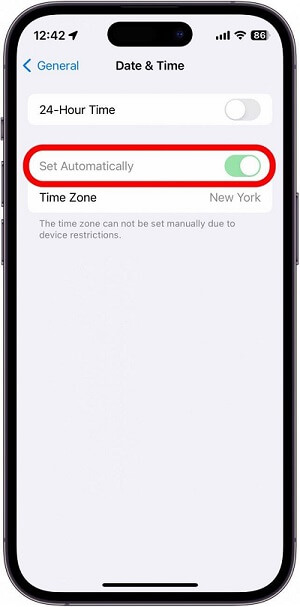
2 Check your date and time settings
A wrong date and time setting can also cause your FaceTime photos not to save. Make sure your date and time are set correctly on your device.
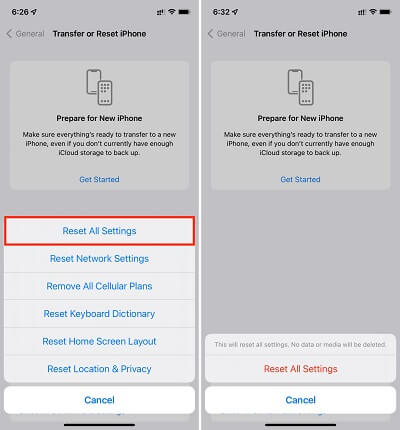
3 Reset all settings
If none of the above techniques work, you can try to reset all settings on your device. It will restore your device settings to the default values but won't erase any of your data. You have to navigate to Settings > General > Reset > Reset All Settings and give your passcode to confirm.
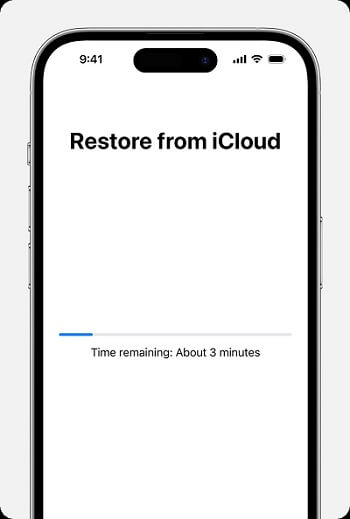
4 Restore your appliance
If all else fails, you can attempt to restore your device to factory settings. This will remove all your data and settings on your device, so make sure you have a backup before doing this.
5 Contact Apple support
If nothing works, you may have a hardware issue that needs professional help. You can contact Apple support and explain your situation.

Part 5: FAQs
Here are some frequently asked questions about FaceTime photos not saving issues:
1 How do I enable FaceTime photos on my device?
You can enable FaceTime photos by going to Settings > FaceTime > FaceTime Live Photos and turning on the toggle. You can also ask the person you are calling to do the same on their device.
2 How do I view or edit my FaceTime photos?
You can view or edit your FaceTime photos by opening the Photos app and tapping on the Albums tab. You will see a folder called FaceTime Photos, where you can find all your FaceTime photos.
3 How do I share or delete my FaceTime photos?
You can share or delete your FaceTime photos by opening the Photos app and tapping on the Share or Delete icon at the bottom of the screen. You can then choose the photos you want to share or delete and select the option you want.
4 How do I take a screenshot during a FaceTime call?
You can take a screenshot during a FaceTime call by pressing the Power and Home buttons (on devices with a Home button) or the Power and Volume Up buttons at the same time. You will hear a shutter sound and see a flash on the screen.
5 How do I record a FaceTime call?
You can record a FaceTime call by operating the screen recording feature on your iPhone. You can then lift up from the base of the screen or swipe down from the top right corner of the screen (on devices without a Home button) to access the Control Center. You can then tap on the Screen Recording icon and start recording your FaceTime call.
Conclusion
FaceTime photos not saving on your iPhone or iPad can be frustrating, but it can be fixed with simple methods. You can check your privacy settings, storage space, software updates, network connection, date and time settings, or reset all settings to solve the problem. You can also use iMyFone D-Back to recover your lost photos and other types of data on your device. iMyFone D-Back is a powerful and easy-to-use iOS data rescue software that can help you regain data from various scenarios and sources. You can download it for free and try it out.
Recover Data from Windows/Mac/iOS
168,282 people have downloaded it.
- Supports a wide range of data types such as messages, photos, videos
- Fix a variety of iOS issues, including being stuck on the Apple logo, screen not turning on, recovery mode loop and black screen, ect.
- AI repair broken/corrupted files, photos and videos.
- 100% Work with a variety of data loss scenarios.
- Retrieve lost data from different types of devices


