How to Extract Photos from iPhone/iPad - 3 Tips
Category: iOS Data Recovery

5 mins read
I'm in a tough spot right now – my iPhone is completely broken and won't even power on. I'm really eager to recover my photos from it. Do you know of any tricks or methods to retrieve those precious memories? Your assistance would be greatly appreciated!
iPhone photo loss can happen due to various reasons, such as a lost or erased iPhone, a failed iOS update, accidental deletion, and more. However, there's some solace in knowing that we can still retrieve pictures from iPhone backups. These backup photos are stored on your computer, allowing you to use iTunes and iCloud to extract, restore, recover, or retrieve photos from a backup.
In this article, we'll primarily focus on how to extract photos from iPhone backups, whether it's from iTunes or iCloud backup.
In this article:
Part 1. How to Recover and Extract Photos from iPhone
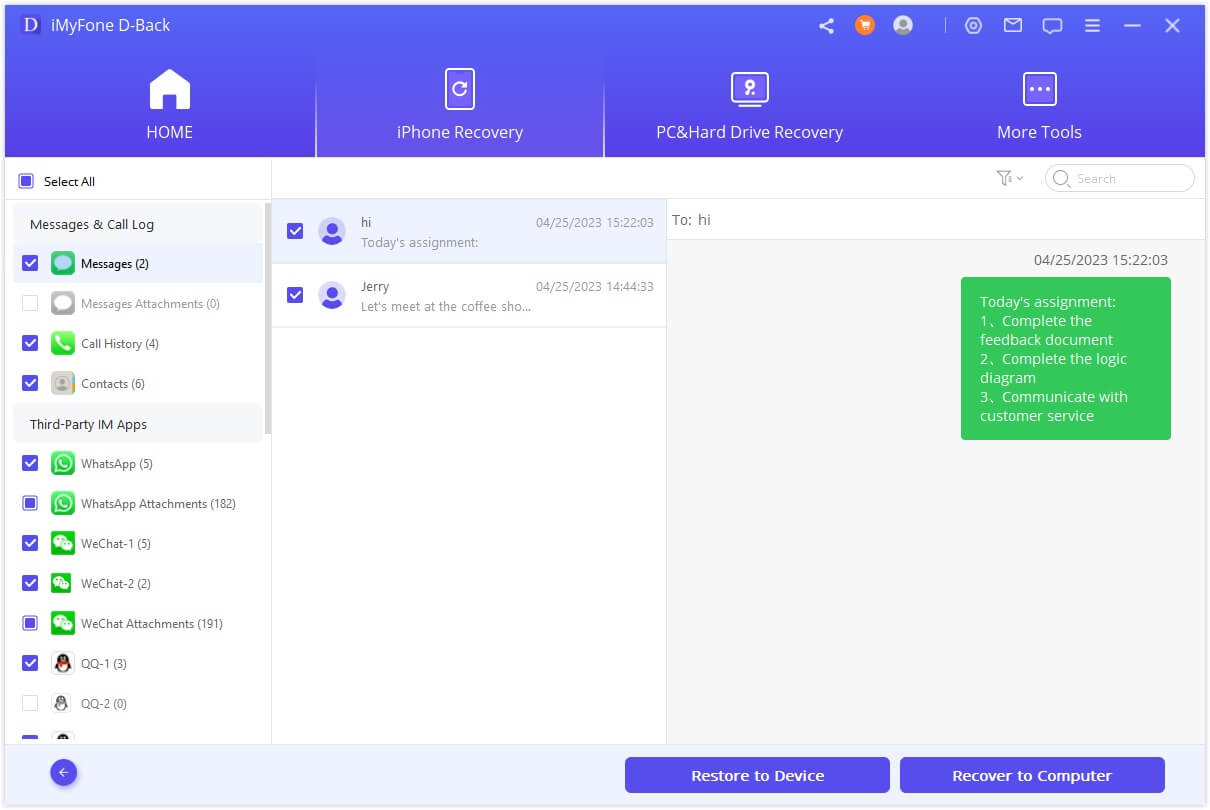
If you're looking to view and extract photos from an iPhone backup, the reliable iPhone backup extractor – iMyFone D-Back – is here to assist. It enables you to access and preview photos stored in iPhone backups created with iTunes and iCloud.
With iMyFone D-Back, you can retrieve photos from an iPhone backup and transfer them to your computer or another iPhone. Importantly, this process won't lead to the erasure of any existing data on your iPhone, ensuring that all your data remains completely safe and secure.
1,000,000+ Downloads
Key Features:
- You can also use the program to save only certain types of data from your iPhone. This means you can choose to save just messages, call history, WhatsApp, LINE, and other types of data you want.
- It supports iPhone/iPad/Mac device data recovery.
- You can look at these saved files on your computer anytime. This is different from iTunes, which doesn't let you see what's saved.
- And you don't have to worry about how much space you have, unlike iCloud that only gives you 5 GB for free.
Here's how to use iMyFone D-Back to extract photos from your iPhone:
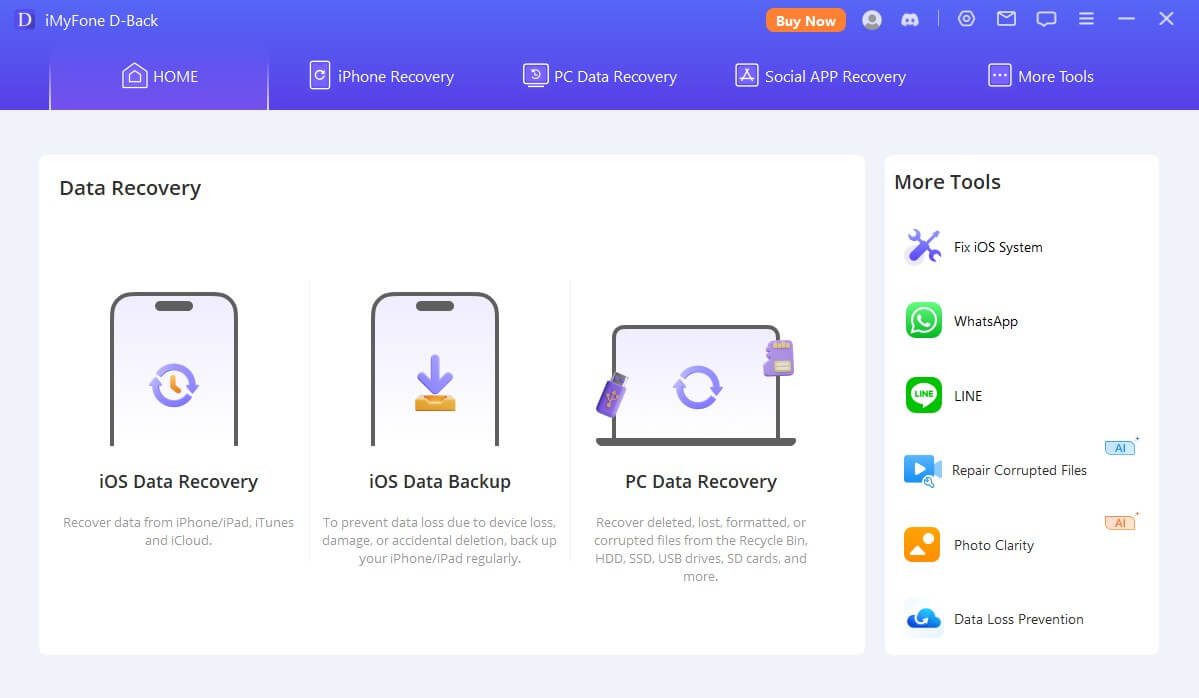
Step 1: Open iMyFone D-Back on your iPhone, choose "iPhone Recovery", and then tap "Start".
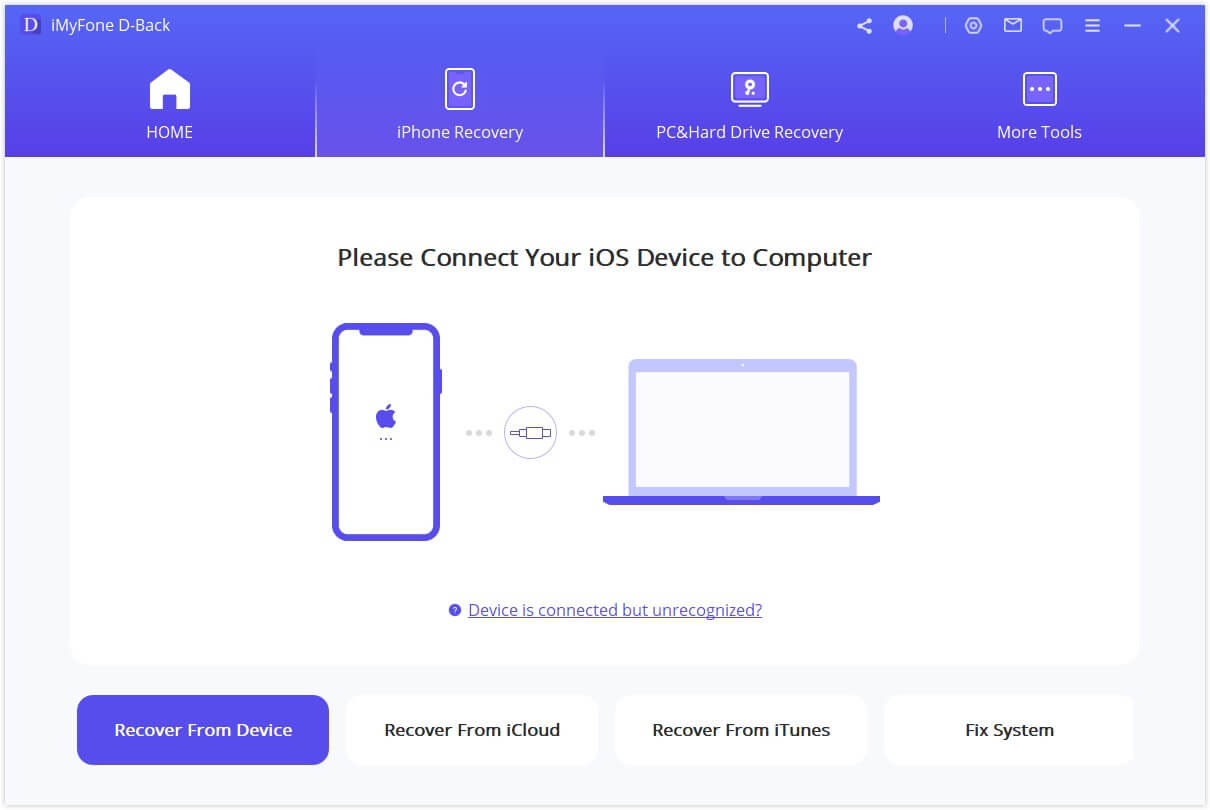
Step 2: Connect your iPhone to your computer, wait for the program to find your device, and click "Next".
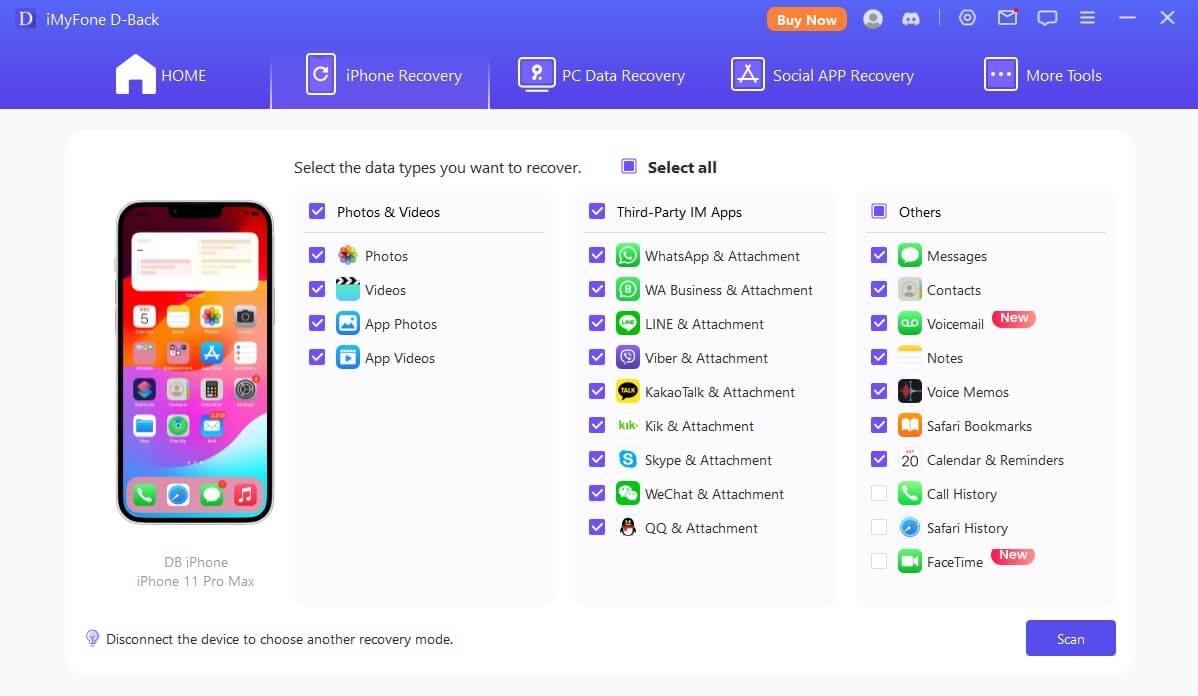
Step 3: Pick the type of photos you want to recover, and hit "Scan".
Step 4: Once the program finds your data, you can see and choose the photos you want. Decide where you want to save the files, and that's it – your photos are recovered or extracted!
Part 2. Extract Photos from iPhone Backup
1 Option 1: Extract Photos from iPhone Using Windows
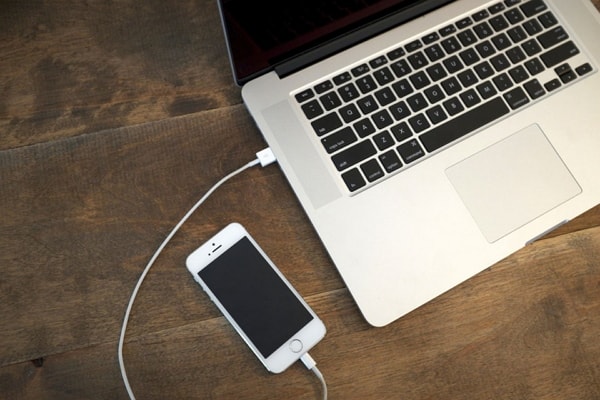
If you're using Windows, your iPhone can be recognized as a digital camera or a file system. You can use Windows Explorer to get your photos back. Remember, you need to unlock your iPhone so Windows can access the content.
Here's how:
Step 1: Connect your iPhone to your Windows PC with the provided cable.
Step 2: Open "My Computer".
Step 3: Look for your iPhone listed under "Portable Devices".
Step 4: Left-click on your iPhone and choose "Import pictures and videos" or explore the device to find the images.
Step 5: Select the pictures you want to save them to your computer in the folder you prefer.
2 Option 2: Extract Photos from iPhone Using iCloud
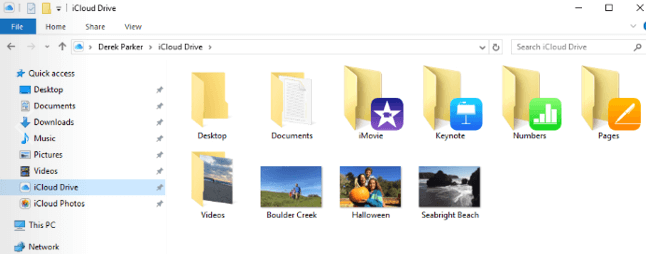
If you're using iCloud Photo Library, your iPhone automatically uploads all photos and videos in full resolution. You can move these images to your computer using these steps.
Here's how:
Step 1: Enable iCloud Photo Library on your iPhone and Mac. Use the same Apple ID for both devices and ensure they're on the same Wi-Fi network.
Step 2: When iCloud Photo Library is on for both your iPhone and Mac, it syncs all your photos across the devices. This means you'll find your iPhone photos on your Mac.
Step 3: Your iPhone photos will be extracted and stored in the Photos app on your Mac after the synchronization process is complete. You can then browse them at your convenience.
3 Option 3: Extract Photos from iPhone Using iTunes
You can also use iTunes to transfer all your iPhone photos to a computer. Here's how:
Follow these steps:
Step 1: Arrange your iPhone photos in an organized manner.
Step 2: Connect your iPhone to a computer and open the iTunes application.
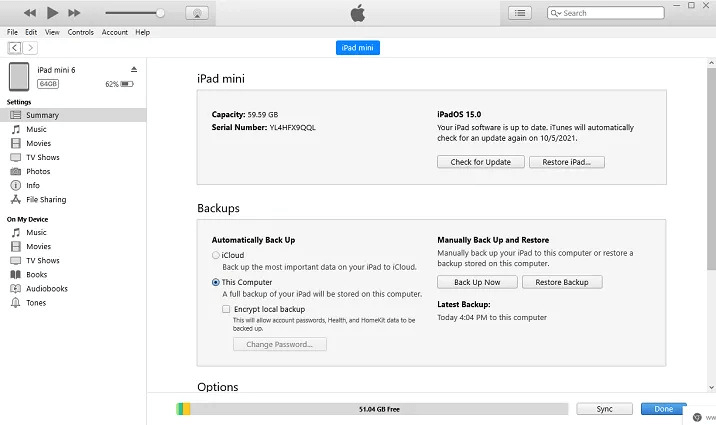
Step 3: In the device "Summary" section, locate "Photos" on the left side of the screen and click on it.
Step 4: On the right side of the screen, check the box that says "Sync Photos".
Step 5: Choose "Choose Folder…" from the drop-down menu.
Step 6: Select the folder where you've organized your photos.
Step 7: Click "Apply" to initiate the copying process of the folder to your computer.
Part 3. FAQs about Extracting Photos from iPhone
1 Can I use iMyFone D-Back to extract specific photos from my iPhone backup?
Yes, iMyFone D-Back allows you to selectively extract specific types of data, including photos, from your iPhone backup.
2 Can I extract photos from my iPhone using iCloud if I have iCloud Photo Library enabled?
Yes, if you have iCloud Photo Library enabled, your iPhone photos will be automatically uploaded to iCloud, and you can access and transfer them to your computer using the steps provided.
3 Will using iTunes to extract photos from iPhone affect my existing data on the device?
No, using iTunes to extract photos from your iPhone won't affect your existing data. It's a straightforward process that only involves transferring photos to your computer.
4 Can I Extract My iPhone Photos Without Backup?
Yes, you can! If you haven't backed up your iPhone, you can still use a reliable data recovery tool like iMyFone D-Back to extract your iPhone photos without a backup. D-Back can scan your device and recover various types of data, including photos, even if you don't have a backup available. It's a powerful solution to retrieve your photos without relying on a backup.
Conclusion
In conclusion, extracting photos from your iPhone is a straightforward process using any of the four methods detailed above. Select the method that best suits your needs and convenience.
Recover Data from Windows/Mac/iOS
168,282 people have downloaded it.
- Supports a wide range of data types such as messages, photos, videos
- 100% Work with a variety of data loss scenarios.
- Retrieve lost data from different types of devices
- AI repair corrupted photos, videos, files.
- Compatible with All iOS & Android versions.


