Everything about iOS/iPhone Encryption
The need to have your idevice encrypted (i.e. protect the contents on it against unlawful access) is very important. These idevices hold your personal photos, private messages, contacts, texts, instant messages, email, call logs and sometimes sensitive health information, and it would be demoralizing for this information to fall into the wrong hands. While using a security code is a measure in the right direction, you need to really consider iPhone security encryption. That means, if by chance someone gets physical access to your iPhone, they will also need to get your passcode to decrypt what is stored on it.
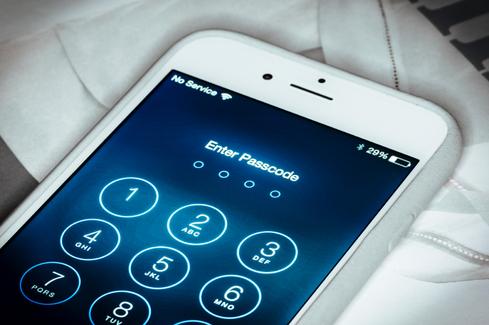
How does iOS/iPhone Encryption
Apple has integrated encryption into the firmware and hardware of its idevices and now, every iOS device has a dedicated Advanced Encryption Standard 256-bit crypto engine that lies between the main system memory and the flash storage. This engine works together with the SHA-1 cryptographic hash function, which is executed in the hardware as well, to reduce transparency for cryptographic operations. Likewise, a unique identifier is incorporated into the device's hardware. This is an AES 256-bit key melded into the application's processor.
The Unique identifier is specific to the device and not recorded elsewhere. In fact, no software or firmware can read it directly. They can only see the results of the decryption and encryption operations. Because the key is burnt into the silicon, it cannot be bypassed or tampered with. Only the crypto engine can access it.
Consequently, data is cryptographically bound to a particular idevice and cannot be linked with any other device or identifier. By default, Apple enables iOS encryption level and does not permit it to be disabled. This is an important feature, especially if a device is stolen or lost and remote wipe has been configured earlier. Under such circumstances, a device’s data can in theory be erased before somebody hacks it.
How to Enable iOS/ Encrypt iPhone
Step 1: Go to your iPhone’s settings.
Step 2: Scroll down and click on “Touch ID & Passcode” (for older idevices without the fingerprint scanner, it is “passcode”).
Step 3: Tap on “Turn Passcode On” option.
Step 4: Set a strong passcode or password. You can set a strong four-digit, alphanumeric password or a longer numerical pass code.
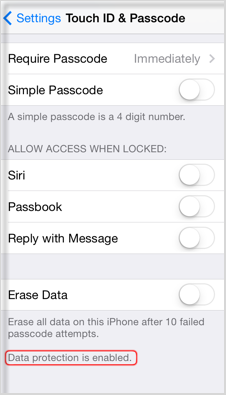
Step 5: Ensure data protection is enabled. To verify, return back to the settings. When you scroll down to the bottom of the page, you will see “Data protection is enabled”. This implies you finished iPhone device encryption and the data on it cannot be accessed by anyone.
An External Tip to Protect Your Private Data
Being different from iOS encryption, a sure and better way to protect your private data is to have your idevice completely erase in case it is lost or stolen. Simply wiping off of data on your idevice may not be the best option. As a professional data eraser, iMyFone Umate Pro or iMyFone Umate Pro for Mac with advanced overwriting technologies can 100% destroy any data without any chance of recovery. In fact, it has permanent erasure as its key feature.
- Erase Private Data: Erase current contacts, messages and the like to protect your private info safety.
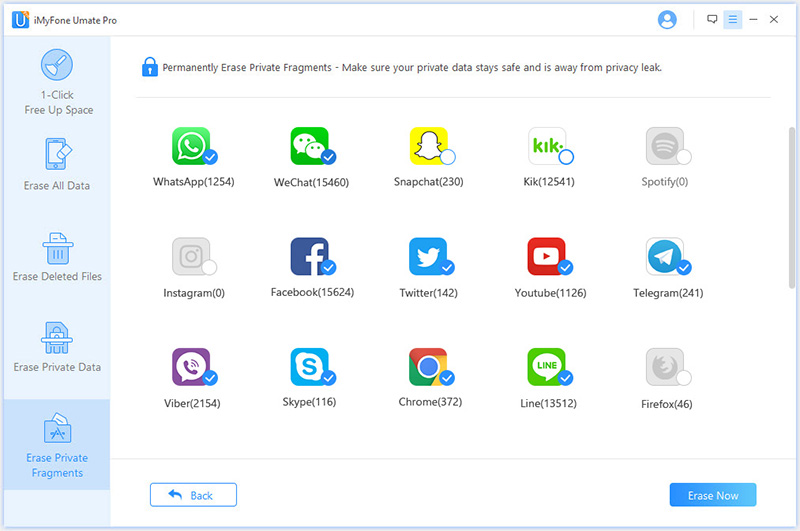
- Erase Private Fragments: Erase fragments that produced by third-party apps, such as Snapchat, WeChat, WhatsApp, etc., so that no longer worry about your private data being revealed.
- Erase Deleted Files: Erase the deleted files from your iPhone permanently without any chance of recovery.
- Erase All Data: As it can erase all of your data completely, it is the most safety mode if you want to sell your iPhone.
How to Erase Private Data: WhatsApp as Instance
In just 1-click, it can completely and permanently erase existing private data, erase deleted files on your iPhone including WhatsApp messages and all its attachment, without the possibility of being recovered.
Deleting whatsApp data only takes 4 steps:
Step 1: Connect your idevice to a PC and launch the iMyFone Umate Pro software.
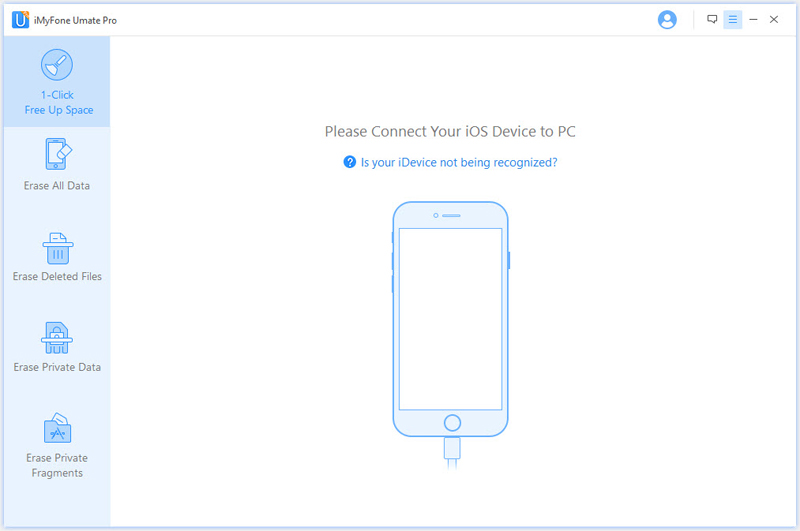
Step 2: Go to “Erase Private Fragments” or “Erase private data” and click on Scan. Thereafter, you double-click on WhatsApp to preview the scanning result first.
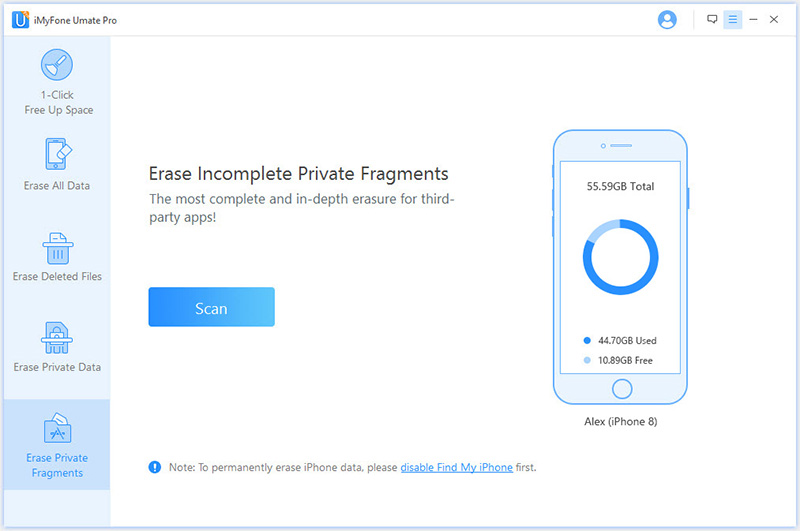
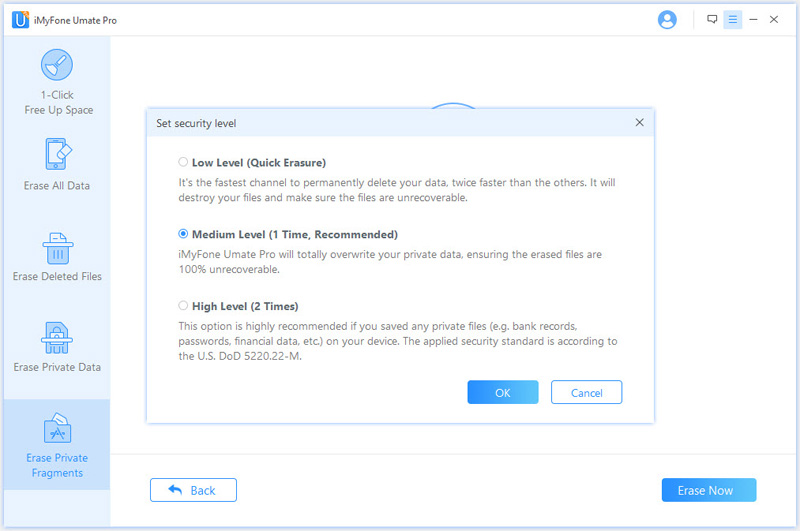
Step 3: Select the one you would like to erase and click on “Erase now” button.
Step 4: Type “delete” into the box to confirm


 March 12, 2024