The Two-step verification, and the Two-factor Authentication features were introduced from iOS 9 and later, as an extra layer of security for Apple devices beyond the usual password and security questions protection, to make iOS devices more secured against unauthorized access to ID and data.
Method 1: How to Turn off Two-Factor Authentication in iOS 13/14/15?
Unlike activating the feature, which can be done by turning it on in your iPhone settings, this feature cannot be turned off via your iPhone settings, you have to do this on a web browser.
Steps to Turn off Two-Factor Authentication
Step 1: Open up a browser on your computer and sign into your iCloud account, or go through applied.apple.com
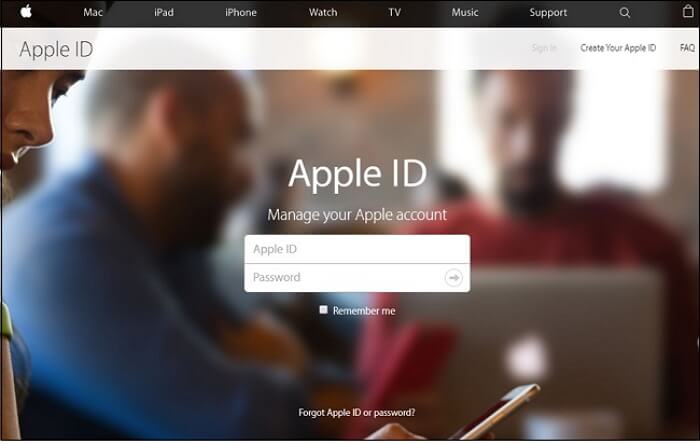
Step 2: Since your two-factor authentication is enabled, you will be required to input the verification code. You have to approve login by clicking Allow to get the code. Input the six-digit code, and then click Trust to complete login. This redirects you to the iCloud homepage.
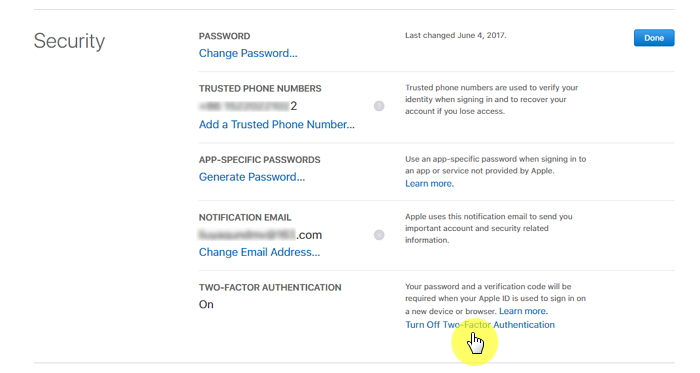
Step 3: Click on Settings, then Manage under Apple ID. Proceed by re-entering your ID details followed by the six-digit code you received earlier. When you enter the manage page, locate Security and click the Edit button on the right.
Step 4: Click on the Turn Off Two-Factor Authentication, and then confirm.
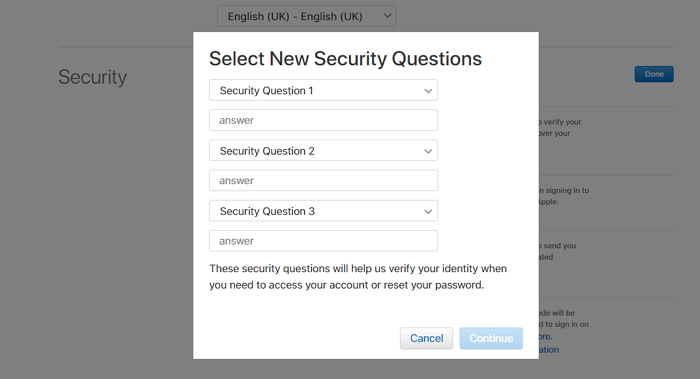
Step 5: Create and answer three security questions to finalize the process, then click Done. Your Two-Factor Authentication will be put off.
Method 2: How to Turn off Two-Step Authentication in iOS 13/14/15?
If for some reasons, you do not want the added layer of protection that the Two-Step verification provides, or you want to switch to Two-factor authentication (which requires you must first turn-off the Two-step verification), here are the steps to turn off the Two-Step:
Steps to Turn off Two-Step Authentication
Step 1: Sign into your Apple ID account page. Go to the Security section, and select Edit.
Step 2: Click Turn Off Two-Step Verification. Click again to Confirm.
Step 3: Create new security questions and verify your birth date. An email will be sent to you to confirm that you have turned off Two-Step Verification for your Apple ID.
Difference: between Two-Step & Two-Factor Authentication
Even though both are similar in their process and features, the Two-Step and two-Factor Authentication are distinctively different.
Two-Step Verification
The Two-step Verification was introduced by Apple in 2013 as an extra verification process besides the password to secure users’ IDs, and protect your device from unrecognized access. It entails registering one or more trusted devices which you control and which can receive 4-digit verification codes via SMS or Find My iPhone. This additional verification process is required when signing into Apple ID, iCloud or when making a purchase using a new device.
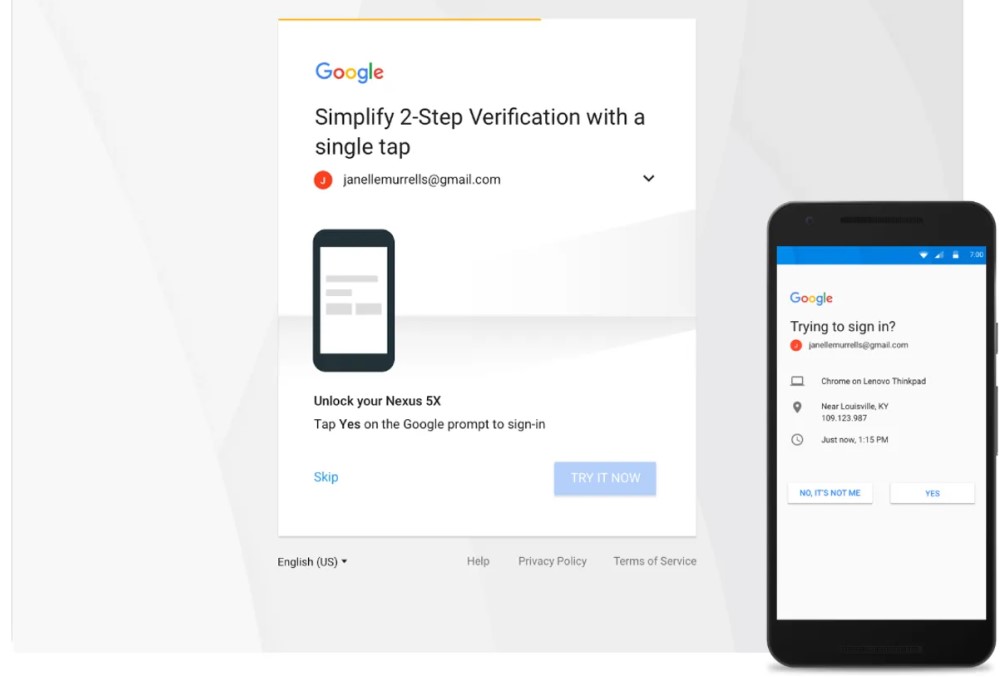
There is no need to create (or remember) any security questions as your ID and data are verified solely using your password, verification codes deployed to your trusted devices, and the Recovery Key you received which you use to gain access should you lose your trusted device(s) or forget your password.
Two-Factor Authentication
Two-Factor is a new upgrade to the Two-Step verification. It is a more advanced and easier to use account security, which comes with more streamlined user experience, and is required to use some latest features of iOS, iCloud, and iCloud that needs enhanced security. When signing in, you are required to provide your password, and a six-digit verification code that is automatically displayed on your iPhone.
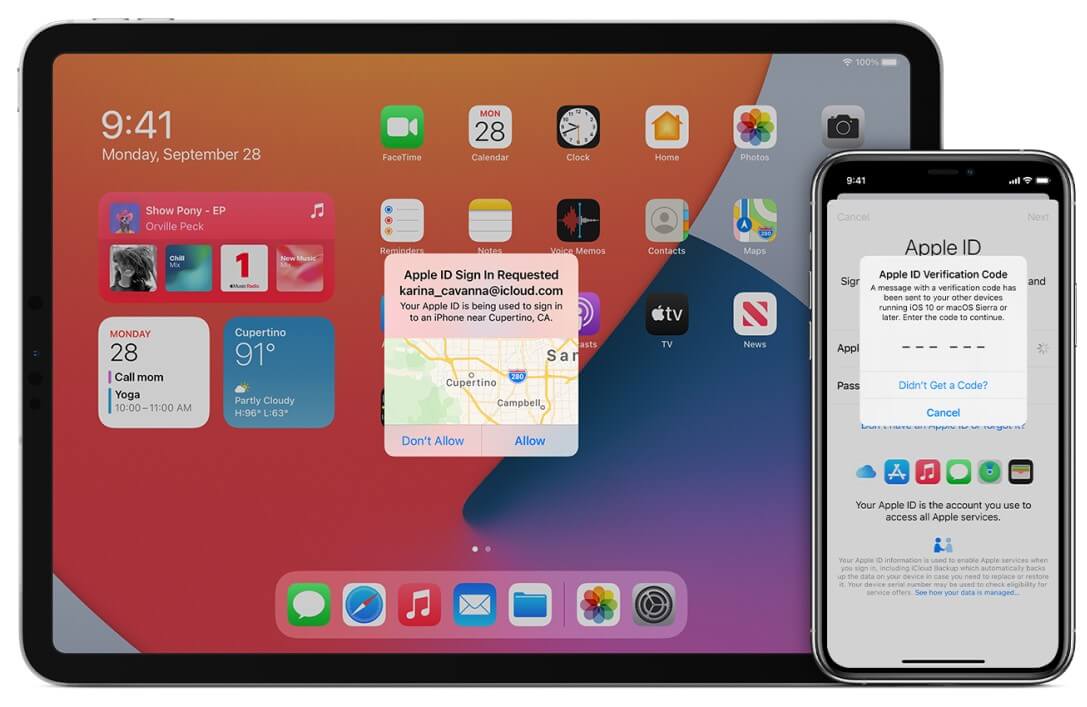
Two-Factor is built directly into iOS 9 and OS X El Capitan, and cannot be used on devices that run on older versions of iOS. While Two-Step verification comes entails application-specific password, Two-Factor does not, instead, it requires inputting the 6-digit authentication code to your original password.
Bonus: Best Free Tool to Speed up Your iPhone/iPad
It can be really frustrating when you want to access your phone, and it just keeps running slow, and freezes intermittently. Most times, this is as a result of junk files and temp files which are left-overs from iOS system and third-party apps. When this happens, one way to sort it out is to clear out these junks from your device, because devices work better and faster when they are free from overload of junks.
What Can iMyFone Umate Pro Do with Junk & Temp Files
iMyFone Umate Pro is an amazing tool that provides a fast, easy and effective means of clearing junk & Temp files from your iOS devices. It can help you:
Key Features:
- Clean up junks, application crash logs that are generated by iOS.
- Remove corrupted files that come from the download interruptions but still stay in the temp file folder.
- Delete picture library cache files left over by third-party applications.
- Clean up incomplete files and fragments that are generated from iTunes sync failure.
- It's recommended by lots of noted media arround the world: MacWorld, iPhoneinCanada, APPKED, etc.
Steps to Delete Junk & Temp Files
Step 1: Download and launch iMyFone Umate Pro on your PC and connect your iDevice.
Step 2: On the home screen, select 1-Click Free Up Space option, and then click the Quick Scan button.
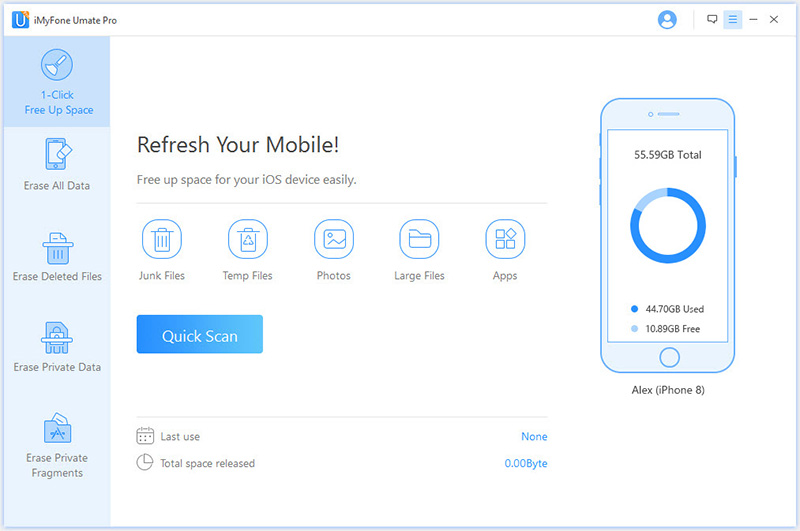
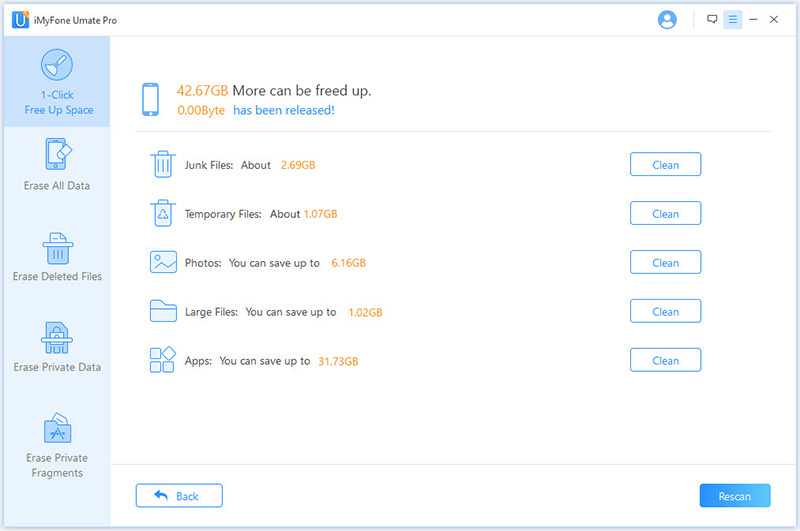
Step 3: Once the Scan is finished, click the Clean button in front of the junk files and temp files. iMyFone Umate Pro wipes all these files in one instant, and shows how much space you freed up.
Conclusion
In a word, iMyFone Umate Pro is an excellent tool. It can erases all kinds of data from your device and permanently overwrites them. Not only can it erases previously deleted data, such as contacts, photos, videos, messages, call history, etc. with 0% recovery possibility, but also it allows you to preview and select data individually before erasing. It can cleans out third-party apps data (messages & attachments) to avoid privacy leak, such as WhatsApp, Wechat, Viber, Snapchat, etc. Just have it a try!


 March 12, 2024


