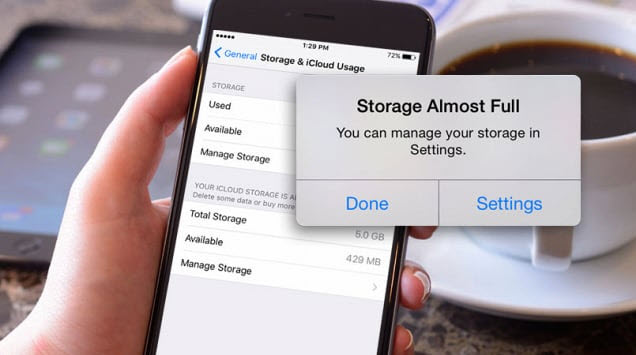
You bought your iPad long ago and had used it to carry out some tasks – chat, browse, sent messages, took pictures, etc. you now want to delete some items you no longer need. Then, the trouble started. You have touched all parts and still cannot fathom how to delete items from iPad. Frustration set in, then anger. You realized that your efforts at deleting those items were fruitless. You cannot leave those items undeleted for some reasons. What will you do now?
Obviously, you would not want to give up until you know how to delete unwanted items from your precious device properly. Deleting items from iPad are not difficult. You only need to know how to properly and permanently remove them, but what are items you should not keep but delete from your iPad?
What Items Should Be Deleted from iPad
There are various things that you may not need and which you should delete to create rooms and help your device to function normally. Some of these fall into two main categories, and they are:
Category 1: Storage Issues

- Media Files: Some media files are better deleted than retained. This is because they quickly rack up space in your iPad. So, media file should be your first port of call when you want to delete some items from your iPad.
- Apps: Apps are now created almost every day. If you had downloaded several apps that you no longer need, the best things to do is to delete them.
- Junks: Every user of iPad often gets some junk items that may inhibit smooth functioning of their device. You have got some, and you should include them in your list of items to delete.
- Temporary Items: Some of the files on your iPad could be those on a temporary basis. Delete them once they are no longer needed.
Category 2: Privacy Issues
If you are thinking of giving out or selling your iPad, you need to be concern about privacy. Your sensitive data could be accessed, causing you damages, embarrassment, or financial loss. The best way to prevent such occurrences is to permanently erase sensitive items from iPad, so these data could not recovered by any data recovery software.
- Trash: Your device also has trash features. Private items or files that enter the Trash should be deleted for privacy reason.
- History: Another area you should not overlook. Histories are your past activities on your device. They are personal and private. Why not permanently delete them to avoid privacy leak?
- Messages: Check your iPad for messages you might not need and delete them.
- Private Files: Other personal files are among items that should be deleted from your iPad. Check to see if you have some personal files that you would not want anyone gaining access to and delete.
How to Permanently Erase Or Delete Items from iPad?
iMyFone iPhone Data Eraser or iMyFone iPhone Data Eraser for Mac is the ultimate software that can help you to get rid of items in your iPad. There are reasons why Umate Pro is the best software to use for this purpose. There are features of Umate Pro that make deleting items from iPad so easy and permanent.
1. Storage purpose
1-Click Clean Up - This feature of iMyFone is perfect for use when you want to free up space on your device. You get more storage space when you apply this mode to clear up junk & temporary files, compress photos, remove in bulk multiple photos/videos/Apps. All hidden app caches, cookies, crash logs, downloaded temp files, user storage files and corrupted files will be cleaned in this mode. And for meaningful photos and videos, the program will back up the original files automatically before compression and deletion.
2. Privacy purpose
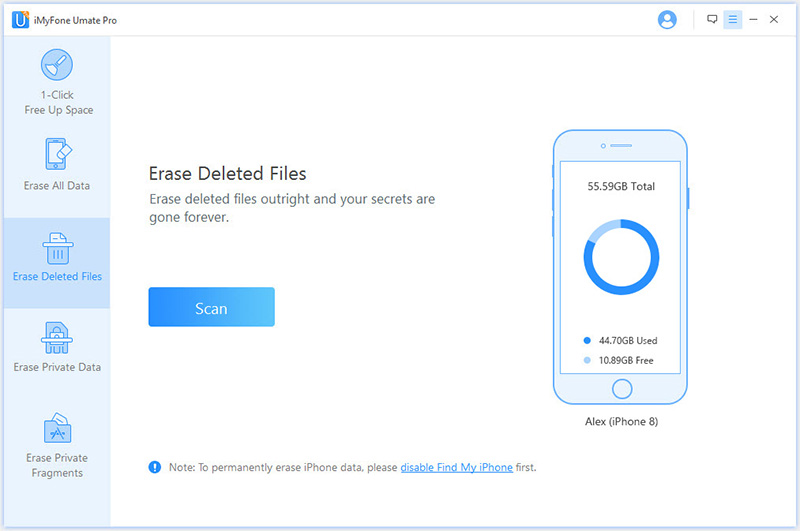
- Erase Deleted Files: This mode helps erase permanently your previously deleted files with no chance of recovery.
- Erase Private Data: This mode will delete any current private file with 100% unrecoverable.
- Erase All Data: This will erase all unwanted items from your iPad completely. It is advisable to use this mode if you want to sell your iPad.
Using iMyFone to Delete Items from iPad
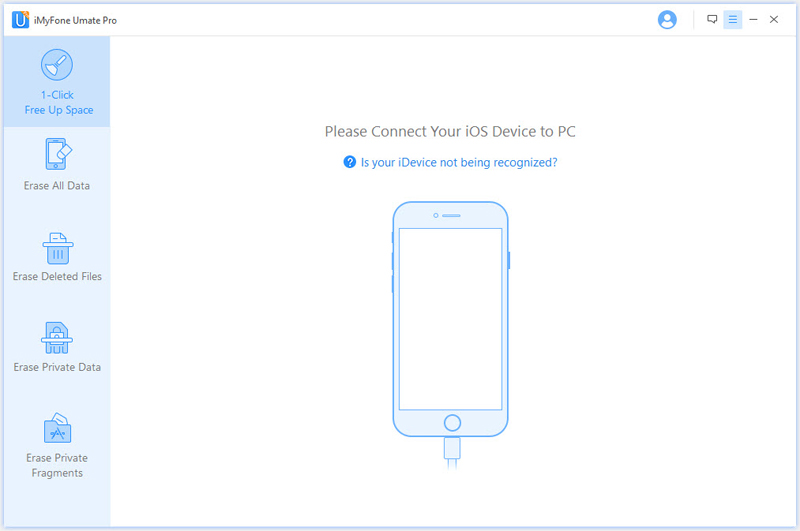
Step 1:Simply install Umate Pro on your computer to start using it. Then connect your iPad to the computer with a cable.

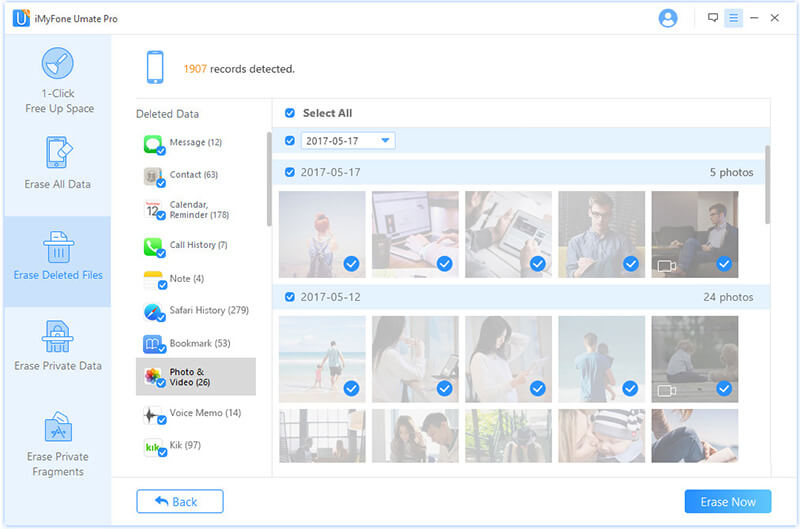
Step 2:Choose the mode you want. And your device will be scanned. Then, preview and select the file to be deleted. Then click on “Clean” or “Erase Now” button.

Step 3:You will be asked to confirm your intention. Type 'Delete' to confirm.


 March 12, 2024