"My iPhone Wi-Fi greyed out after I upgraded to iOS 11. I don’t know why this happened and I need an internet connection for my project purpose. Is it a hardware issue or I can do anything to fix it at home myself? Any advice or solution?"
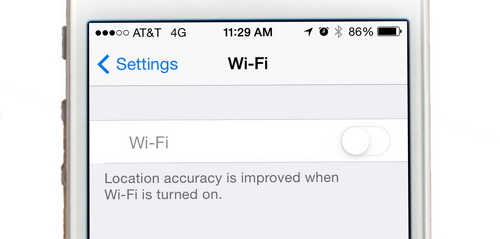
Most of the people are happy with updating new iOS. However, many of them are getting one issue or the other during the updating process or after the update to the newest version. And this time, we found the problem that iPhone Wi-Fi greyed out after iOS 15/14/13/12/11 update happened to many users. For those who are facing the same issue can execute the following troubleshooting steps. We hope you will found this post useful and get a great grin on your face after fixing the issue.
1. Hard Reset
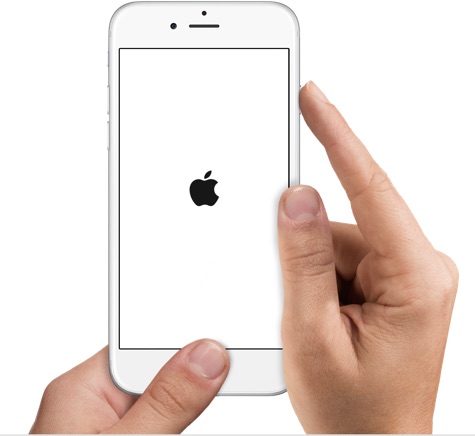
Hard resetting your iOS device is the first measure that one should take as it reboots the device and gives it a fresh start to perform activities properly. To do it, press and hold the Home and Sleep/Wake button if you own an iPhone 6 or earlier, or if you own iPhone 7 or 7 Plus press and hold the Volume Down and Sleep/Wake button both at the same time for about 10 seconds and release the buttons the moment you see Apple logo appearing on the screen.
2. Reset Network Settings
When it comes to accessing Wifi or cellular networks to go online, every iPhone stores a range of settings. And if some settings stores wrongly, it may interfere with a stable connection and you’ll find your iPhone’s Wifi is not working properly.
Resetting Network Setting is surely going to remove those faulty settings which are creating the hindrance in the Wi-Fi connectivity but it also removes every other setting including passwords, connection information (Wifi & Bluetooth both) and also the VPN settings. Follow the steps below to know how to Reset Network Settings.
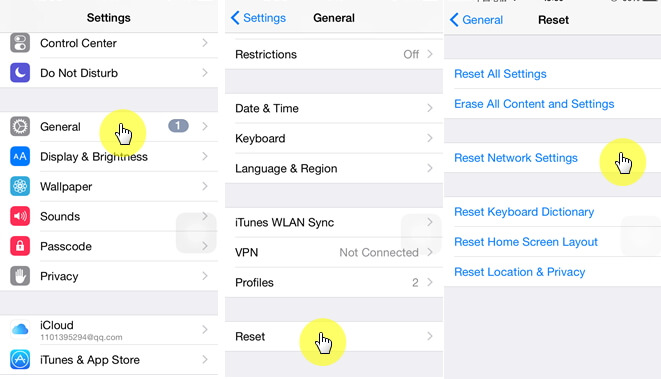
- Get into Settings, hit on General. Scroll down and tap on Reset.
- Now, hit the Reset Network Settings (punch in the password when asked, if any)
- Proceed with confirming all actions and once the process completes restarting your iPhone.
3. Fix iPhone Wi-Fi Greyed out after Upgrading to iOS 15/14/13/12/11 without Data Loss
When the above solutions were proved to be unhelpful to resolve iPhone Wi-Fi Greyed out the problem, we recommend that you try the program iMyFone Fixppo iOS System Recovery which is a very impressive program to solve iOS issues easily. It just takes a few steps to spot the problem and lastly helps to fix it and making the iOS device behave the way it did before.
iMyFone Fixppo iOS System Recovery (iOS 15/14/13/12/11 Supported)
Designed by iMyFone which has been recommended by famous media sites, this program is worth trust and trying.
- One of the amazing features includes its powerful capability. It can fix different iOS issues, such as device stuck on recovery mode/DFU mode, iPhone not turning on, bricked iPhone and more.
- It can smoothly work with any iOS model or iOS version.
- The best part is that it doesn’t affect any of your data when you are using the Standard Mode. You are fully assured that the data will not be lost using this software.
- This is wonderfully easy to use and gives full security.
Step 1 – Get the Software and Run It
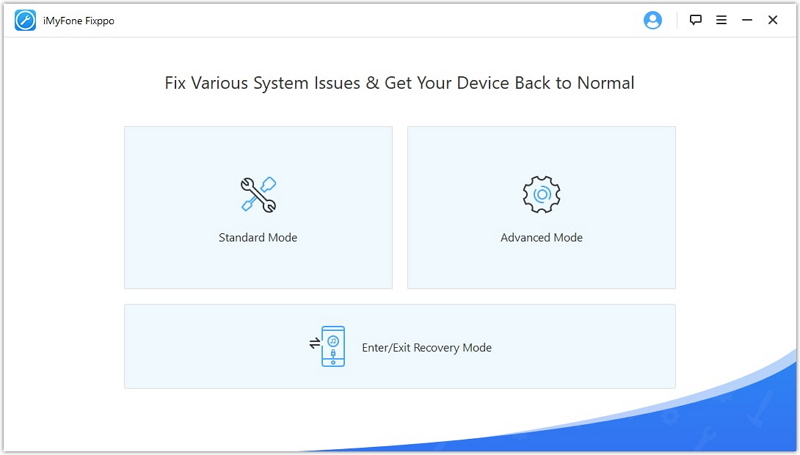
First of all, get the software from the official website and install it on your computer. After installation launch the software and with the help of lightning cord plug your iPhone in the computer. Now, to Fix iOS issues, push the “Standard Mode” box out of the three options on the screen.
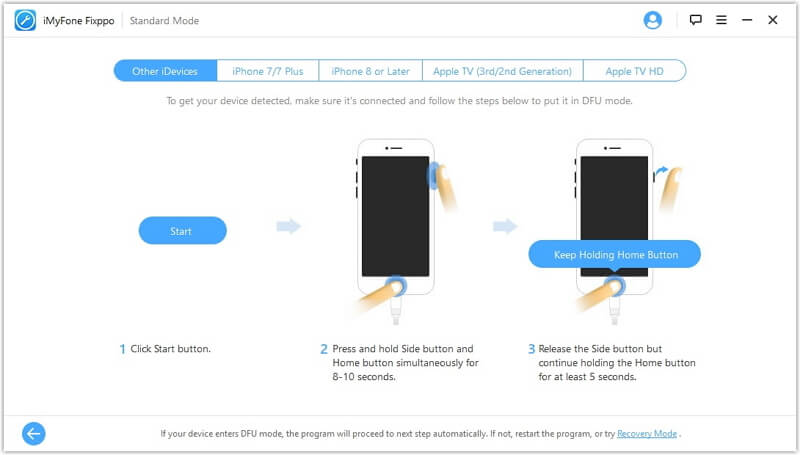
Step 2 – Put Your Device into DFU Mode
Next, get your iPhone into DFU Mode with the help of the onscreen instructions and follow them carefully. The software will identify your device automatically.
Step 3 – Start Downloading Firmware
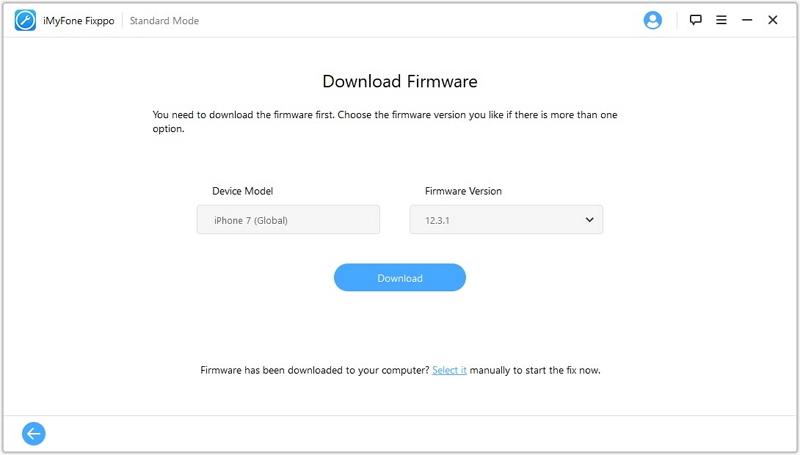
You can now proceed to the next move which says to download the corresponding firmware for your iOS model. You are required to click on the “Download” button and the program will assist you and get you the recent firmware.
Step 4 – Fixing the Problem
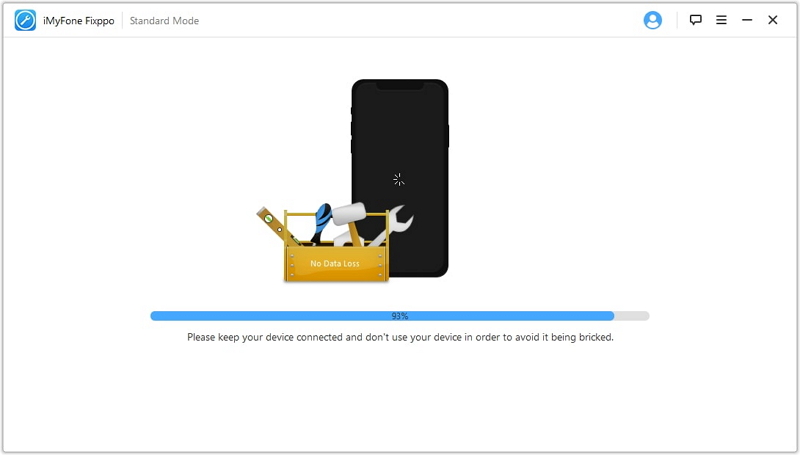
Last, you are required to click on the “Start to Fix” button. Now, wait for the fixing process and check your device after finishing it.
4. Factory Reset iPhone
Factory reset iPhone is certainly a last resort, that is because it is like a nuclear explosion that blows away everything. It wipes off everything out of your device, be it your data or your settings and returns your iPhone to the factory state. If doing a factory reset can solve an issue like iPhone Wi-Fi greyed out, so be it. Here’s how to factory reset your iOS device:
- First of all, sync your iPhone to iTunes or iCloud to make sure that you have your data backed up.
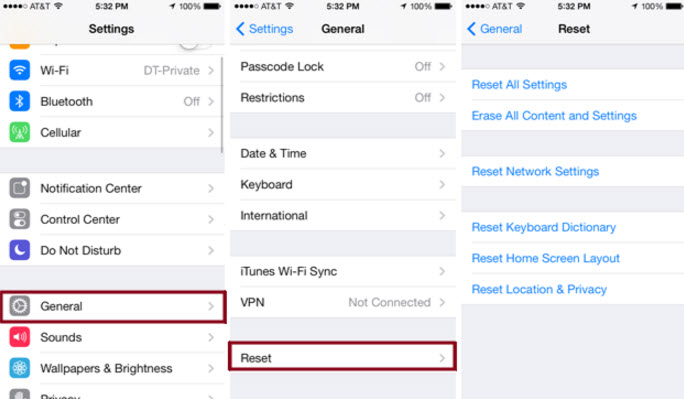
- Next, get into Settings, tap on General and scroll down to the bottom, then hit on Reset.
- Now, click on Erase All Content and Settings, hit Erase Phone when a warning alert pops up.
- After the process completes, set up your phone again and check if your WiFi is back to normal.
- If Wifi is working fine again, sync back your data to your device.
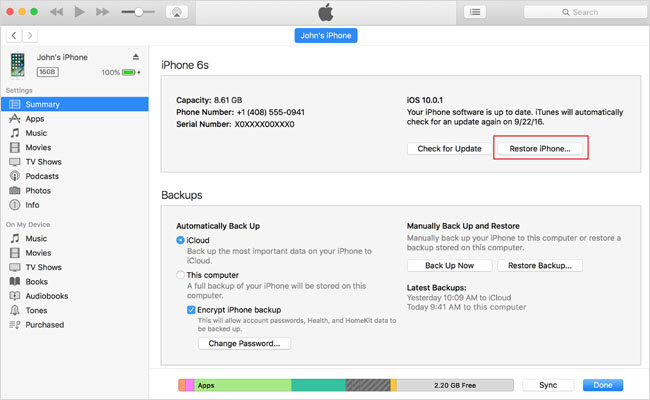
5. Put Your iPhone in DFU Mode & Restore It with iTunes
At times, there are certain problems that can be resolved only by restoring everything from the roots. To do this, get into the DFU mode of your device and then restore it with the help of iTunes.
Here are the steps to put your iPhone in DFU mode:
- Connect the iPhone (be it on or off) on which you wish to perform DFU restore and launch iTunes on your computer.
- Press and hold the “Sleep/Wake” button and “Home” button (Volume Down button on iPhone 7) simultaneously for at least 8 seconds.
- Now, you can let go of the “Sleep/Wake” button but make sure not to release the “Home” button (Volume Down button on iPhone 7) unless you get notified by the iTunes that ‘iTunes has detected an iPhone in recovery mode’.
- You can now let go to the “Home” button as well. Your iPhone will turn to full black indicating that your device is now in DFU mode.
To restore iPhone in DFU mode with iTunes follow the steps below:
- On the iTunes window, tap on your iOS device.
- Now, hit the button that says “Restore Backup”.
- Next, a list of previous backups made by you will come up, choose the most relevant one by checking the size and date of the backups.
- Finally, tap on the “Restore” button and you’re done.
6. Hardware Issue: Wi-Fi Antenna
Fixes above should most probably resolve the issue that iPhone Wi-Fi greyed out. But if your iPhone Wi-Fi is still not working, please check your Wi-Fi router with another iPhone and make sure there is no problem with it. If you confirm the Wi-Fi router works fine, the most probable cause for this issue is a hardware issue. In other words, the Wi-Fi antenna on your iPhone is defective. You are then required to walk up to an Apple store nearby and get your device repaired.
Did you find the article helpful? We do hope one of the above solutions helps you out the trouble that iPhone Wi-Fi is not working after iOS 15/14/13/12/11 update.


 April 10, 2024