ShareFile is one of the best choices for people who handle a centralized workspace and manage an extensive range of files, even the big files. It uses Citrix Managers to store the files and is hosted by Citrix in the public account. However, if you delete the files from your device, it can be challenging since you will need to access the cloud. Still, it's a public cloud, so it's a possibility.
In this article, we are sharing how to recover deleted files from Citrix.
- Part 1. How to Recover Deleted Files from Citrix ?
-
Recover Deleted Files from Citrix Using iMyFone D-Back

- How Do I Restore Files from Citrix ShareFile/Desktop?
- Part 2. FAQs about Citrix Data Recovery
- How to Recover Backups from Citrix?
- How Can I Find Citrix Files Recovery Folder?
- Where Do Deleted Items in Citrix Go?
Part 1. How to Recover Deleted Files from Citrix?
It is pretty standard for people to try and recover the files from the desktop's Recycle Bin, but we have already mentioned that the files are stored on the public cloud. For this reason, it's essential to select the right third-party software to complete the job.
1.1 Recover Deleted Files from Citrix Using iMyFone D-Back
iMyFone D-Back is one of the best choices for recovering lost and deleted files. Fortunately, it works with Citrix as well. This recovery software is highly convenient to use, and you will be able to restore the files within a few minutes. Some of its features include;
Main Features about iMyFone D-Back:
- Recovers data from SSDs, hard drives, USB drives, and cameras ;
- Supports more than 1000 types of files, including but not limited to photos, documents, videos, and archives ;
- Allows preview of the recoverable data before the final recovery
- Advanced algorithm for faster scanning speed
- A file filter to locate the deleted and lost files
- Doesn't store the data to ensure top-notch security
Now that you are aware of the reliable features of the iMyFone D-Back let's see how to recover deleted files from the Citrix desktop.
Step 1. Start the Download
The first step is to download iMyFone D-Back on your desktop, and since it's compatible with macOS and Windows, you won't have trouble installing it. So, choose the one that suit for your computer.
Step 2. Installation
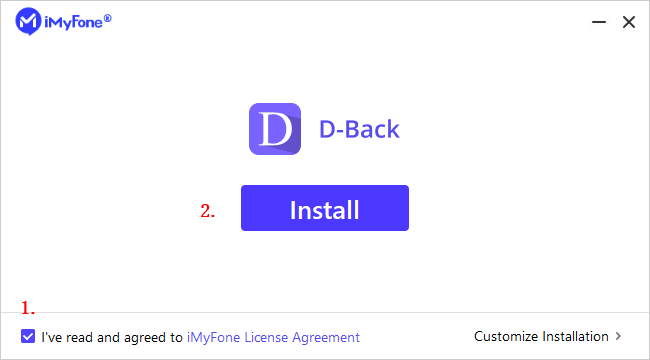
Once the app file is downloaded, double-click on the downloaded file and follow the on-screen guide to complete your installation process, in addition, you can right-click on the file and press the install button.
Step 3. Choosing the Location
When iMyFone D-Back is installed, open the app, and you will be able to see an intuitive and clean interface. The interface will display all the possible locations that can be used to recover the deleted files. So, choose desktop or hard drive from the available options.

Step 4. Scanning
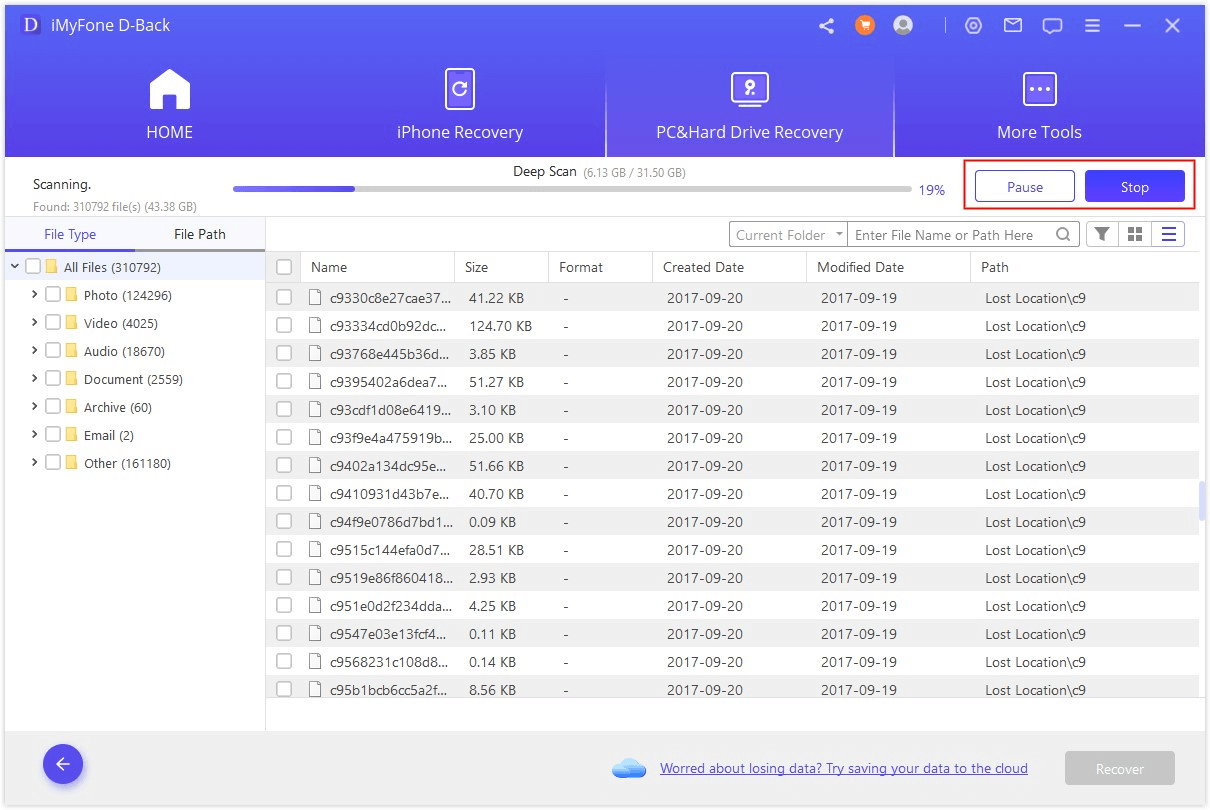
Now, the iMyFone D-Back will start the scanning process – it's a very in-depth process. You can keep an eye on the scanning process through a progress bar added on the top, and you will be able to see the real-time results.
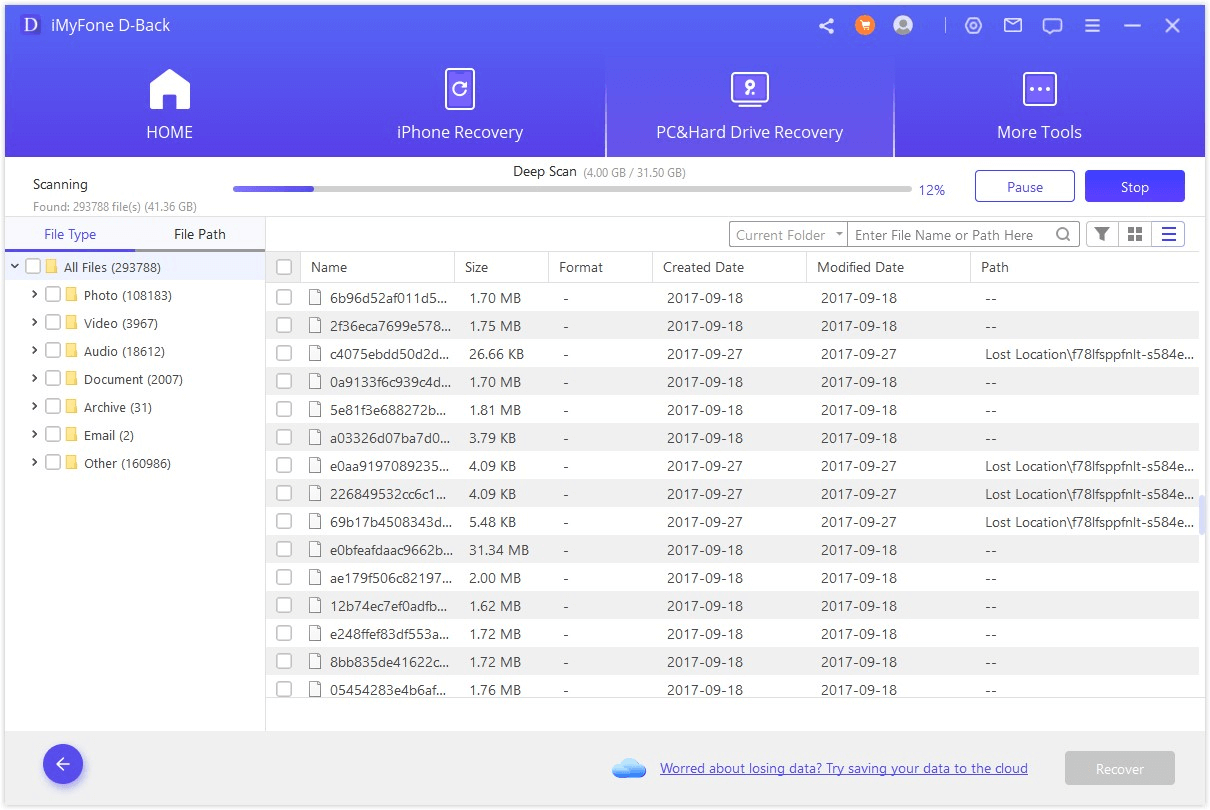
You can pause the scanning process if you have to go somewhere and cannot attend to the computer. The pause button is located just beside the progress bar.
Step 5. Previewing & Recovering
When the scanning process is complete, the available files will be listed on the screen and will be up for preview. You can choose between file path and file type to locate the files. For those who don't know, the file path is the computer's route that had the data before deletion, and the file type stores the files of different formats.
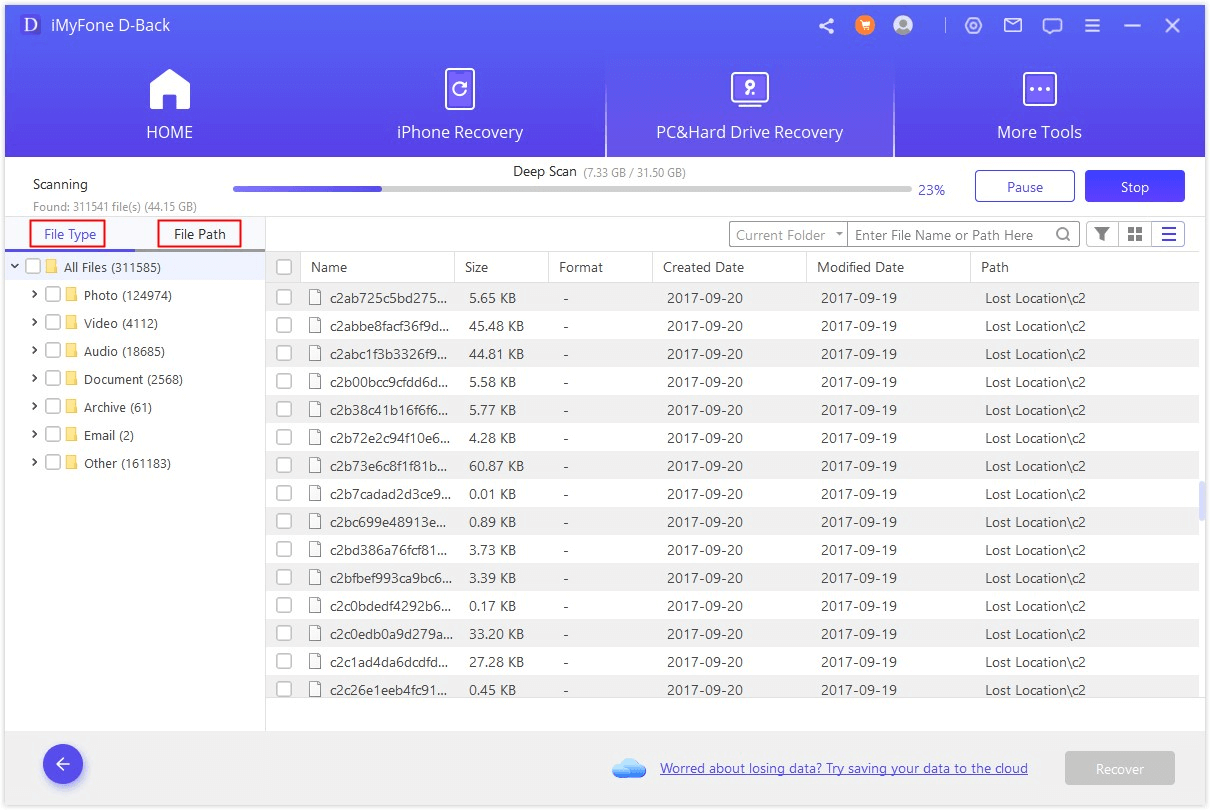
Once you find the desired file, click on it, and the window will appear so that you can preview the file. If that's the file you need, just hit the recover button, and you are done. On the contrary, tick the boxes and hit the recover button if you have to recover multiple files.

1.2 How Do I Restore Files from Citrix ShareFile/Desktop
If you don't want to use iMyFone D-Back for any reason, it is possible to restore the files from the ShareFile's backup by following the below-mentioned steps;
Method 1. Using the Recycle Bin Function to Recover Files from Citrix Files Recycle Bin
Step 1. Main Interface
To start the process, log in to your account.
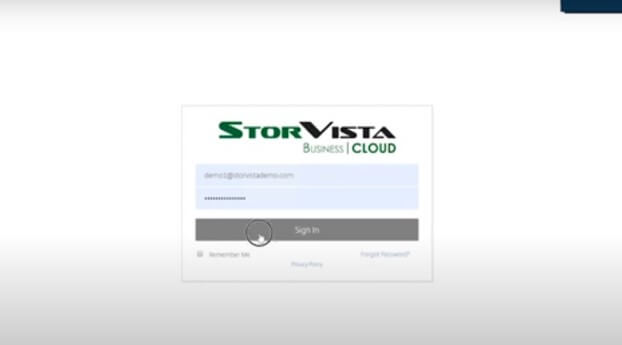
You'll see the main interface.
Step 2. Select the Recycle Bin
Click on the folder options and then select the recycle bin option. Please note that this software keeps the file for only 45 days.

Step 3. Recover
Select the files you want to recover and click on the recover button.
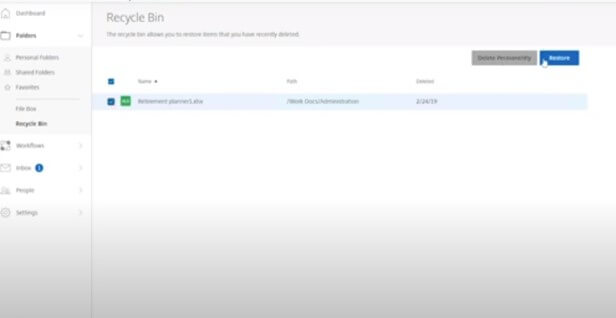
Method 2. Recover Files from Citrix Sharefile Recovery Folder
Step 1. Using the Web Interface
First of all, you have to open the Share Files web interface.
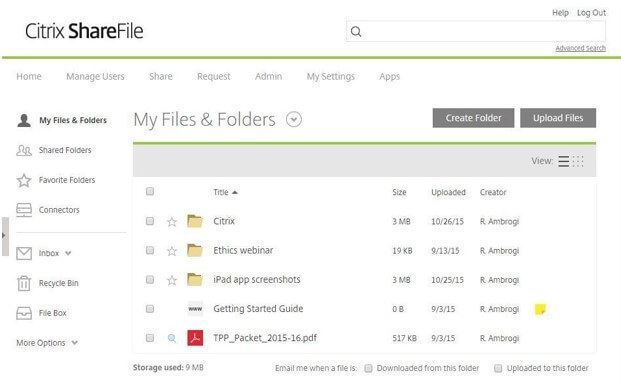
Now, choose "storage zones" from the admin tab. Then, select the "recover files'' option.
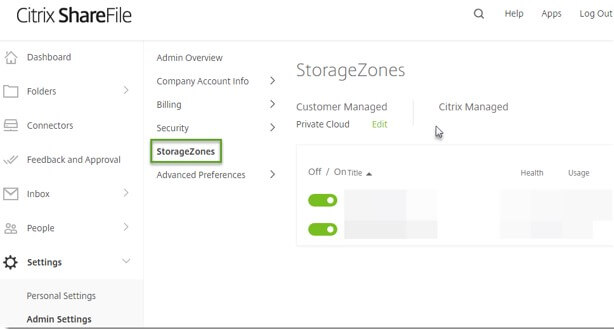
Step 2. Restoring
Now, tap on the recovery data option and choose the time and date. You have to select the box for each file to complete the restoration process; you can click on the restore button. Now, choose the folder to save the restored files and hit the restore button again. As a result, a spinning symbol will show the recovery progress.
Part 2. FAQs about Citrix Data Recovery
2.1 How To Recover Backups From Citrix
iMyFone D-Back is your best companion if you want access to the Citrix files recovery folder. It can scan through the deepest layers of the system and preview the files for your ease.
2.2 How Can I Find Citrix Files Recovery Folder
People commonly ask for the Citrix files recovery folder location. The files are typically stored in the Citrix\StorageCenter\Tools\Disaster Recovery folder.
However, it can be changed if the user wants to edit it.
Also, you can open the ShareFile web interface and skim through the menu to find the storage center.
2.3 Where Do Deleted Items In Citrix Go
The files and items from the account are moved to the Recycle Bin for easier recovery. However, these files won't count in the storage limit.
Conclusion
Citrix is one of the best choices for people who need to keep and manage many files and data. For this reason, people usually have essential files stored on it, and losing them can be frustrating, for sure. However, you can always depend on the iMyFone D-Back to help you with the recovery process. Since it supports 1000+ file types, you won't have a problem recovering the files due to unsupported formats.


 August 19, 2024