iTunes error 42408 sometimes occurs when you are downloading content that you have purchased from iTunes Store. It can also occur when you are authorizing those purchases on your computer. The error prevents iTunes from downloading your desired content and can be really annoying. Fortunately, there are solutions available.
How to Fix iTunes Error 42408
Following are some ways to fix the iTunes error 42408 issue:
1. Use TunesFix
If you are looking for an automatic way to deal with iTunes error 42408, then it is recommended that you use iMyFone TunesFix.
This professional iTunes repairing software can fix virtually all iTunes issues quickly. TunesFix is equipped with advanced and powerful features for scanning potential iTunes problems and then fixing them with a single click.
Key Features:
- Repair virtually all iTunes errors (like error 42408) and issues.
- Several manual iTunes repair modes that target certain problems such as iDevice not being detected, iTunes update issues, iTunes backup/restore problems, etc.
- Boost iTunes’ performance with powerful Quick Clean and Deep Clean modes.
- Completely uninstall iTunes from your computer via Full Uninstall mode.
- User-friendly software interface and easy navigation.
Steps to Solve the Problem:
Step 1: Launch TunesFix on your computer. Automatic scanning process will begin.
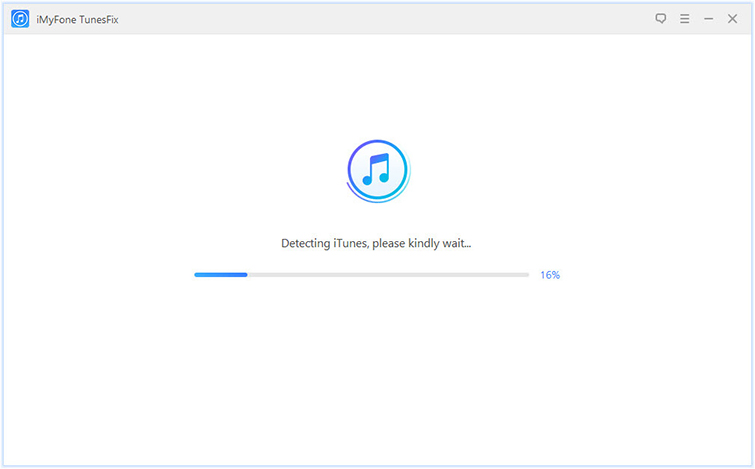
Step 2: Once the automatic scanning is completed, fix issues (if they are detected) by following the on-screen instructions.
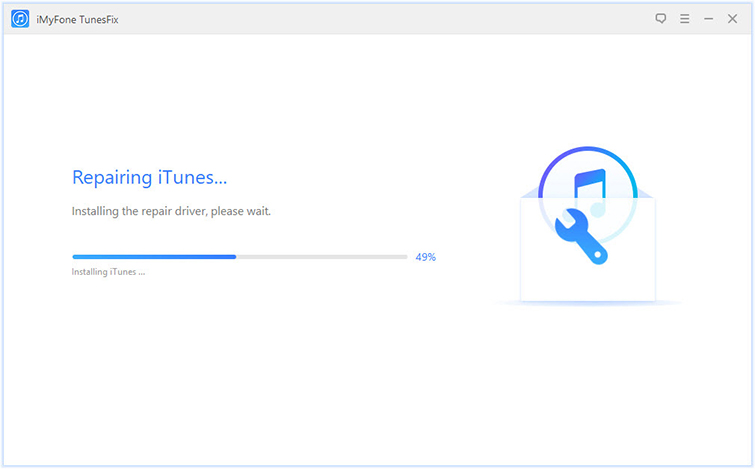
Step 3: Now from the home interface of TunesFix, click on Fix Other iTunes Problems.
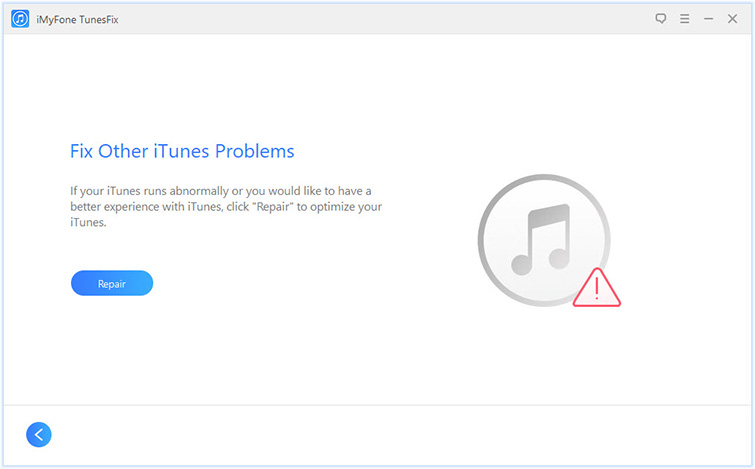
Step 4: Click on the Repair button on the next screen. TunesFix will start the repairing process. Internet connection may be required during the repairing process.
2. Other Solutions for iTunes Error 42408
Following are some other solutions you can try:
1.Restart Your PC/Mac
Restarting your PC/Mac is likely to solve the issue because many users have reported that they were able to get rid of the error by simply restarting their computer. So, this simple solution is certainly worth a try.
2.Turn Off Automatic Syncing
Turning off automatic syncing feature of iTunes is another way to fix the iTunes error 42408.
Follow these instructions:
Step 1: Unplug your iDevice from your computer.
Step 2: On iTunes, navigate to Edit > Preferences > Devices.
Step 3: Now make sure that this option is enabled: “Prevent iPods, iPhones, and iPads from syncing automatically”.
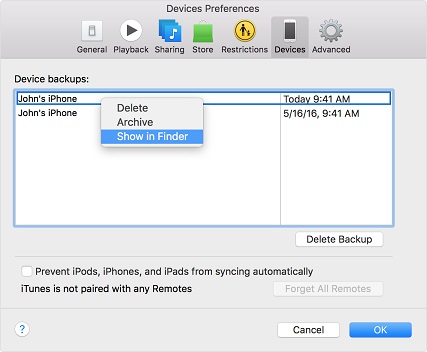
Step 4: After enabling this feature, restart iTunes. The problem should be fixed now.
3.Reset Safari’s Cache
This may seem unrelated but clearing Safari’s cache sometimes fixes iTunes error 42408. So, it is worth a try.
Follow these instructions:
Step 1: Close iTunes if its opened and then launch Safari.
Step 2: From the menu bar of Safari, click on the Empty Cache option.
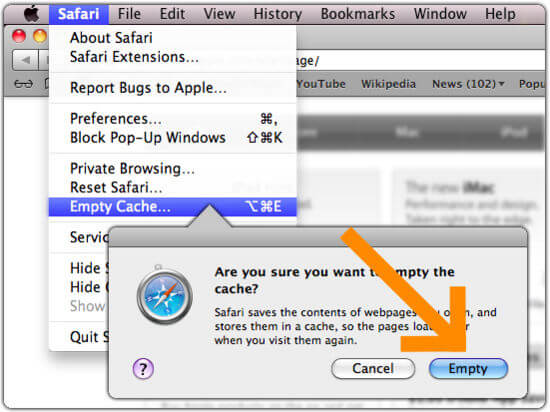
Step 3: Now close Safari and open iTunes. The problem should be solved after this step.
4.Check Network Connection
Since downloading content via iTunes requires a stable internet connection, it may be possible that the error 42408 is occurring due to a connection problem. So, you should make sure that your internet connection is stable when you are downloading purchased content via iTunes. It would also be a good idea to restart your router before attempting to download.
5.Delete iTunes Preference Files
A problem with iTunes preference files may also cause this error. Deleting your saved iTunes preference files is likely to solve the issue.
Follow these instructions:
Step 1: On your Mac, close iTunes and then navigate to Home Folder > Library > Preferences.
Step 2: Find com.apple.itunes.xxx.plist and delete it.

Step 3: Now launch iTunes and try to download the content. It should get downloaded without any issues.
Conclusion
iTunes error 42408 can be really annoying particularly because it can occur due to several reasons. If you are not sure what reason may be causing this error to occur, then it is recommended that you let iMyFone TunesFix handle the problem and fix it for you automatically. TunesFix is also recommended because it will save your time and effort by fixing the error automatically. And if for some reason TunesFix cannot solve the problem, then you should try the other listed solutions one-by-one. Depending on the reason behind the error, one of these solutions will fix the issue.


 September 17, 2021
