Many users face iTunes error 11503 from time to time. This error is related with iTunes Store and may occur when you are trying to update iOS apps within the Store. This is a problem with iTunes Server and mostly gets resolved automatically within a few days. However, if you want to fix the problem yourself, then there are ways to do this as well.
How to Fix iTunes Error 11503
Here are some solutions:
1. The Best Solution
iTunes error 11503 and many other iTunes errors can be easily and quickly fixed with the help of a professional iTunes repairing software. iMyFone TunesFix is one of the best iTunes repairing tools that offers plenty of useful features and allows you to fix almost all iTunes issues. The best thing about this software is that it scans for iTunes problems automatically when you launch it and then prompts to fix the detected issues with the Repair option. So you can expect to fix many iTunes problems (including error 11503) conveniently with a single click.
Key Features:
- Automatic scanning of potential iTunes issues upon launch.
- Powerful manual iTunes repair modes that allow you to quickly fix certain iTunes problems.
- Boost the performance of iTunes with Quick Clean and Deep Clean modes.
- TunesFix does not delete media files available in iTunes Library when attempting repairs.
- Full Uninstall mode allows you to uninstall iTunes completely along with all its related components.
Steps to Fix iTunes Error 11503 with iMyFone TunesFix:
Step 1: Launch iMyFone TunesFix on your Windows PC. It will start the scanning process automatically when its launched. Wait for it to finish.
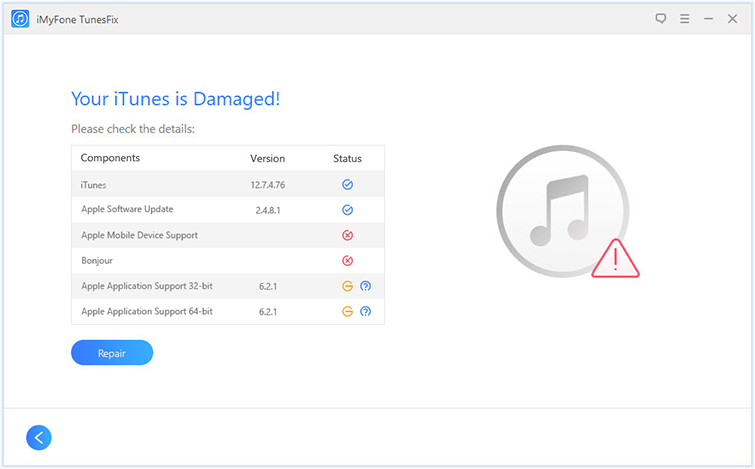
Step 2: If automatic scan detects an issue, then fix it via the Repair option. If no issue is detected, then you will see the home page of TunesFix.
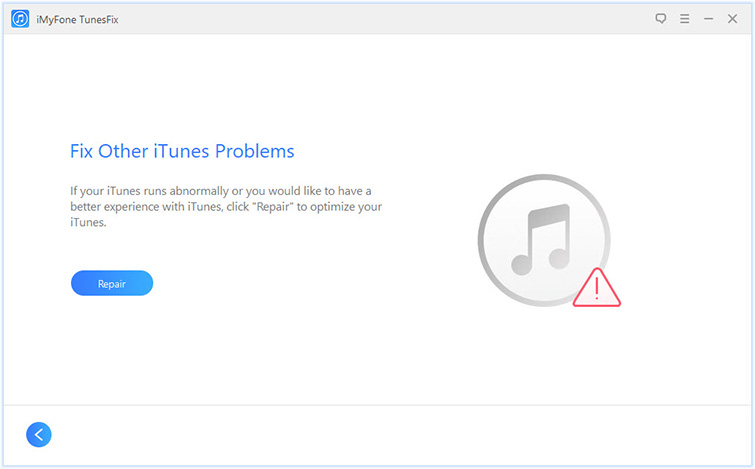
Step 3: From the home page, select the ‘Fix Other iTunes Problems’ mode and then click the Repair button when prompted. TunesFix will now attempt the repairs. Internet access may be required for the repairing process.
2. Other Solutions
Here are some other solutions you can try:
1 Select Individual App to Update
iTunes Error 11503 may occur when you try to update all apps with a single click via the option ‘Update All Apps’. So to prevent this error from occurring, you can simply choose individuals apps one-by-one in order to update. This may take relatively more time, but in this way you won’t encounter the error 11503.
2 Clear the Cache of Apps
Clearing the cache of apps on your iDevice sometimes helps solve iTunes error 11503. This is because cached files sometimes delay the app download or update process which leads to this error. So you simply need to clear the app cache to get rid of the problem for good.
Follow these instructions:
Step 1: Open Settings app on your iDevice.
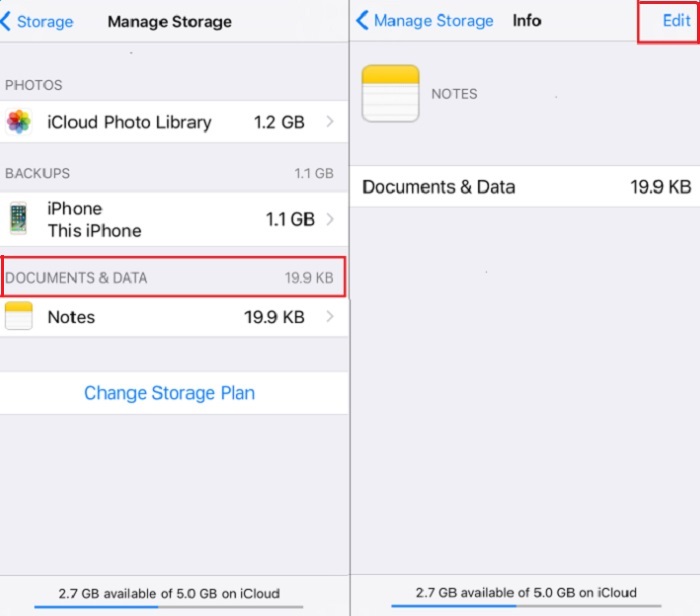
Step 2: Navigate to General > Storage & iCloud Usage > Manage Storage > Documents and Data.
Step 3: Now choose an app that you are trying to update via iTunes, select all the unwanted items shown on the left side of the screen and then tap Delete.
Step 4: Click Edit > Delete All in order to clear app’s data.
3 Delete and Re-Download Apps within iTunes
You can also fix iTunes error 11503 by deleting and re-downloading the apps (that give this error) from your App Library.
Follow these instructions:
Step 1: Open iTunes and navigate to the App Library.
Step 2: Right-click on the app that gives error 11503 and then click ‘Delete from Library’ option. Click Move to Trash to confirm your action. Alternatively, you can also delete apps from your iTunes Library by navigating to Mobile Applications folder located in iTunes folder on your computer’s hard drive and delete the. ipa files.
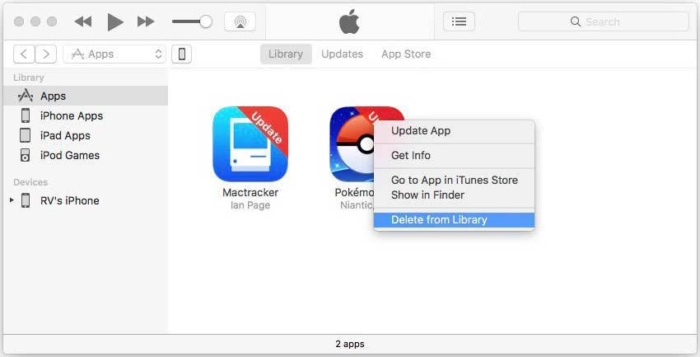
Step 3: Once the app is deleted, re-download it via iTunes. The problem should be fixed now and you won’t encounter error 11503 when updating the re-downloaded app.
Verdict
iTunes error 11503 can be really annoying but fortunately there are a number of ways to fix it. While you can try to fix the error manually by following the above mentioned solutions, it is highly recommended that you give iMyFone TunesFix a try first because in this way the error will be fixed automatically, saving you a lot of time and effort.


 June 21, 2021
