User Guide of iMyFone iTransor
News: We have renamed D-Port Pro to iTransor!
Do you want to completely or selectively back up data on your iPhone/iPad/iPod touch? Or you need to export or restore data in iTunes/iCloud backup? iMyFone iTransor can back up your data on iOS devices, download backups from iCloud, export data from iOS devices/iTunes backup/iCloud backup and restore data in iTunes backups, iCloud backups and backups made by iMyFone iTransor.
Export Data from Device & Backup
The Export from Device & Backup feature within iMyFone iTransor can help you export data from your iOS device and backups made by iMyFone iTransor, iTunes or iCloud to your computer. The following simple steps will show you how to export data from your iOS device or backups.
Export Data from iPhone/iPad/iPod touch
Before you start, please download and launch the program on your computer. Then make sure that you have connected your device to the computer. To export data from your iOS device, follow the steps below:
Step 1. Choose Export from Device & Backup from the left panel, then click Export from Device.
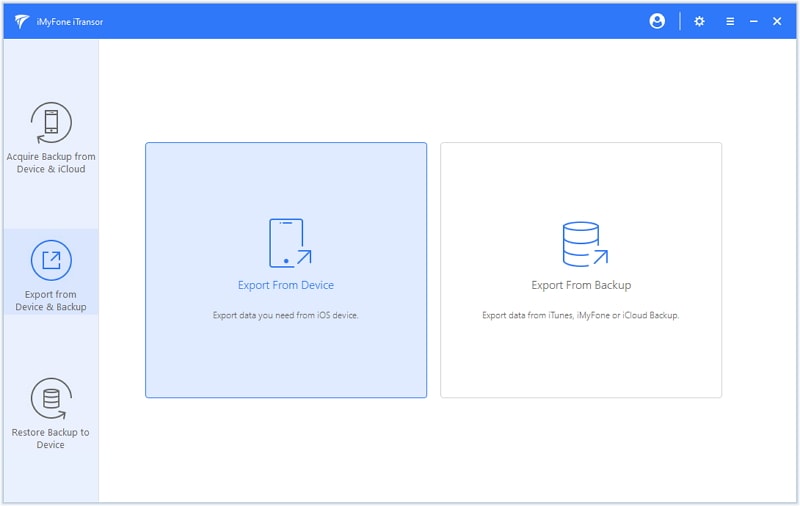
Step 2. On the next screen, you need to choose the data types that you would like to export, then click Scan and the program will begin to scan your device.
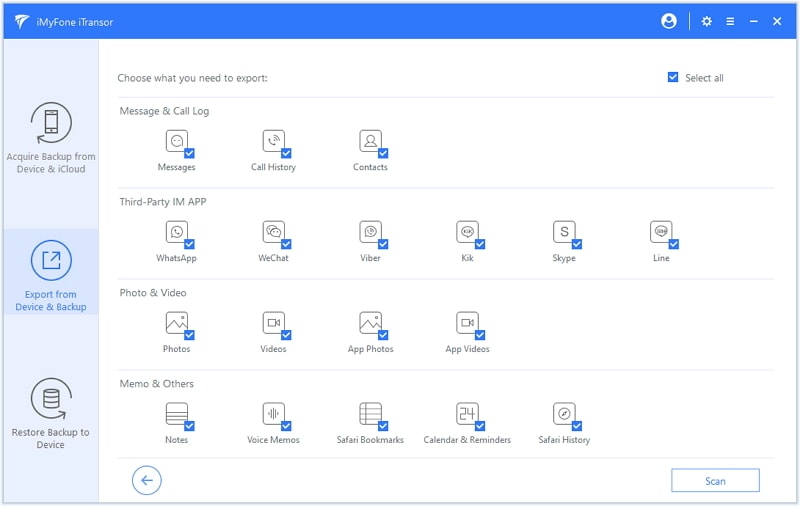
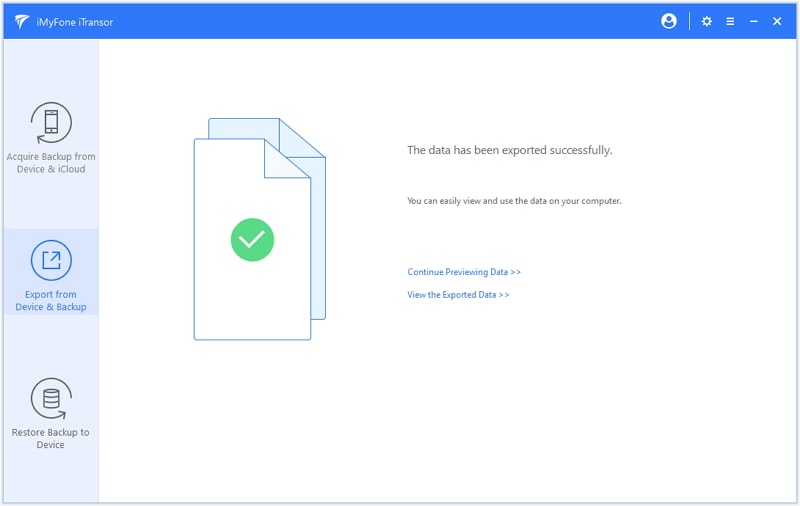
Step 3. Once the scanning finishes, you can preview the data in detail and select only what you need. Then tap Export and choose a format and a location for the data you want to export onto your computer to complete the whole process.
Export Data from iMyFone/iTunes/iCloud Backup
Step 1. After launching iMyFone iTransor, select Export from Device & Backup on the left tab and click Export from Backup.
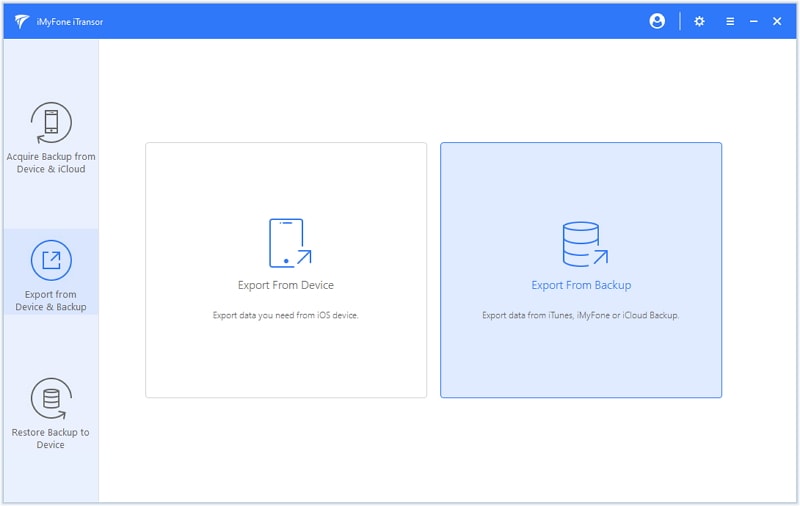
You will see all the backup files listed on the next screen including Messages/Contacts/WhatsApp/WeChat backups and full backups made by iMyFone iTransor, as well as iTunes and iCloud backups. Select one of the backup files and then click Next.
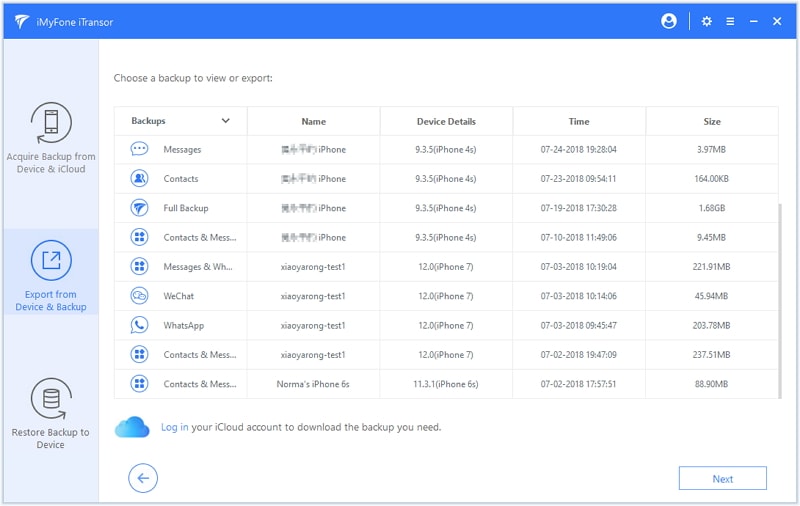
Step 2. Then you need to choose the types of data that you want to export from the backup. You can select one types, multiple types or all the types of data on the screen. Then click Scan to proceed.

Step 3. The program will immediately begin scanning the selected backup file. You will view details of the selected backup file as soon as the scan is completed. Choose an item or items you want to export and then click Export and select the format and location to export the selected items to your computer.
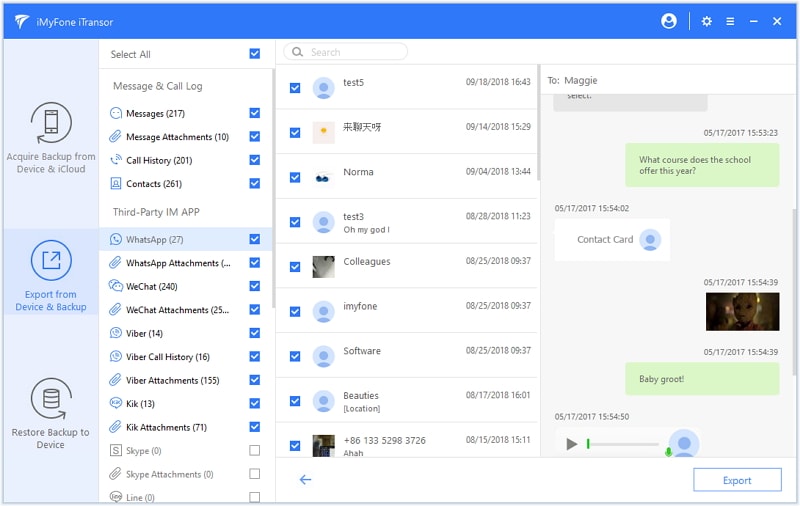
Step 4. After a while, all the selected files will be exported from the backup to your computer and you can view or use them anytime you need.
Note: You need to enter your password to continue if your iTunes backup is encrypted.


