iMovie is a video editing tool for macOS and iOS users. It is a very effective editor as it offers a wide range of editing tools. The users can create a perfect movie using its splendid features. They often need to transfer their iMovie project from Mac to iPhone's camera roll for further editing, sharing, storage, or other purposes. Therefore, in this article, we are going to discuss how to transfer iMovie projects from Mac to iPhone in different ways. We will also discuss how you can transfer it from iPhone to Mac. Let's begin!
Table of Content [Hide]
Part 1. Transfer iMovie Project from Mac to iPhone via Sending Email
Editing videos on Mac is much easier than on iPhone. It is because you have a larger screen, extra options, an extensive timeline, etc. With iMovie, the user can create different movies using special effects, filters, and soundtracks. After editing the video, they transfer it to their iPhone, and a commonly used method for this purpose is email.
Step 1: Go to the Project tab and choose the movie that you want to send over the email. If your project is ongoing, then save the project by clicking on done.
Step 2: After choosing the movie, click on the Share button. Then click on Mail.
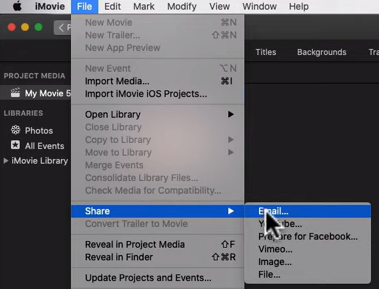
Step 3: However, if the size of the movie exceeds the mail limit, try to reduce the movie size by saving it in low resolution. You can click on the resolution menu and select a lower resolution so that it can be sent.
Step 4: After the movie is done exporting to email, you will be notified. Click on Share.
Step 5: Enter the details of the email and send it.
Part 2. Save and Share an iMovie from Mac to iPhone Using Photos App
Sharing an iMovie project or file to another device is not difficult at all. The user can use the mentioned steps to share the file or save it in the Photos library. If you want to save and share an iMovie project from Mac to iPhone using Photos App, then follow the below steps.
Step 1: Go to the Project tab or click on the share icon at the top-right corner, select the project that you want to share from Mac to iPhone.
Step 2: Now, you will see a resolution pop-up option. Here, the user needs to select the resolution and size of the video. If the user chooses a low resolution, then it can be shared more quickly.
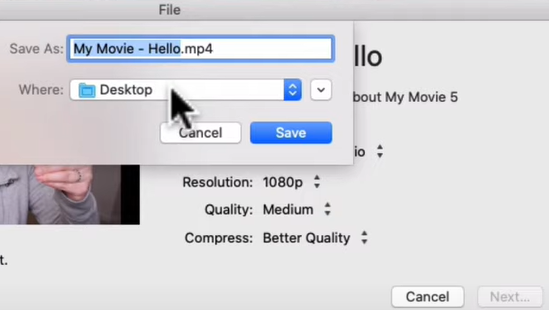
Step 3: Select a path or location where you want to save your video. Then click on Save.
Step 4: The last step is to move the file to the photo library by dragging it to Photos App. For people that have iCloud enabled, this file can be accessed from any Apple device using the same iCloud account.
Part 3. Share iMovie from Mac to Social Media Website and Save to iPhone
There is another way in which the user can share the iMovie project file from Mac to any social media website. It is one of the easiest ways to share iMovie projects on social media. It doesn't require any complex steps. The sharing option is provided; the user just needs to click on it and choose the type of sharing to share the video. Let us look into the process of how to share iMovie from Mac to Social Media websites and save to iPhone.
Step 1: On your Mac, open the iMovie project. As we want to share the video, click on the Share option.
Step 2: You will see options for Facebook and YouTube. Choose where you want to share the video.

Step 3: The user then needs to select a location where the video will be saved, then click on Save.
Step 4: Open any web browser and go to any social media website where you want to share the video. Upload the video file to the social media website with ease.
FAQs: Can I import iMovie project from iPhone to Mac?
In the above discussion, we have discussed different ways to transfer the iMovie project from Mac to iPhone. But in this part, we will specifically talk about importing the iMovie project from iPhone to Mac. The best and easiest way to transfer the iMovie project from iPhone to Mac is through a third-party app which is iTransor Lite.
iTransor Lite can export data from an iPhone, iTunes, and iCloud. It supports more than 18 types of data and is compatible with the latest iOS as well. The program allows the user to preview the data before exporting. Let us see how we can use this tool to import the iMovie project from iPhone to Mac.
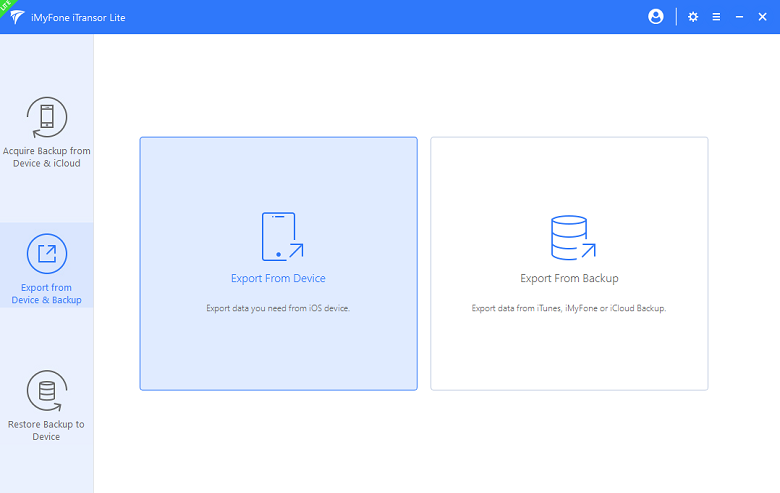
Step 1.Go to the iMyFone website and download iTransor Lite for Mac. Install the tool and open it. You will see different options on this tool, but as we want to import the iMovie project, click on Export from Device & Backup and then click on Export from Device.
Step 2.Now, the user will see a list of types of data. Choose the data that you want to export to Mac. Here, you will also see some applications. You can choose the iMovie app or Videos and click on Scan.
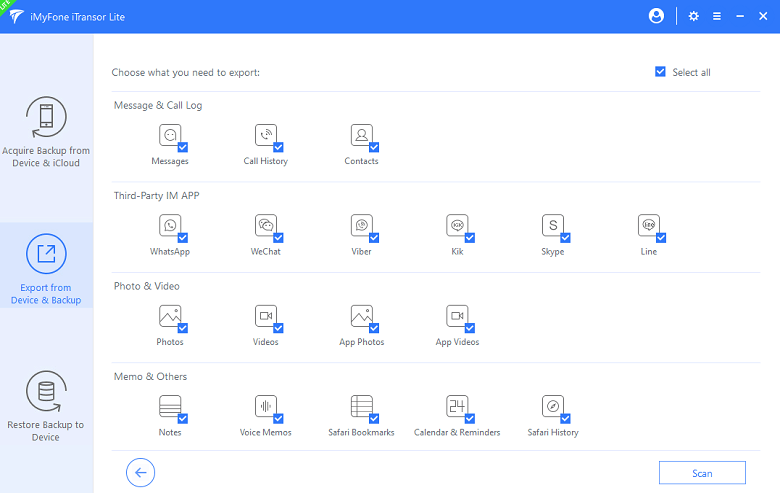
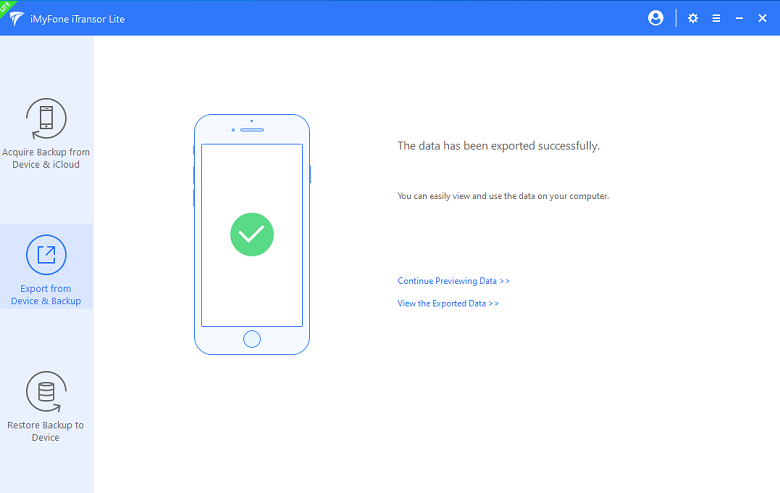
Step 3.After scanning, you can preview all the videos that can be exported. Choose a video you want to export and click Export. Then choose a format and location on Mac where this video will be saved.
Conclusion
Our discussion of transferring the iMovie project from iPhone to Mac and vice versa comes to an end. We have discussed different kinds of transferring techniques, including a third-party tool. iTransor Lite is an app that allows the user to export data from iPhone to Mac without any trouble. It is a simple tool that works efficiently with just a few clicks. The trial version of this tool is available, so the user can download this tool and start exporting or backing up their iPhone data.


 July 20, 2022


