QQ is a great messaging application for meeting new friends, keeping in touch, and best of all, the built-in translator opens so many other doors. As with any great messenger, the importance of backing up your chat history can’t be emphasized enough. Data loss isn’t an unheard-of occurrence among iOS devices. To help prevent you from losing your QQ messages, here are the top solutions.
Can I Save My QQ Chats from iPad or iPhone?
Yes! With the right tools on your computer, you can export QQ chat history from your iPad or iPhone to computer. Ideally, you can try to use iMyFone D-Back as this is the best tool for the job. Some of the main features that it includes are:
- 4 unique data recovery modes to choose from.
- Retrieve iOS data straight from an iCloud or iTunes backup.
- Supports all recent iPhones, including the iPhone X and 8/8 Plus.
- Recover data that you had lost due to data corruption or accidental deletion.
- Available both on Windows and Mac users.
Once you’ve gotten your hands on iMyFone D-Back, you’ll quickly realize that it actually has much more than these features.
Part 1: Export & Save Existing/Missing QQ Chat History from iPad/iPhone
One of the capabilities of iMyFone D-Back is that it can export and save both existing and lost QQ chat history from iOS devices to computer. This means if you do not backup iPhone/iPad QQ chat history and unfortunately you lose a chat, it can still be recovered.
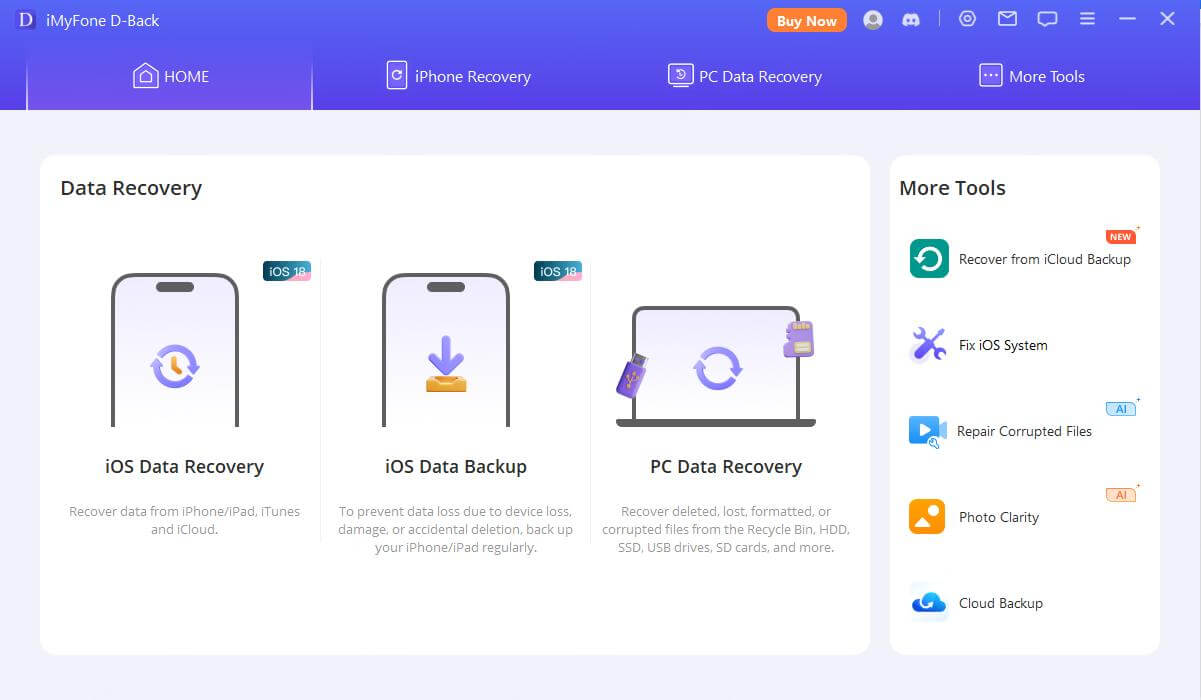
- Open iMyFone D-Back and connect your iOS device. Select “Recover from iOS Device” on the sidebar.
- A menu of data types will be shown. Click on “Select all” or specifically choose QQ messages. Click “Next > Scan”.
- After the scan is complete, go through the data and select everything that you want to have exported. Simply hit the “Recover” button and choose somewhere to save the data to.
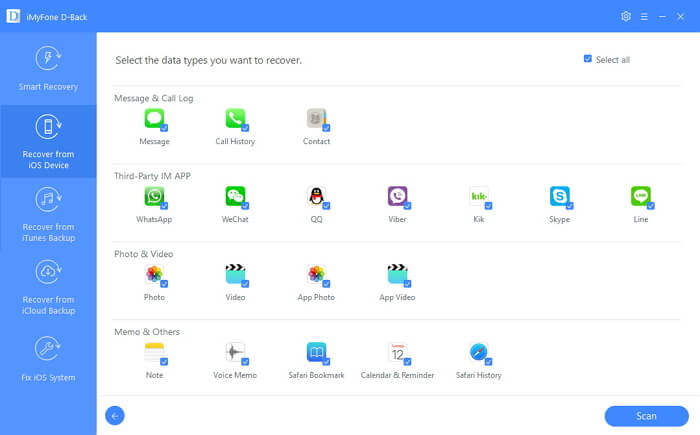
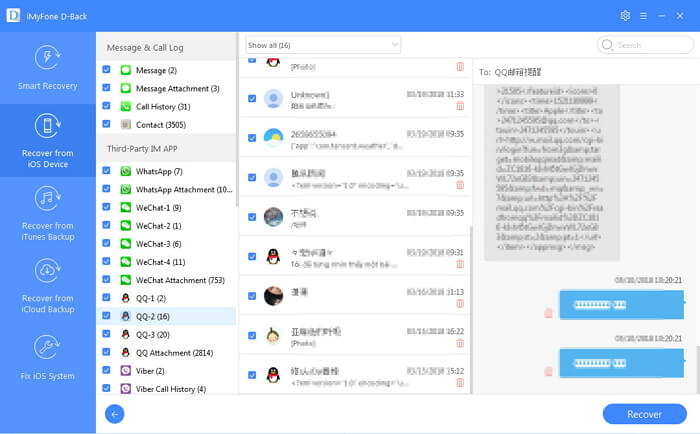
If you’re looking for only missing QQ chat history, check the box “Show only the deleted files”. This will hide the existing data to make it easier for you.
Part 2: Export & Save QQ Chat History from Backup
Another option that you have with iMyFone D-Back is to export QQ chat history from a backup that you have taken. It doesn’t matter where the backup is stored - whether iCloud or iTunes - you’re able to export data from it.
Export & Save QQ Chat History from iTunes Backup
These steps can be used to save QQ history from an iTunes backup.
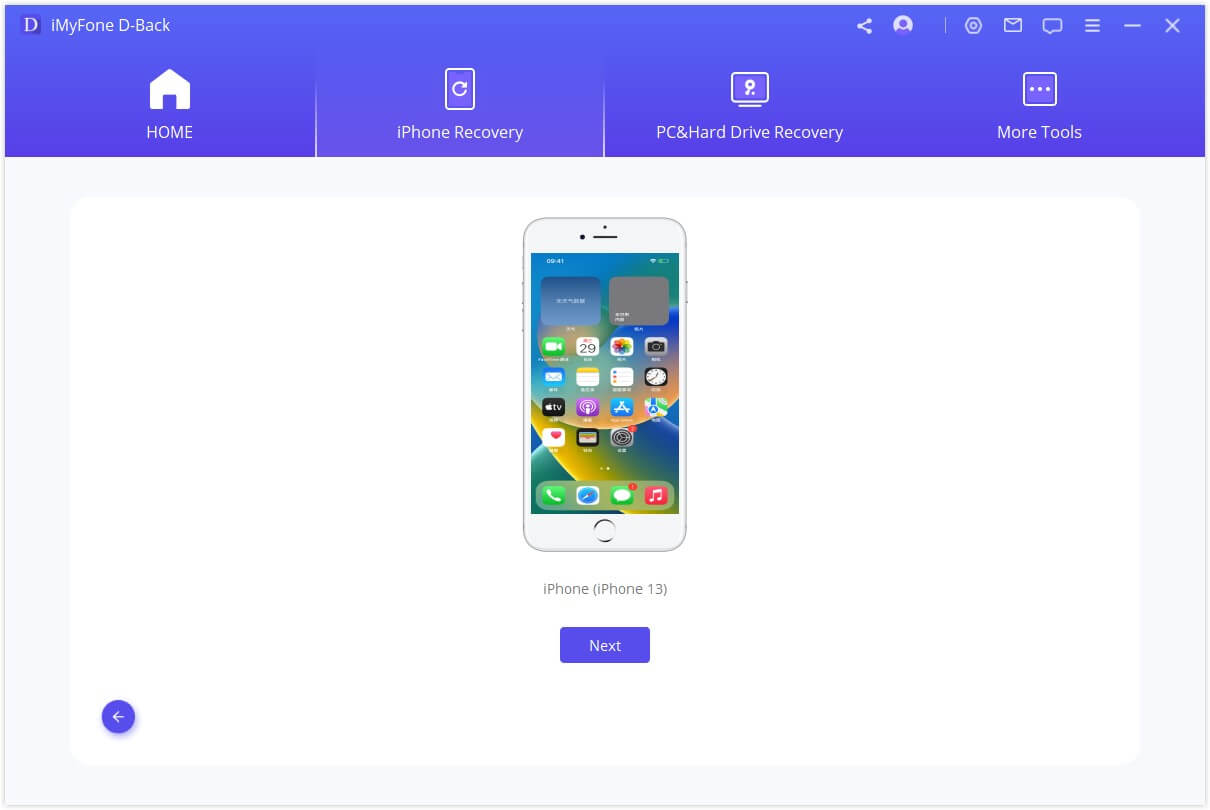
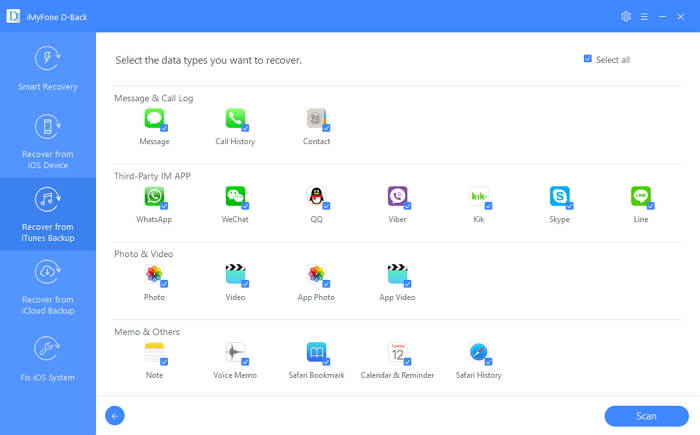
- Launch iMyFone D-Back and choose “Recover from iTunes Backup” from the menu on the left. Go ahead and click “Start”.
- From the following menu, either check the “Select all” box or only check the QQ messages box. Click “Next” and then choose one of the iTunes backups from the list.
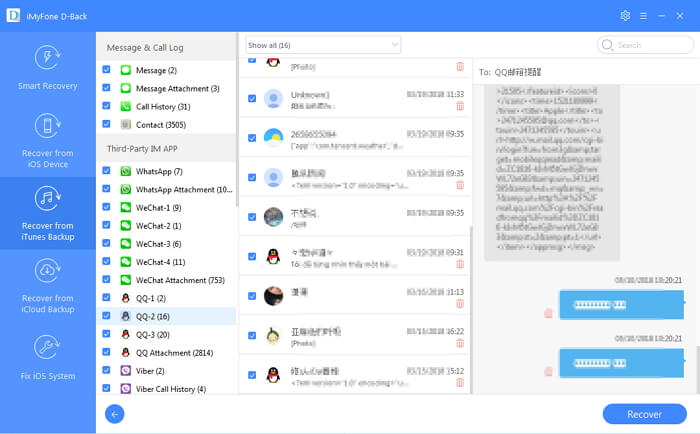
- A quick scan will be run on the selected backup. After the scan is over, choose the QQ chat messages that you want to export, click “Recover”, and then choose somewhere to restore them to.
Export & Save QQ Chat History from iCloud Backup
Similarly, you can use these steps to save QQ history from an iCloud backup. Please make sure that the internet connection is stable.
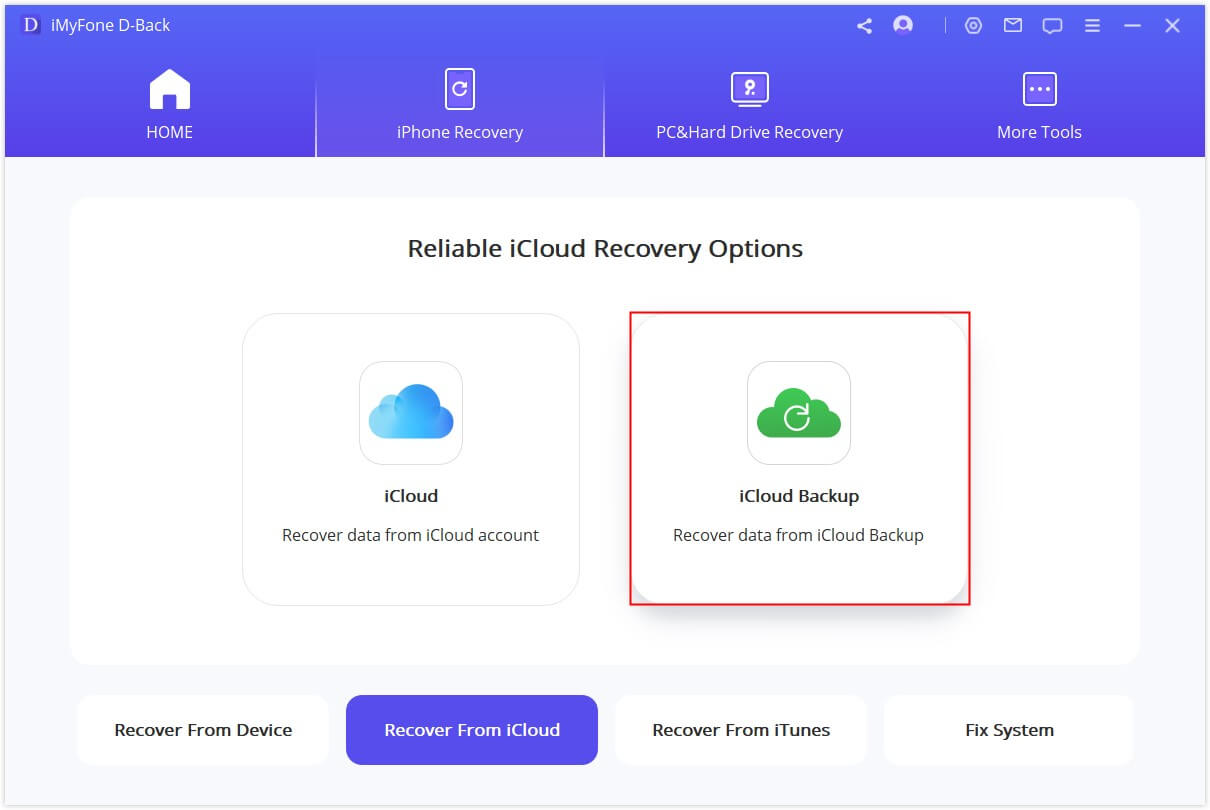
- Click “Recover from iCloud Backup” and “Start” to begin.
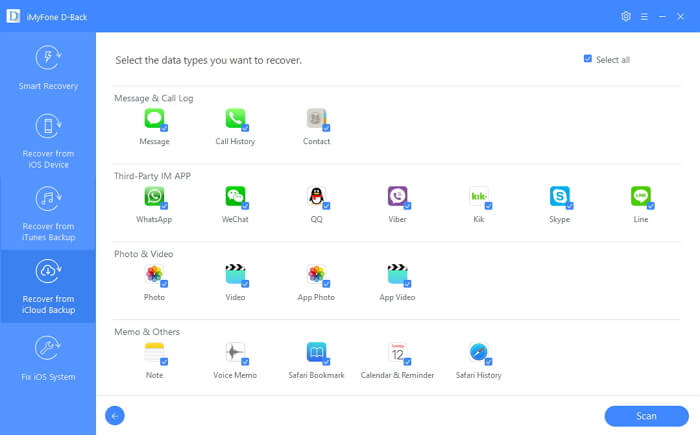
- Choose the specific file type to export (in this case, QQ messages) and once you’ve clicked “Next” you must sign in to your iCloud account. Select the backup that you want to export data from and press “Next” to continue.
- After a few minutes, the scan will be over, and you can choose the QQ chat history that you want to have exported. Lastly, click “Recover” and choose where you want to save the chats too.
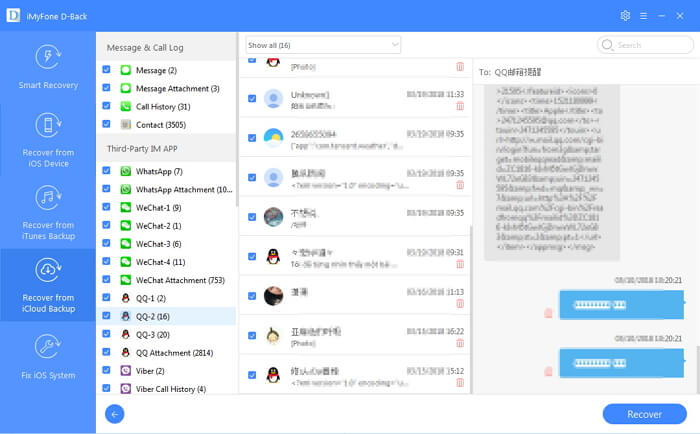
Worried about privacy? iMyFone D-Back doesn’t save or store any of your iCloud information. You can be certain that your private information is secure.
To Conclude
You can use iMyFone D-Back as a QQ chat history viewer and more importantly, you can use it to export your chat data. Whichever method you try out you’ll quickly export and save your QQ chats. Feel free to let us know your thoughts about QQ messenger or any questions that you may have in the comments below.


 January 12, 2023